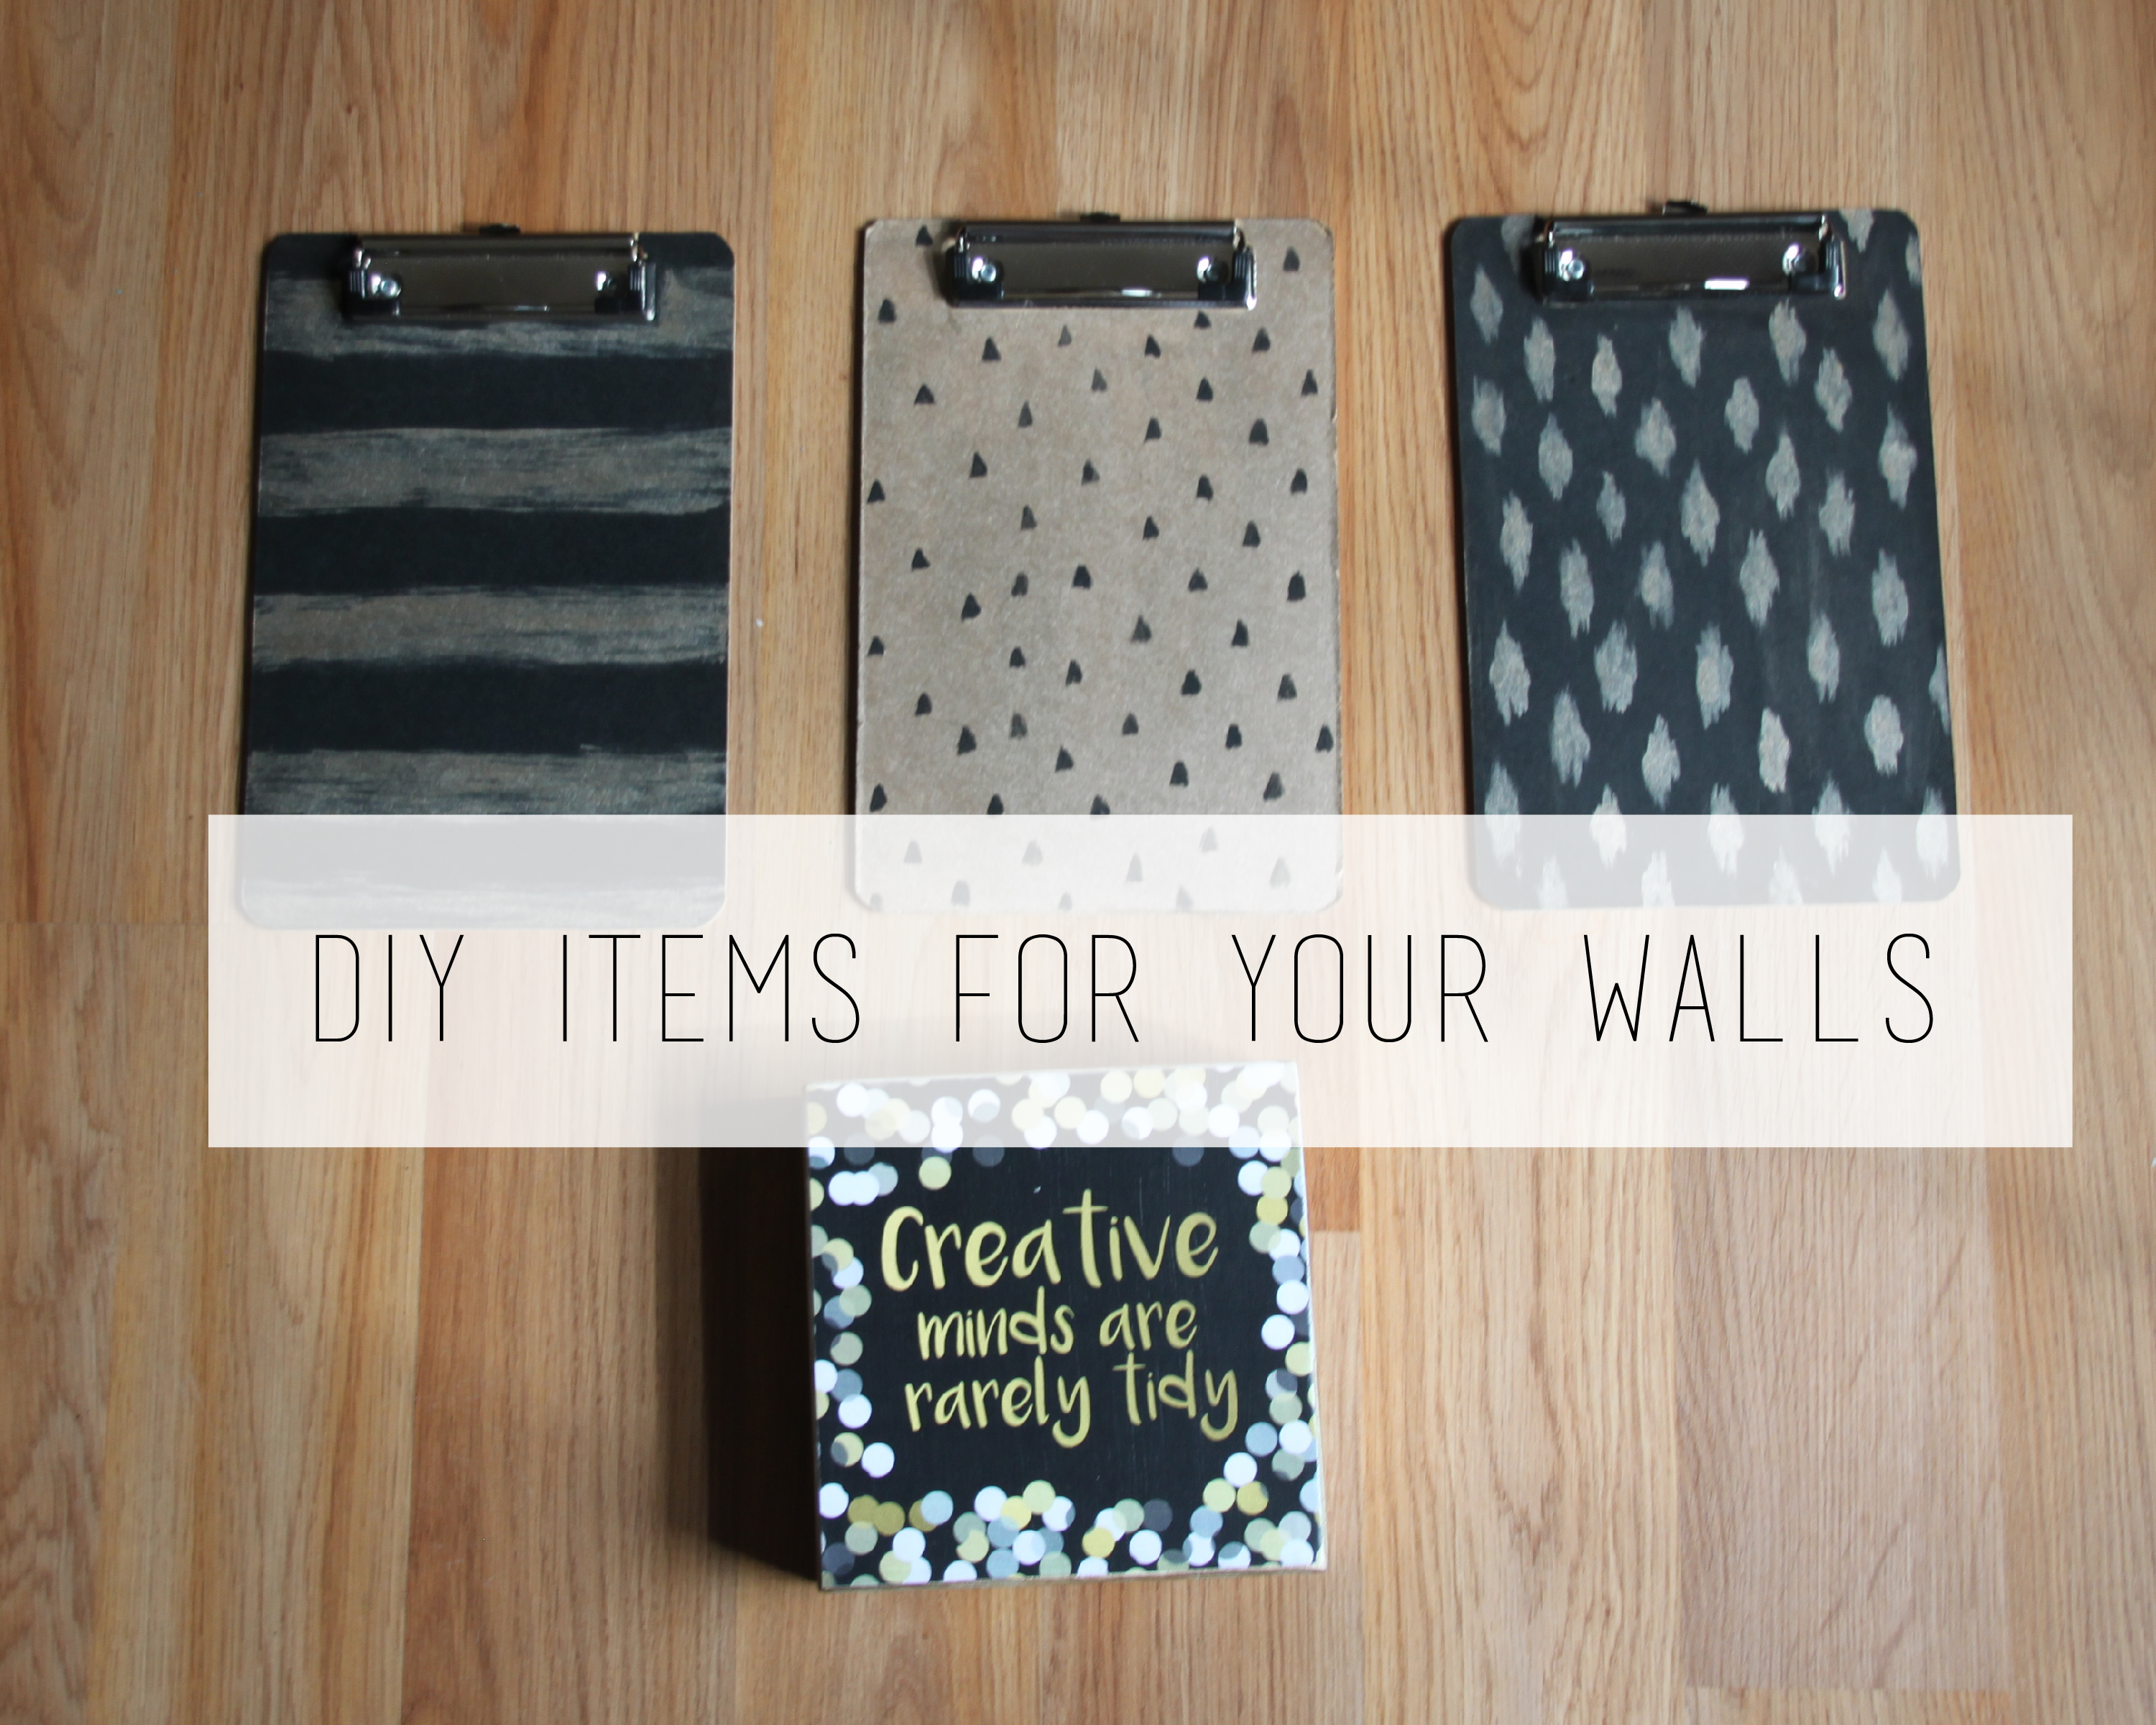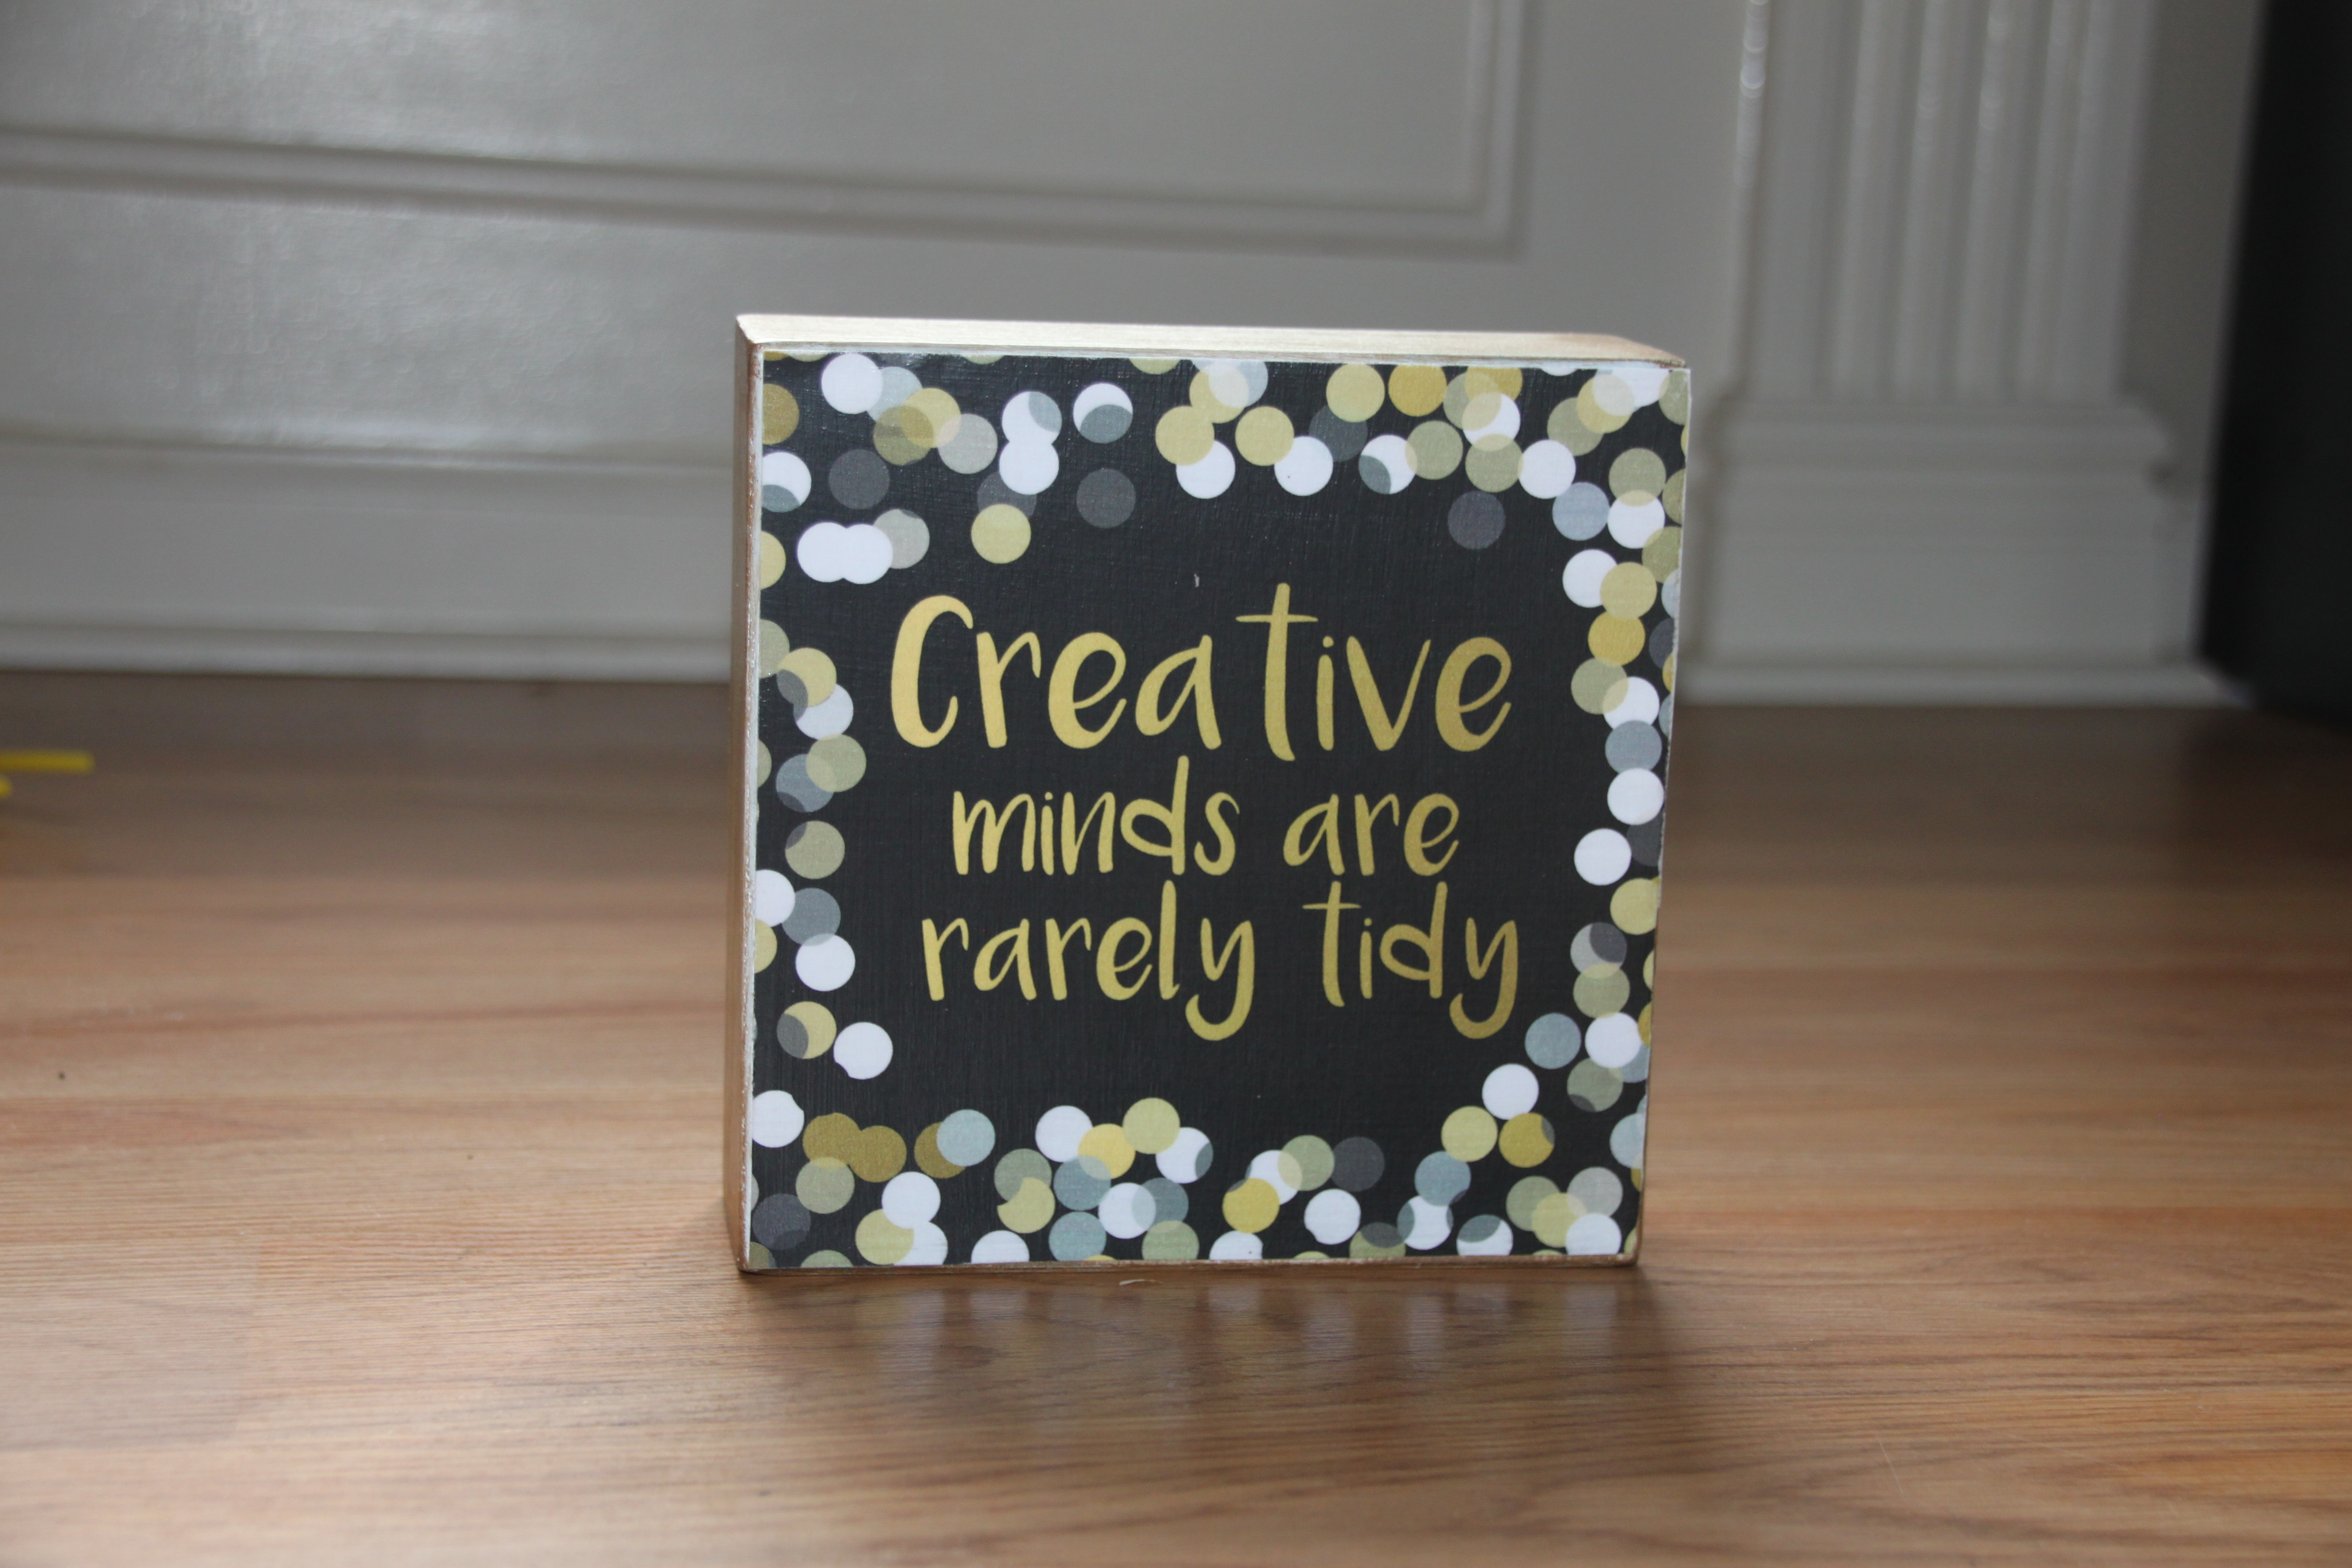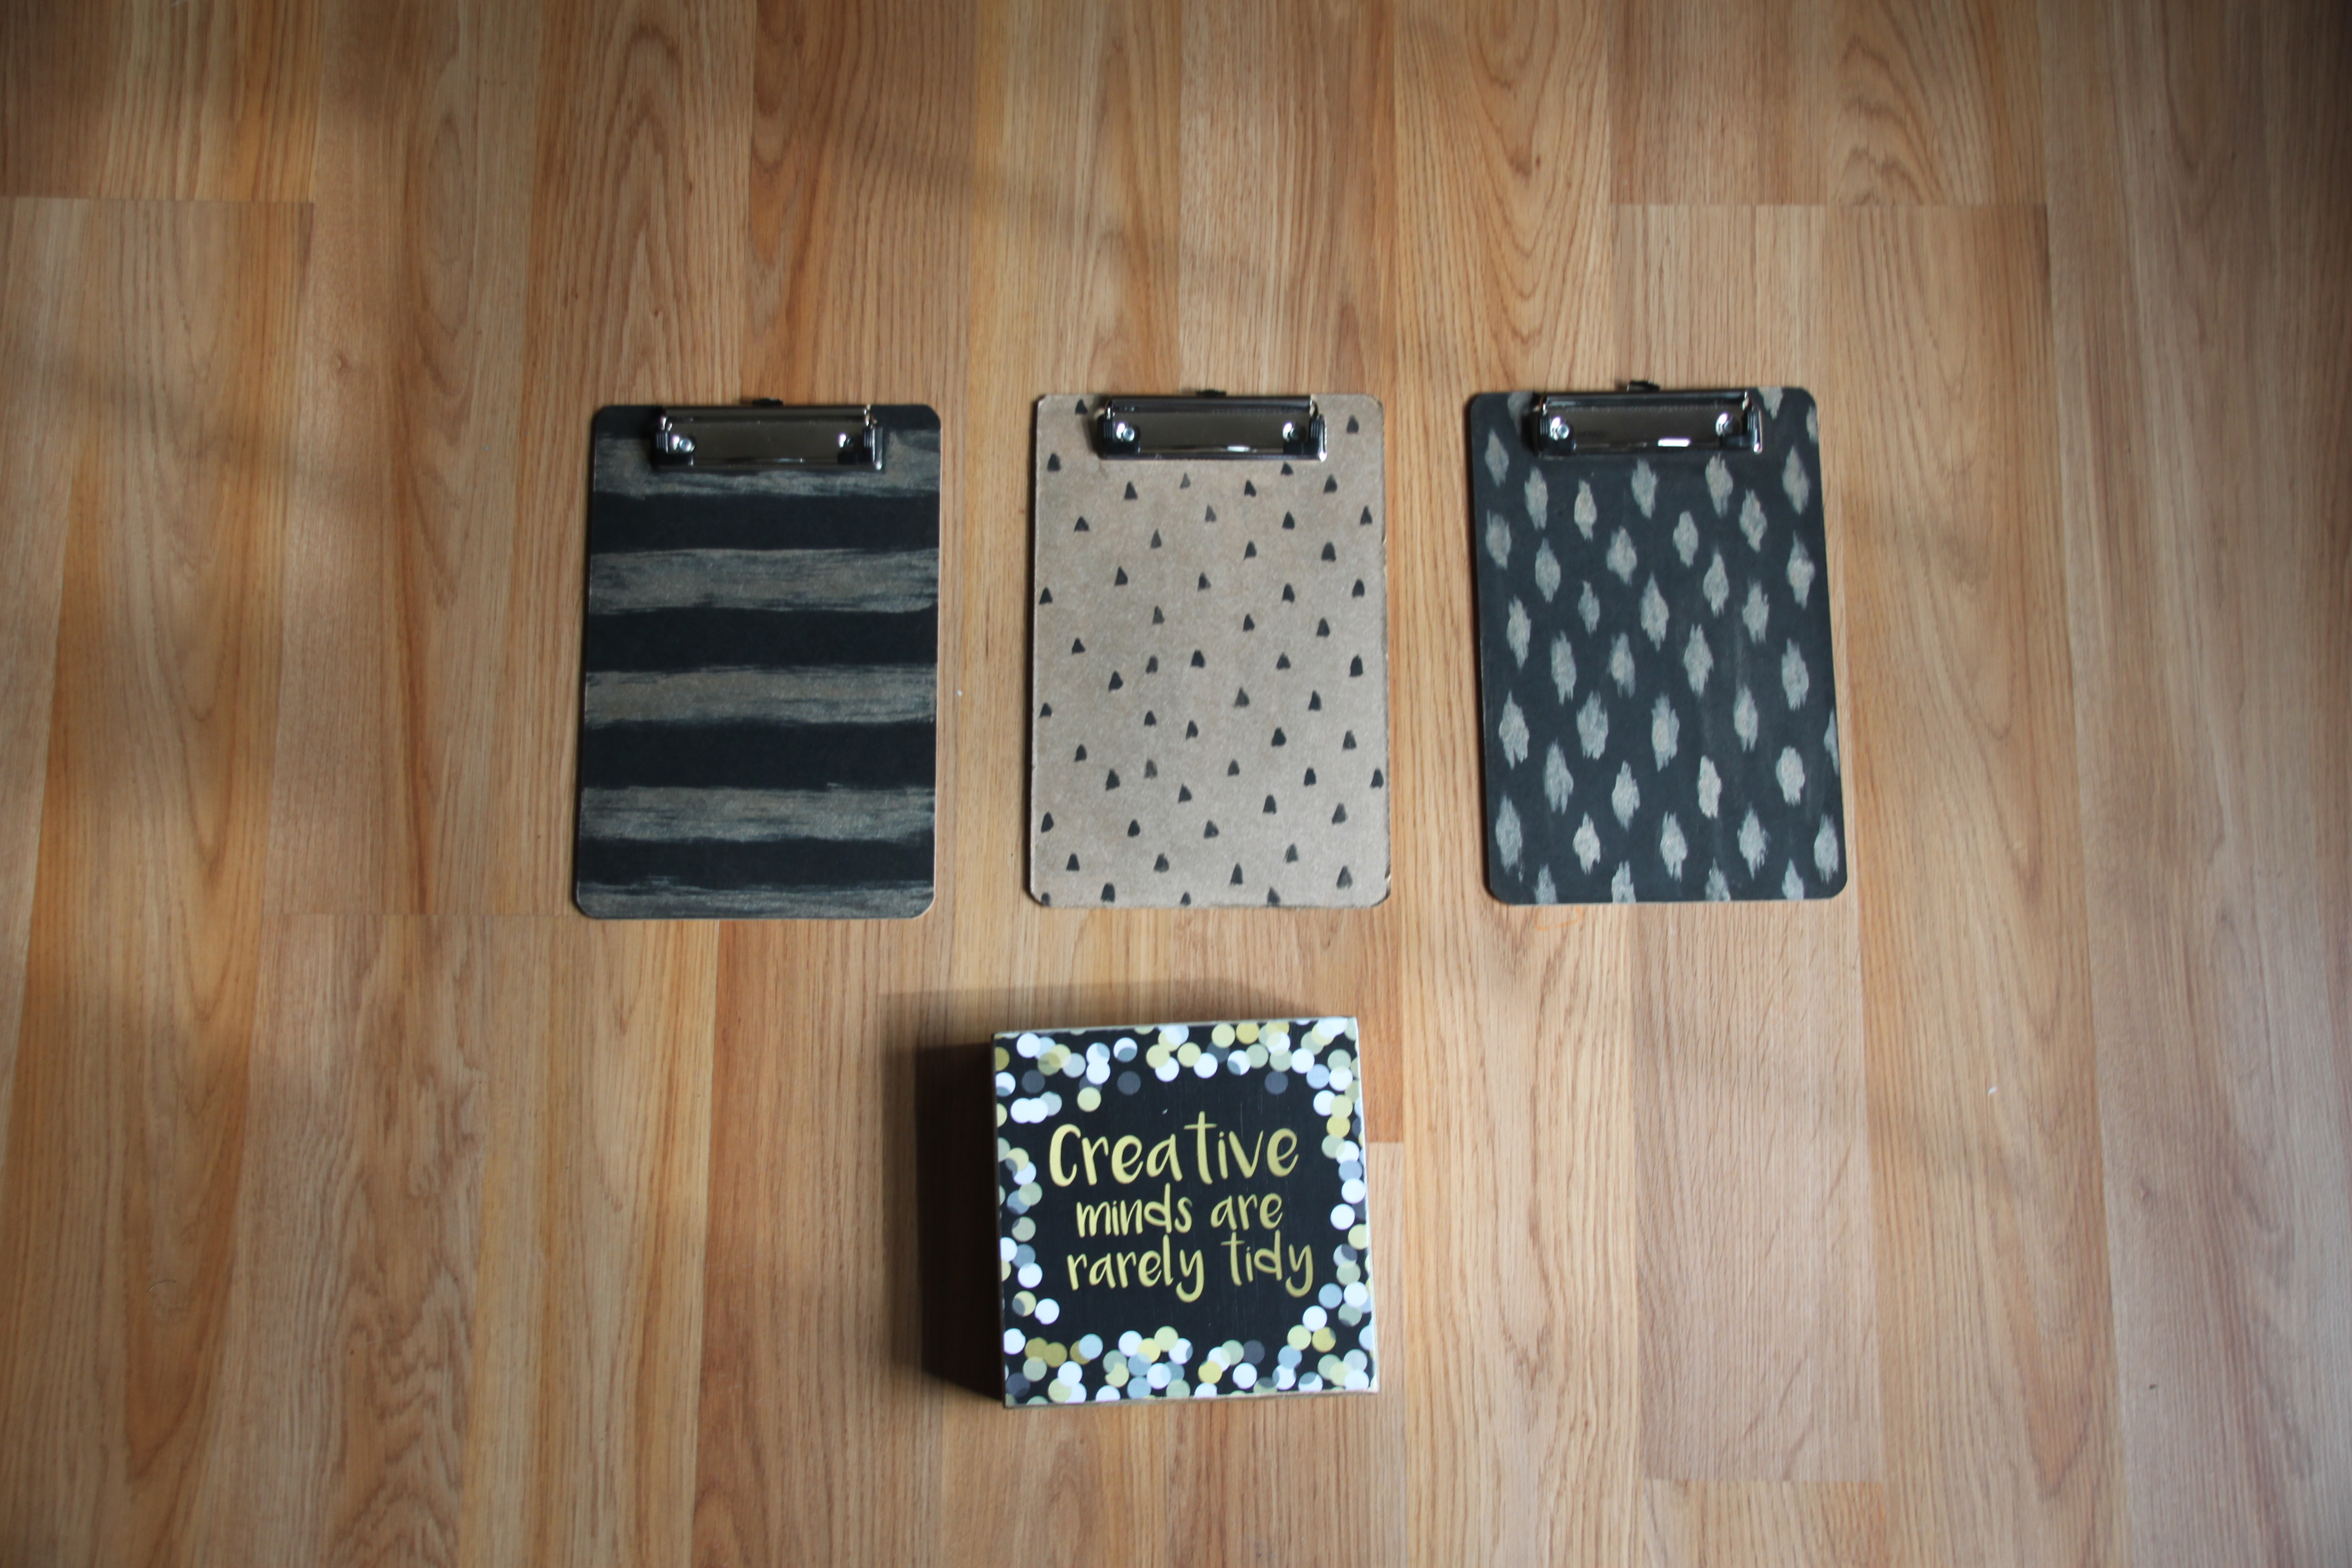
DIY Wall Art for less than $5
I am no perfectionist and like the more relaxed look. But you could definitely use some painters tape or a stencil for straighter lines. I plan to re-paint one line again because it is a little wonky the more I look at it….but that’s the joy of DIY!
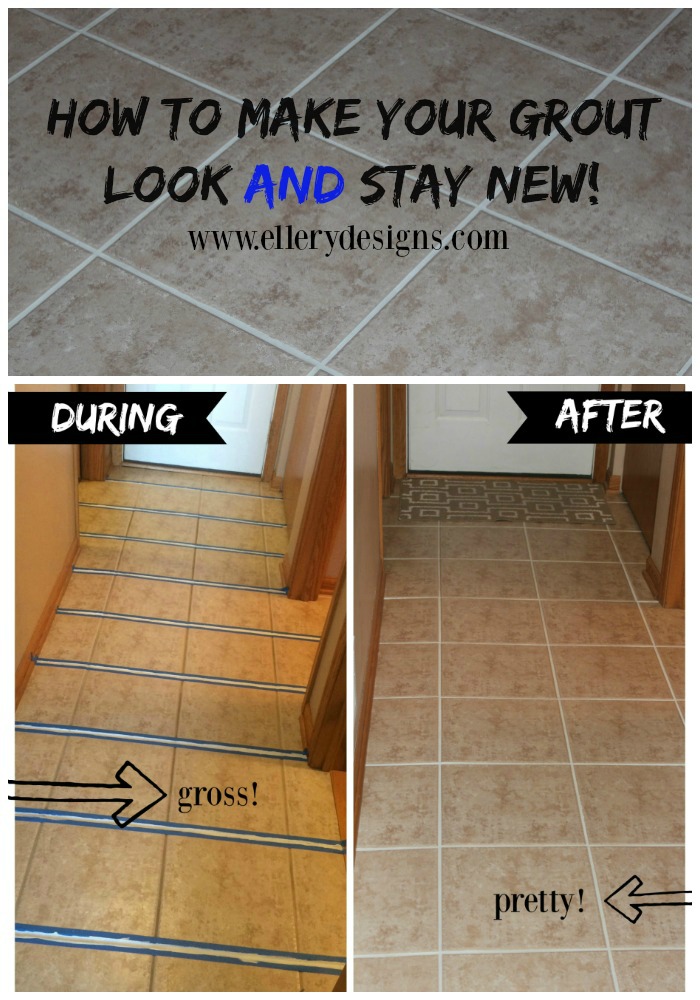
How to make your grout look and STAY new!
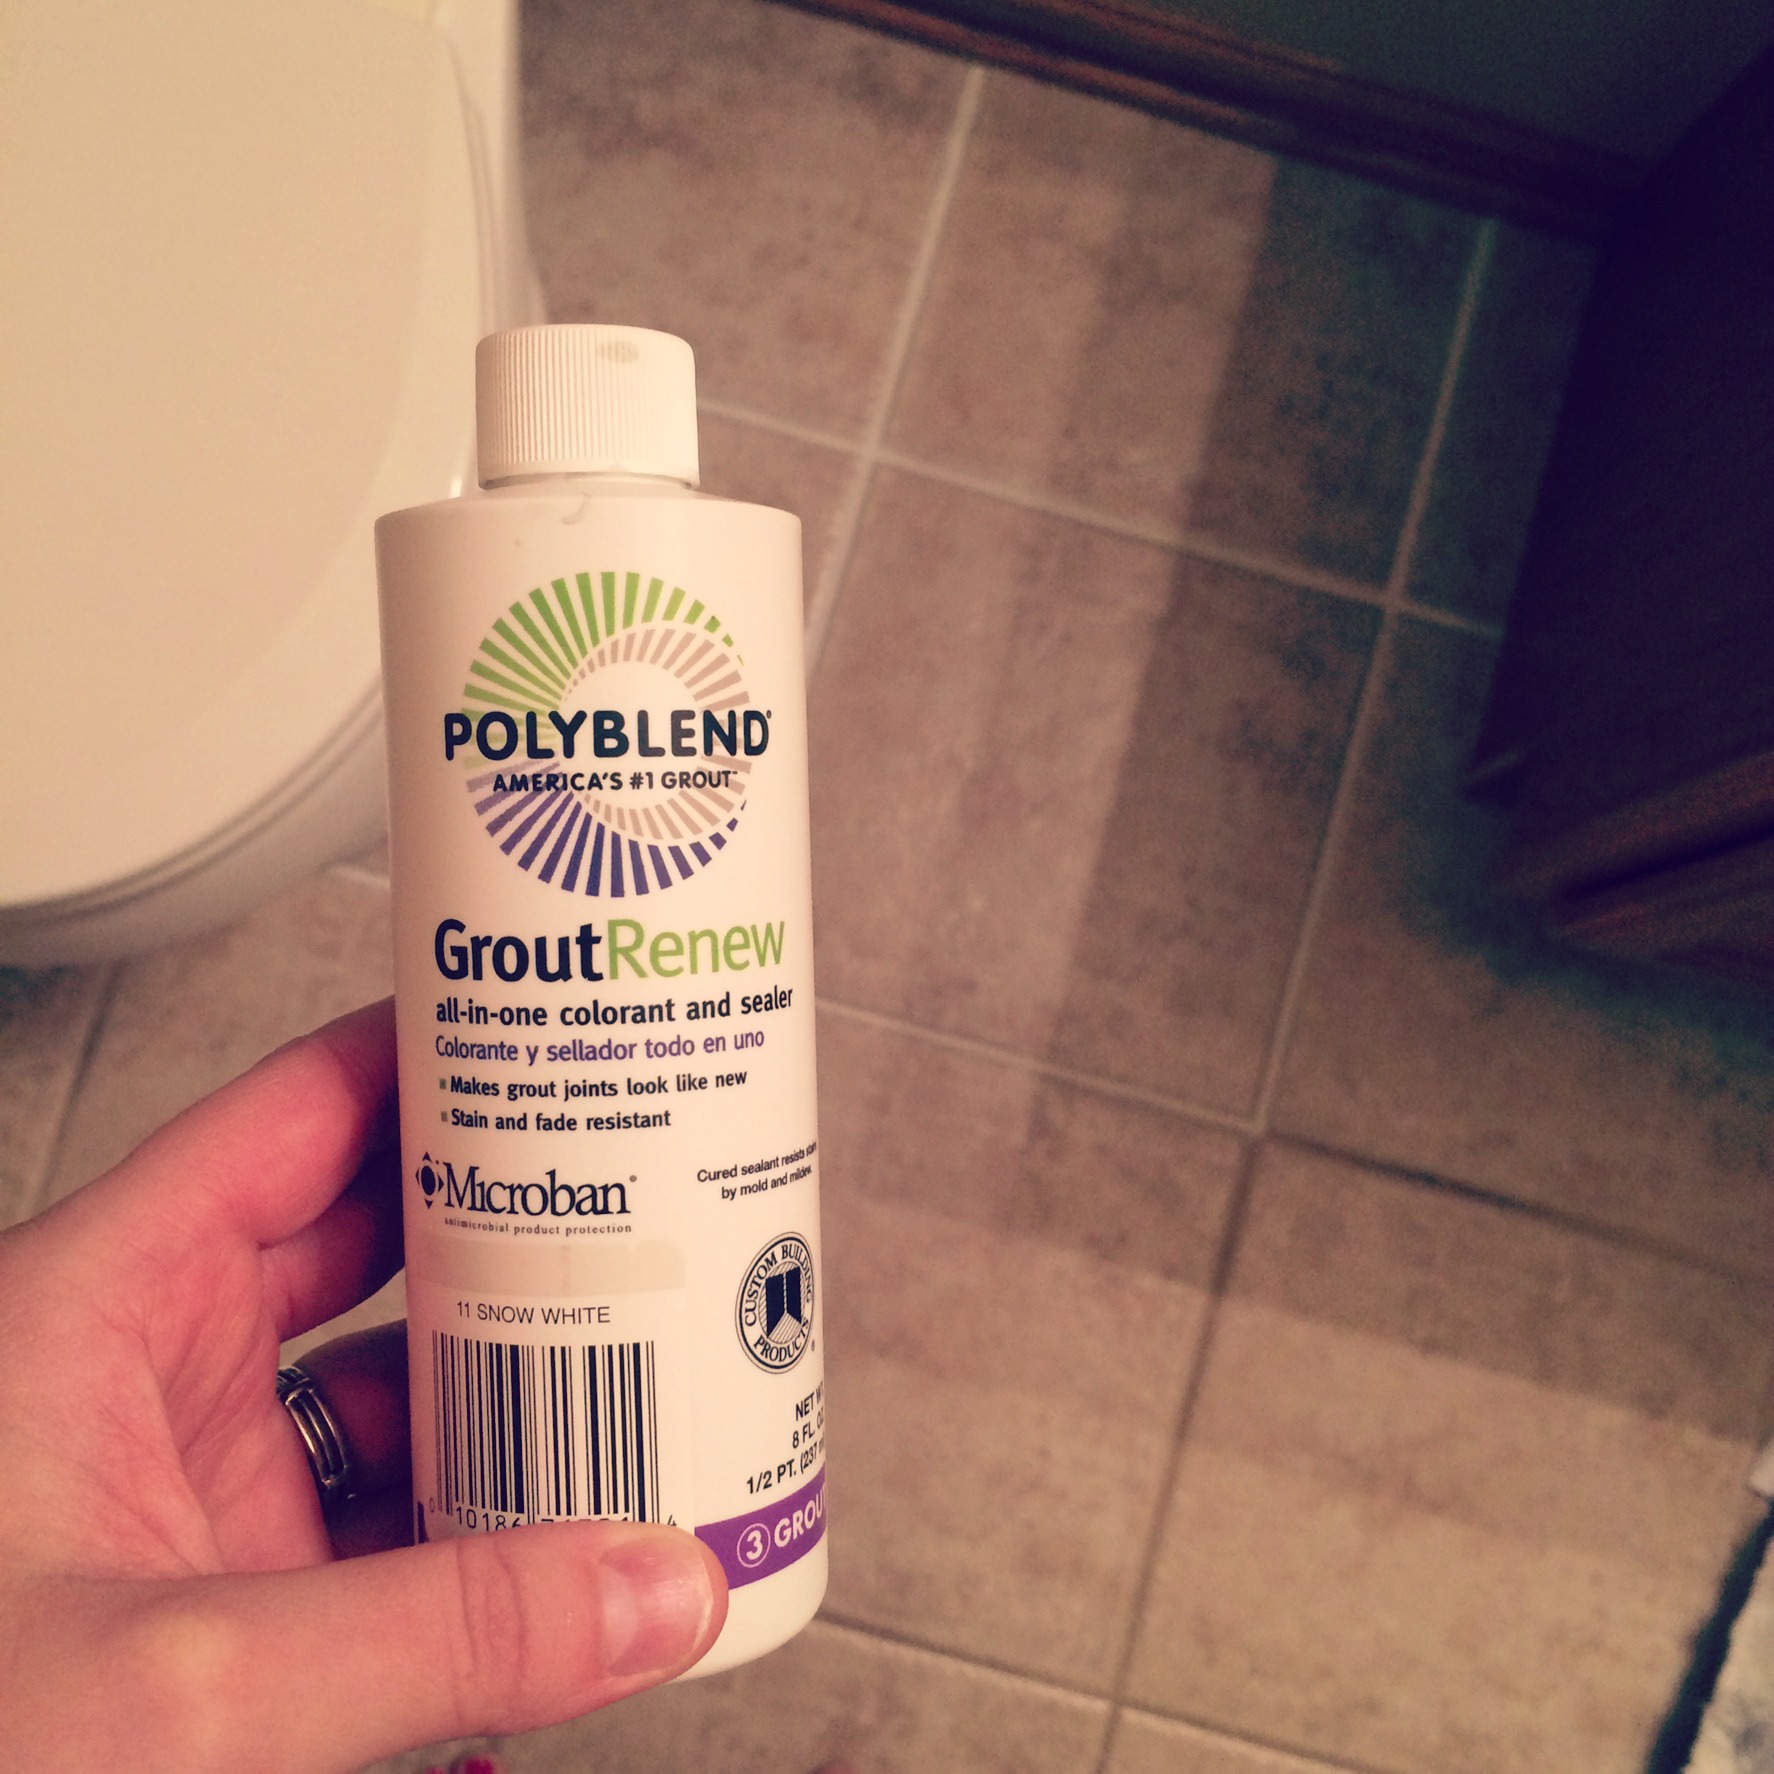
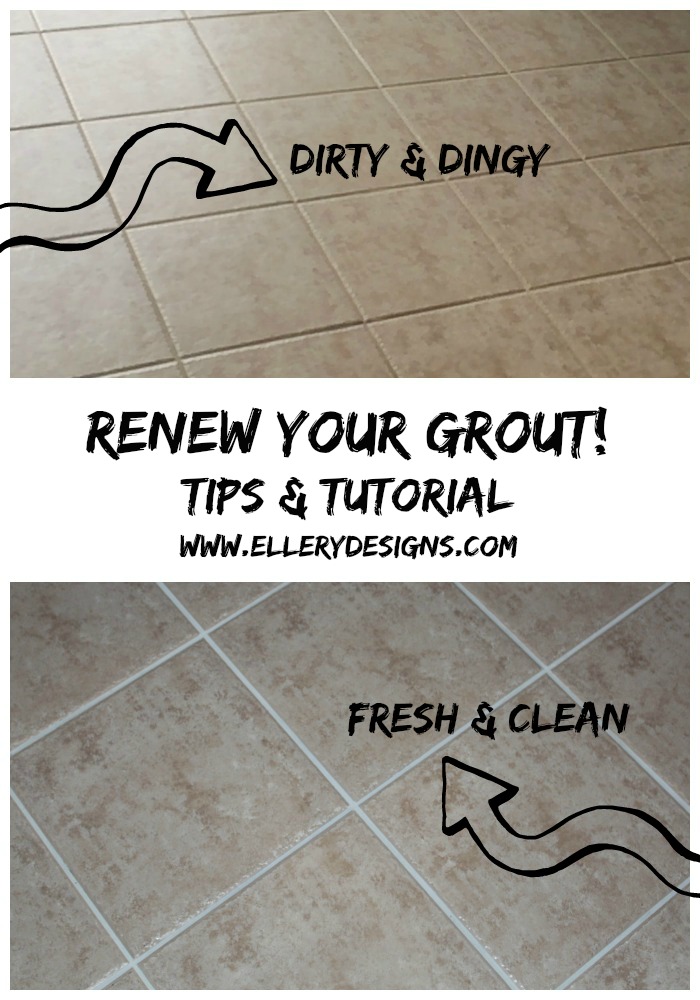
Raise of hands who has dirty looking grout? Come on, we all do! Go look around I bet you never thought it was “that bad” until you really looked at it. Well, guess what? I have a solution for you!Β I’ve tried everything from grout cleaners to using foam carpet cleaner to all of the suggestions I’m sure you’ve seen online and nothing seemed to keep my grout lines clean for long. I came across the product Grout Renew by Polyblend and the rest is history. Here is the exact product I purchased: Grout Renew (Snow White). Grout Renew by Polyblend is a colorant AND sealer so you can recolor your grout lines and it’s stain and fade resistant! BOOM!
There are many colors to choose from, I went with a traditional white b/c I like the clean lines and wanted a clean, fresh look. Our tile is pretty almond-like so wanted something that brightened up the space. I bought two bottles and still have some left! It goes a long way!
Now, here’s the deets. The bottle says to apply the paint using a toothbrush and to wipe away the left over on the tile as you go. I found this not to be possible, for me at least. As I would wipe away the access grout renew as I went, if I even moved a little it would wipe it off the grout lines and then I would have to start over or keep going back to fix which was sooo time consuming. After trying many things here is what I did and recommend for a clean finish:
- Β I used a paintbrush. Just a tiny little paintbrush I had laying around from my daughter’s paint book. Seriously. Nothing fancy. I used one that had a neutral bristles, as I used one that was black but it was shedding and obviously that wasn’t a good mix with my new white grout.Β Towards the end I did get a bit bigger brush which worked way faster but it did waste more of the grout renew.
- Β Disclaimer: I did not pre-clean my grout very well. I would probably advise to do what it tells you on the back of the bottle but I’m just letting you know I didn’t do much besides mop and vacuum before I started and it’s holding up great.
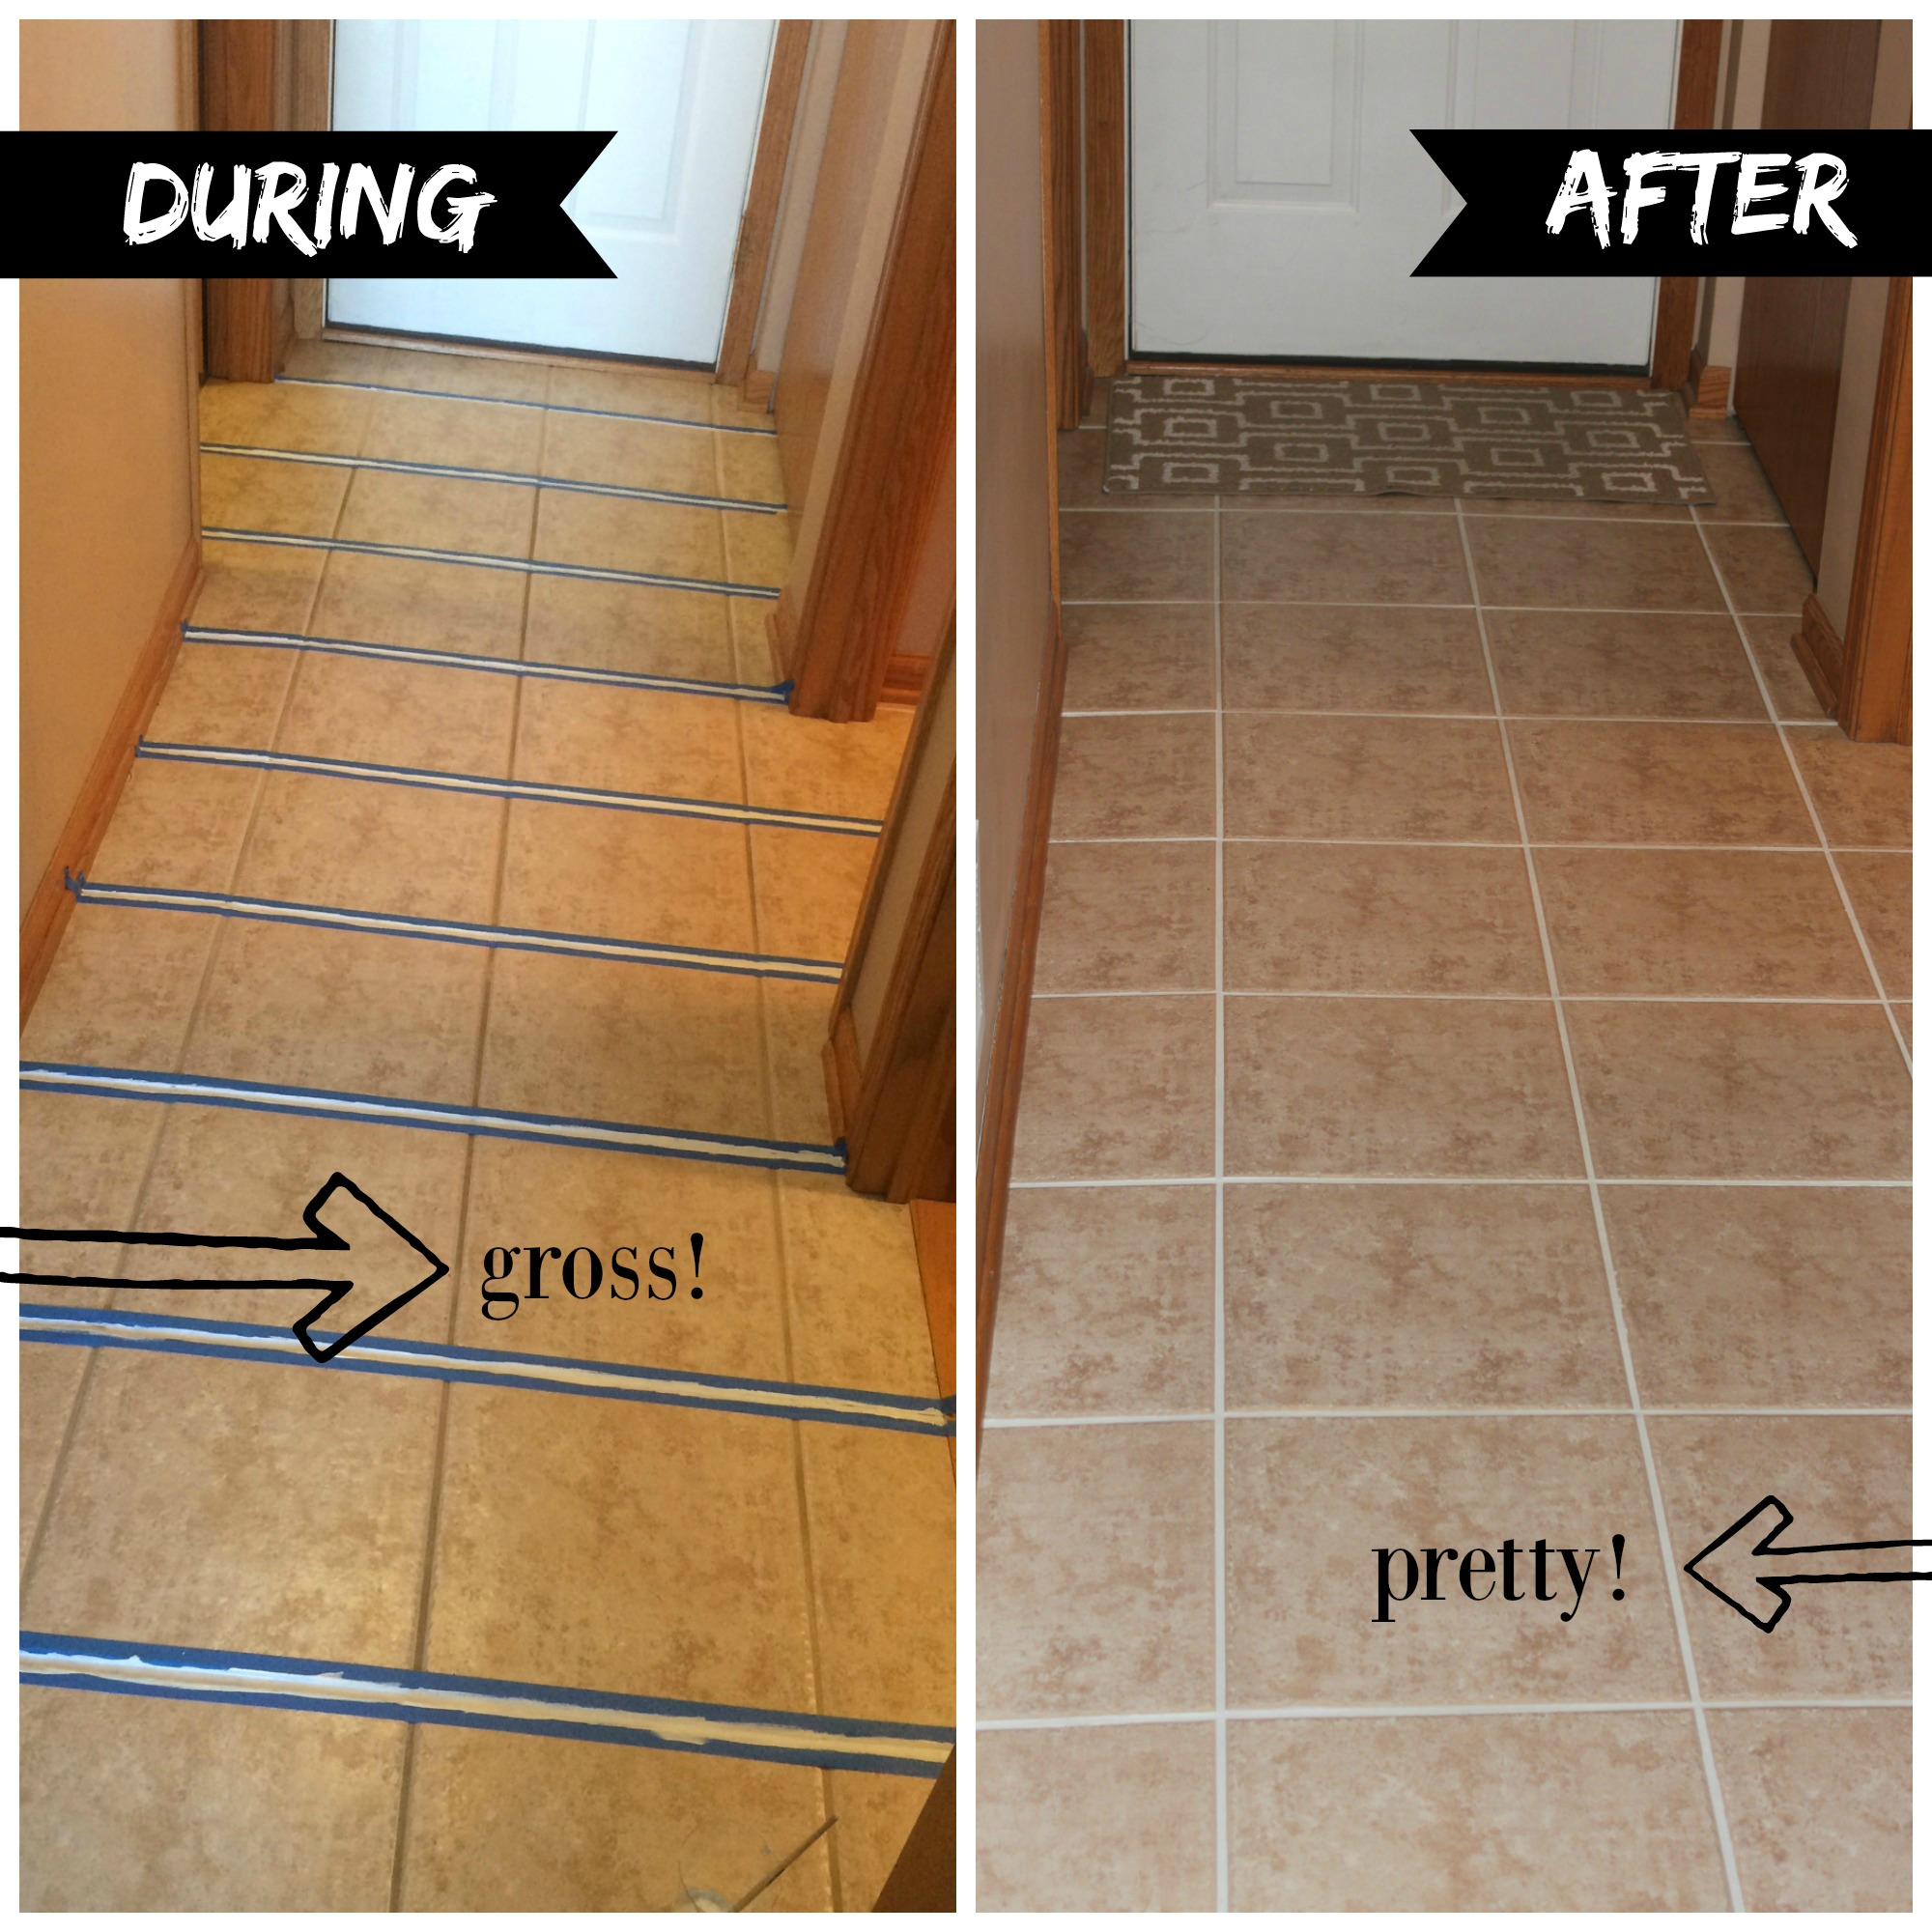
- Β I used painter’s tape to tape all of my grout lines. I know this seems super tedious but it is what worked best for me. You can wipe away the excess paint as you go along, like the directions on the bottle says but it just didn’t work that well for me. I’m a perfectionist and that may have been most of my problem. Taping is like anything else, once you figure it out on how to do it quickly and most efficiently, it goes by super fast. It took me several times to get the hang of it and just be sure not to tape any part of our grout lines or you’ll have to go back and touch up a lot). I taped all of my lines in one direction, painted the lines, then removed the tape after about 20 minutes and then started taping going in the other direction about a half hour later.
- Β This stuff dries FAST. Don’t worry if you have some grout renew on the tile, I just used the other end of my paintbrush to chip away the areas that left excess grout renew and voila!
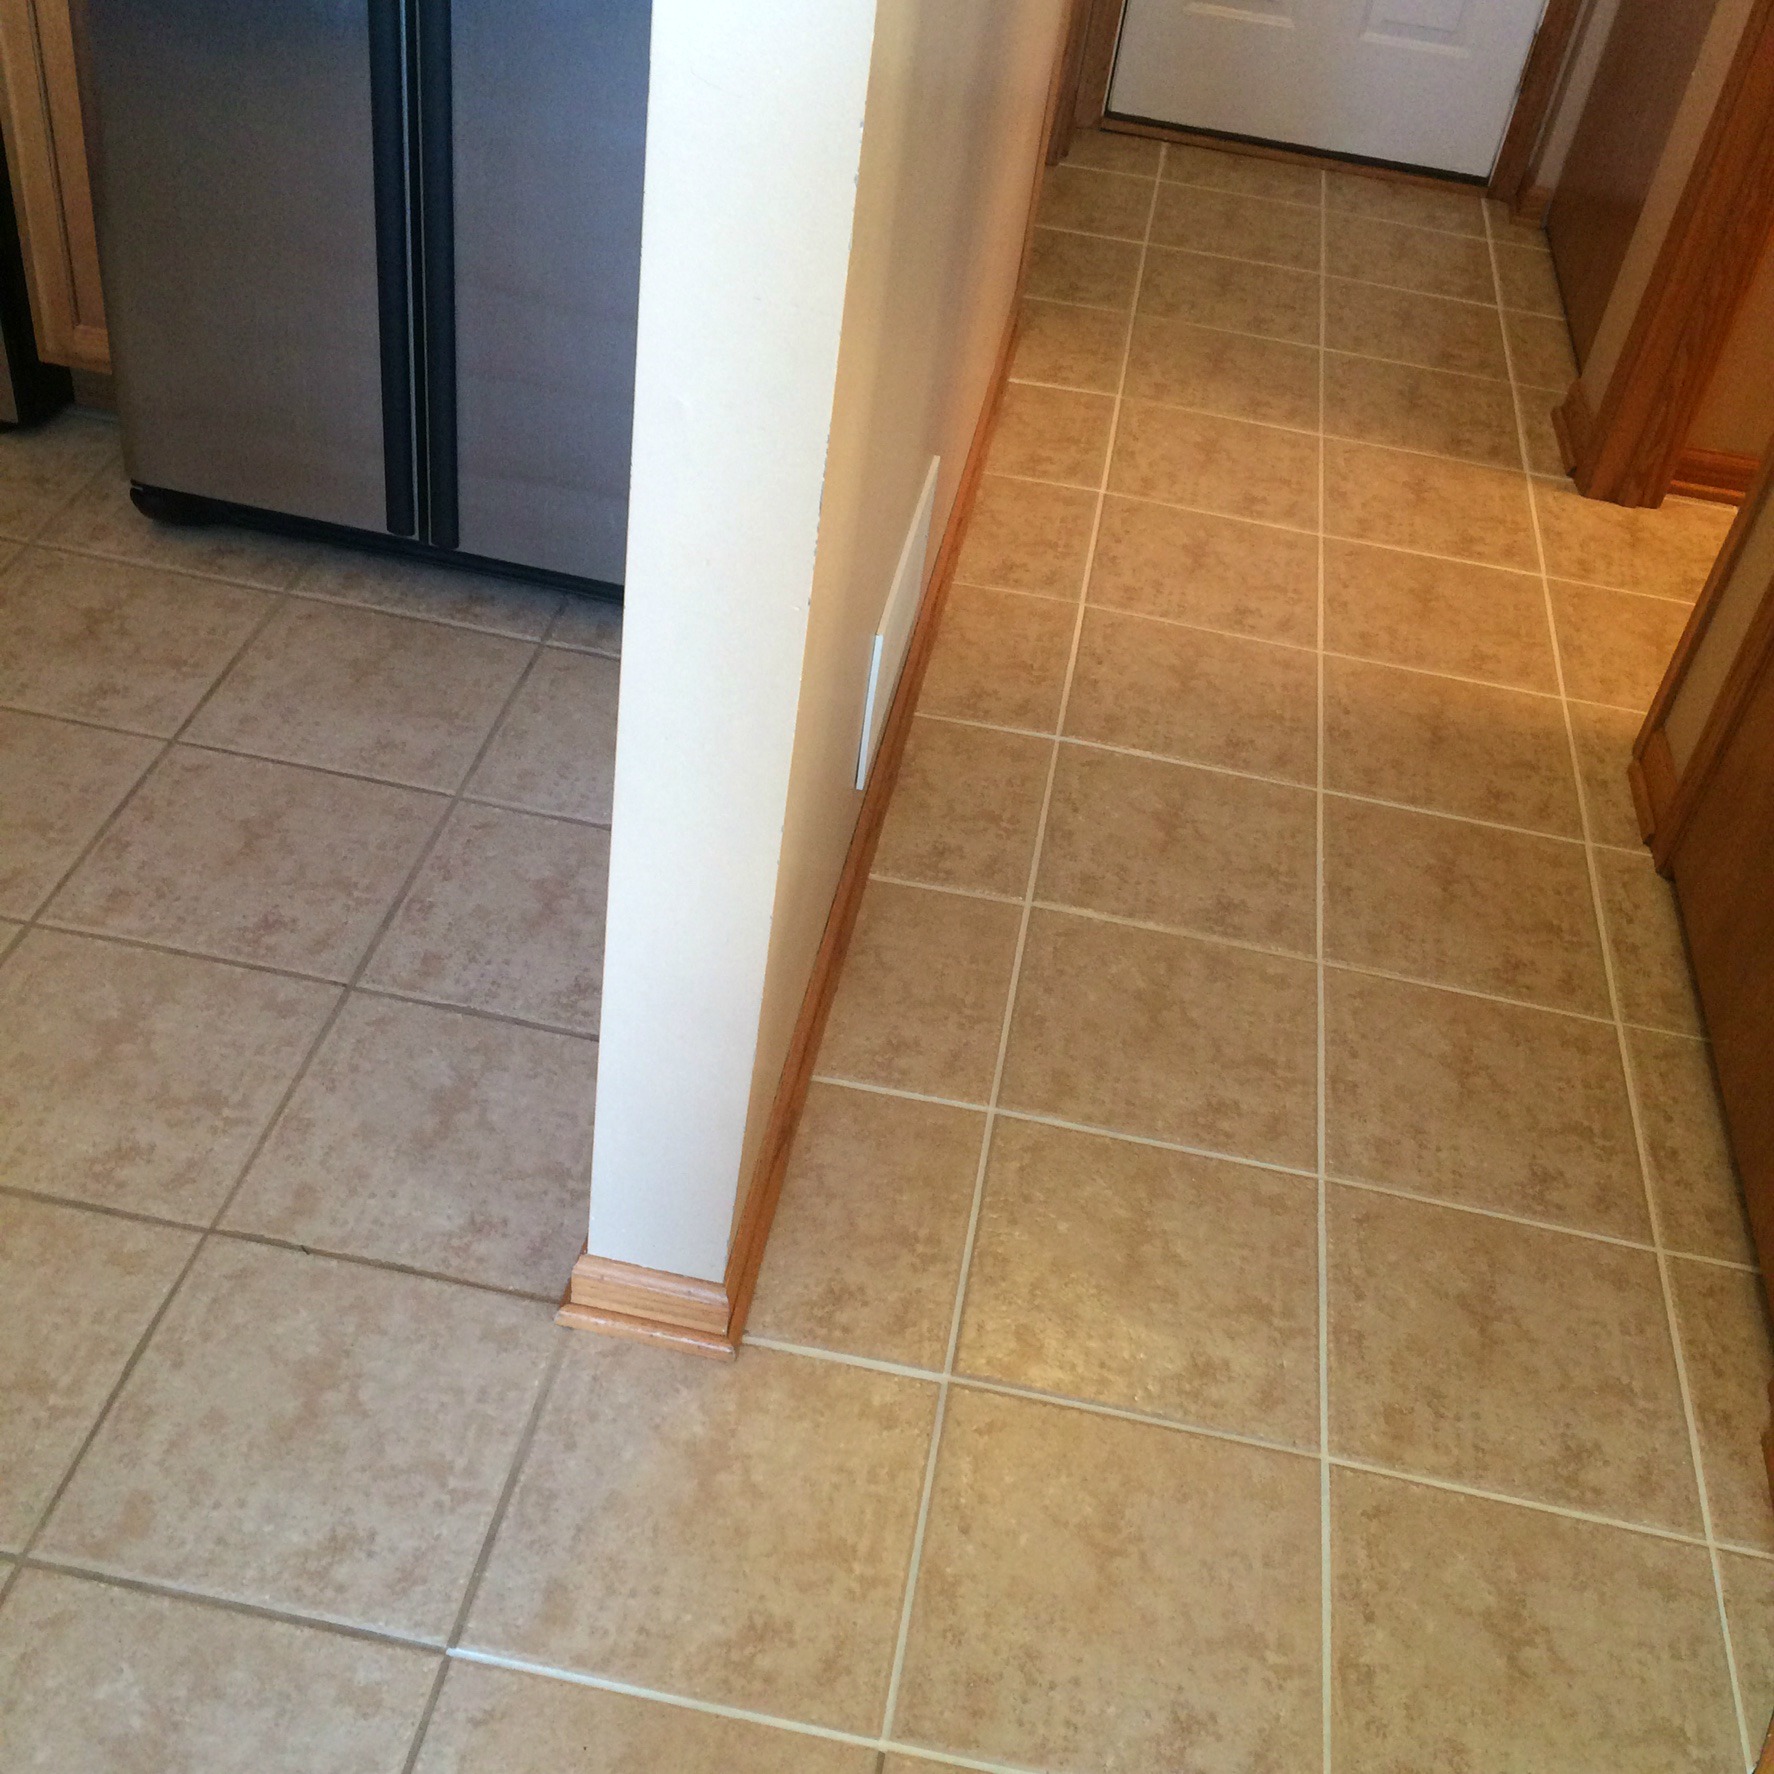
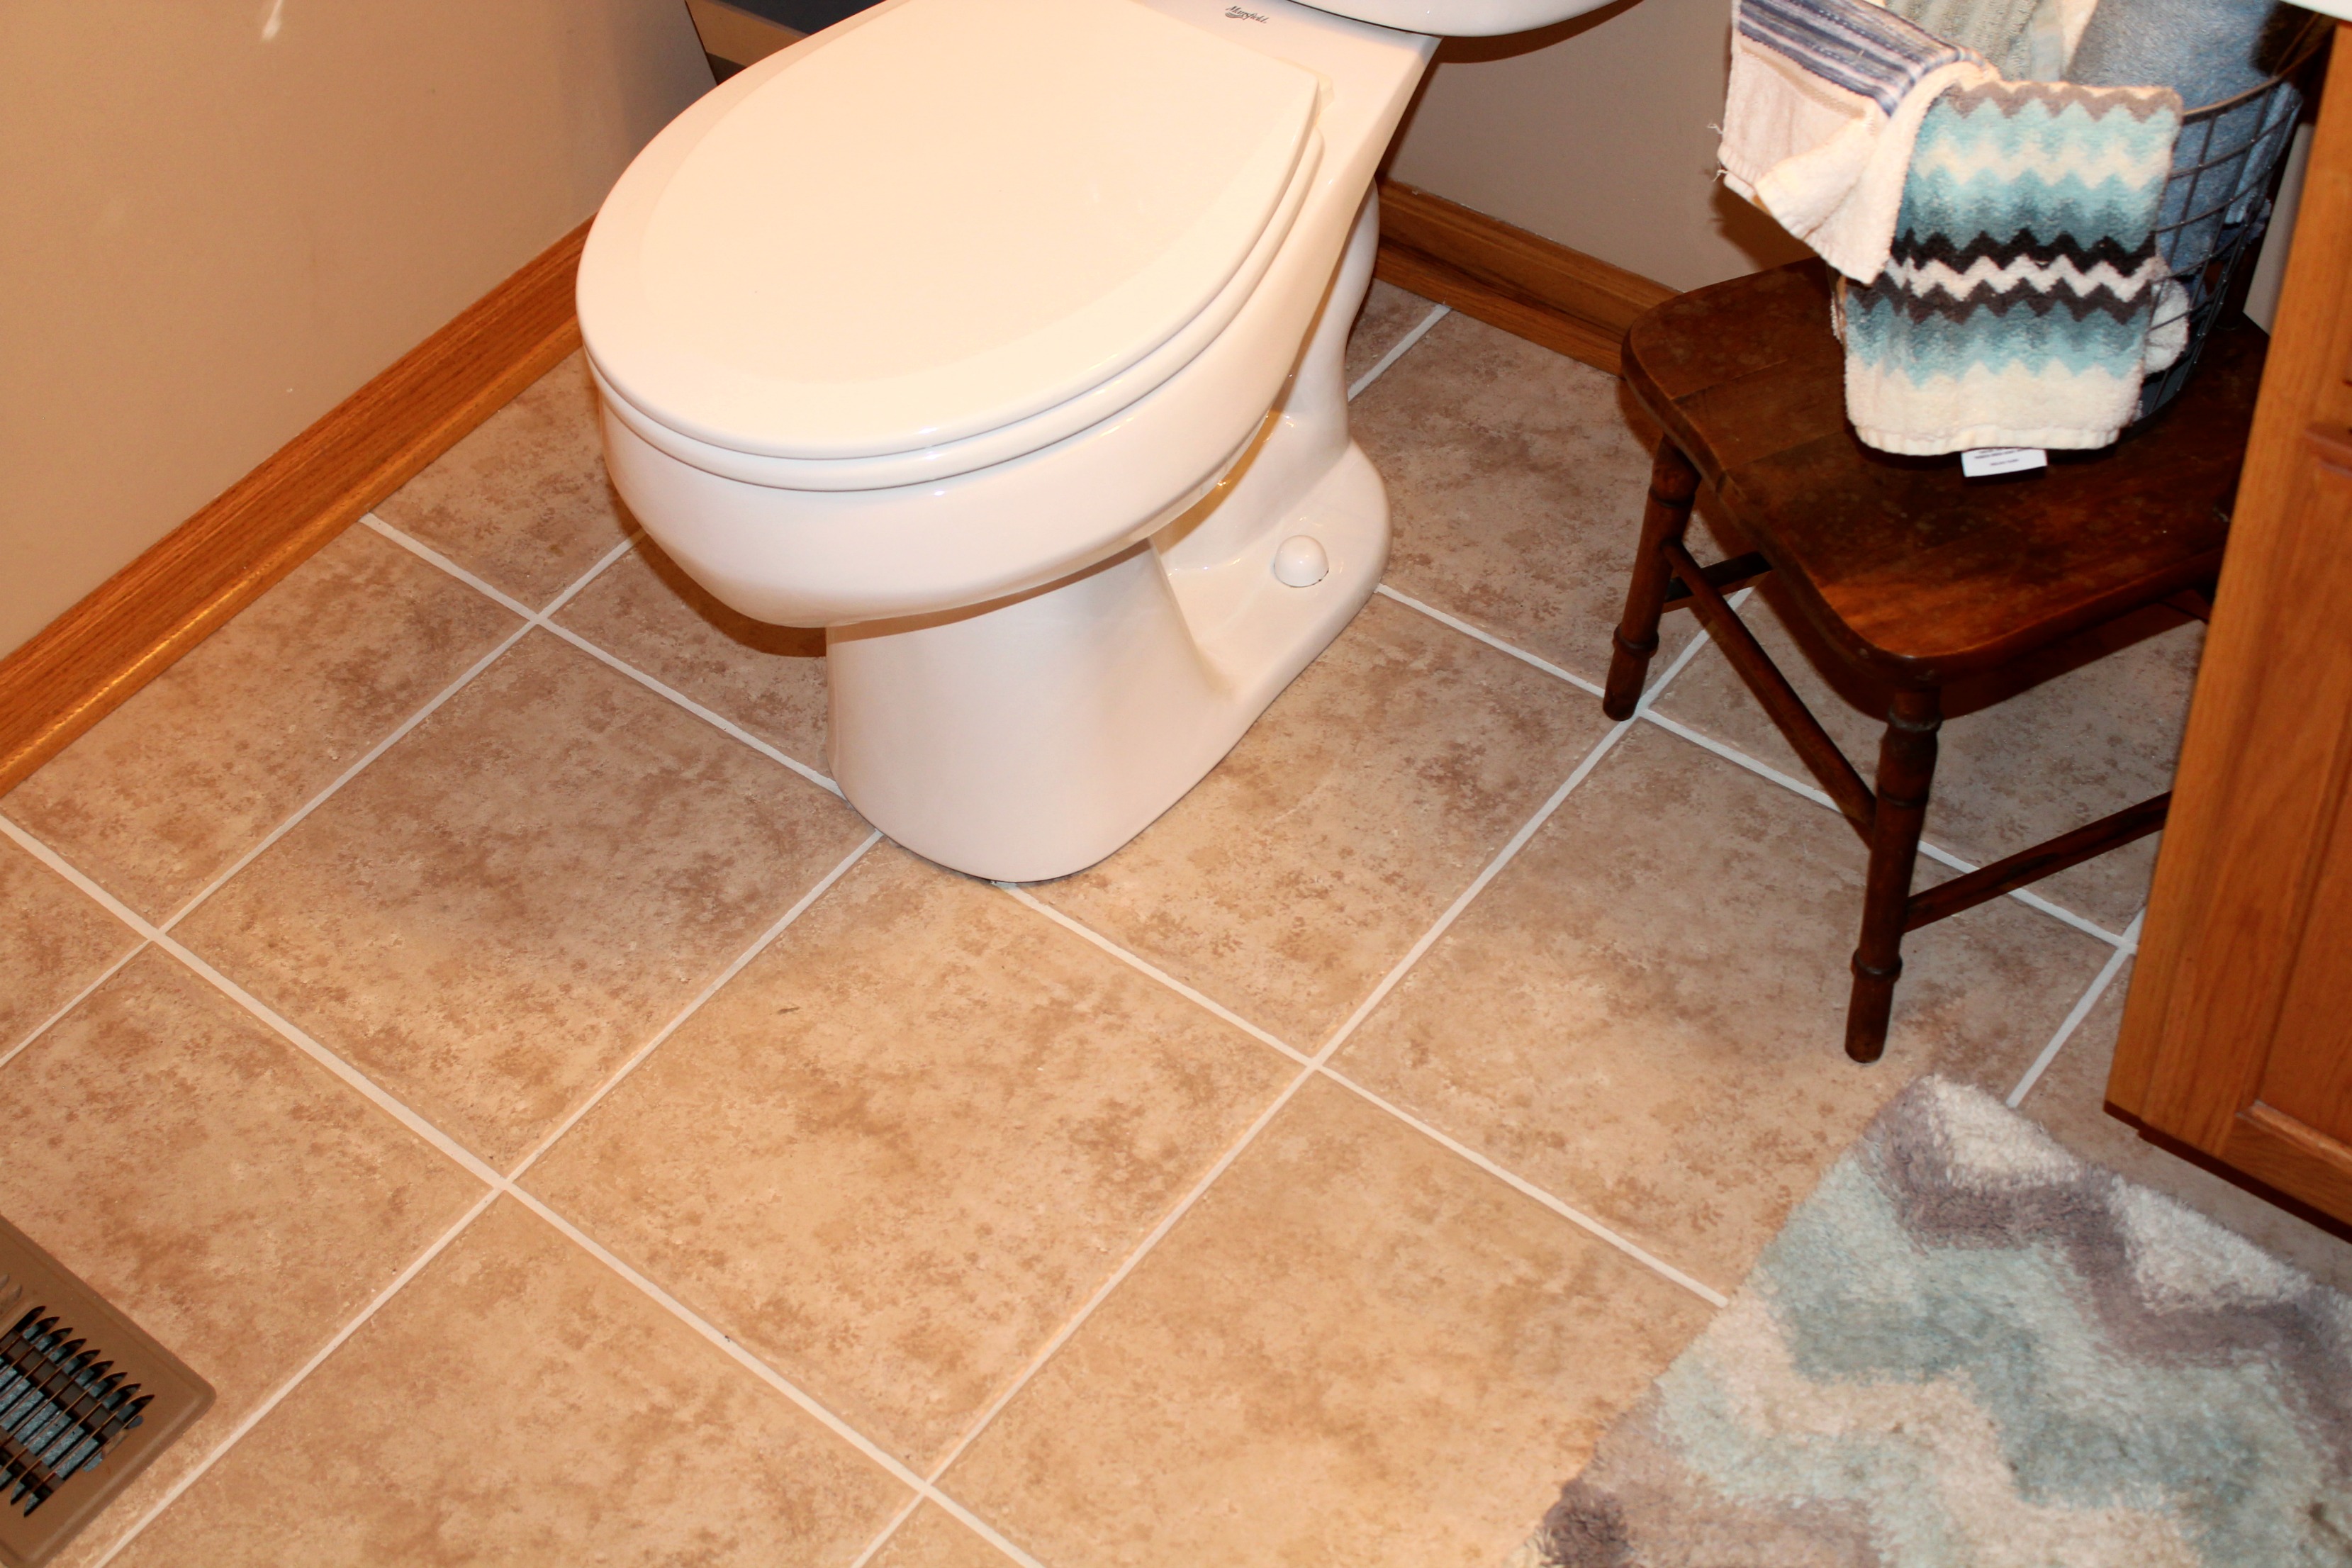
Here are some before and after photos that really show what a difference this product made! The best part is, if I spill something on the grout it easily wipes up! YAY!!
We did the whole first floor. I still need to tackle the closets and pantry but I figure no one really sees that except me, so I can give myself a little break. My hard work paid off and I’m so happy with the outcome! It’s a long process but well worth it, don’t you think?! My dear friend came over and helped me finish the dining room and it is amazing how quickly it goes with a little help! Grout painting party anyone?!
It’s a game changer!! My husband wasn’t sure how the white would look but now agrees it looks great and seriously makes our tile look brand new! While this post does contain affiliate links, I was not given this product for review. I just love it so much and highly recommend. Happy grout painting!
DIY Copper Planter
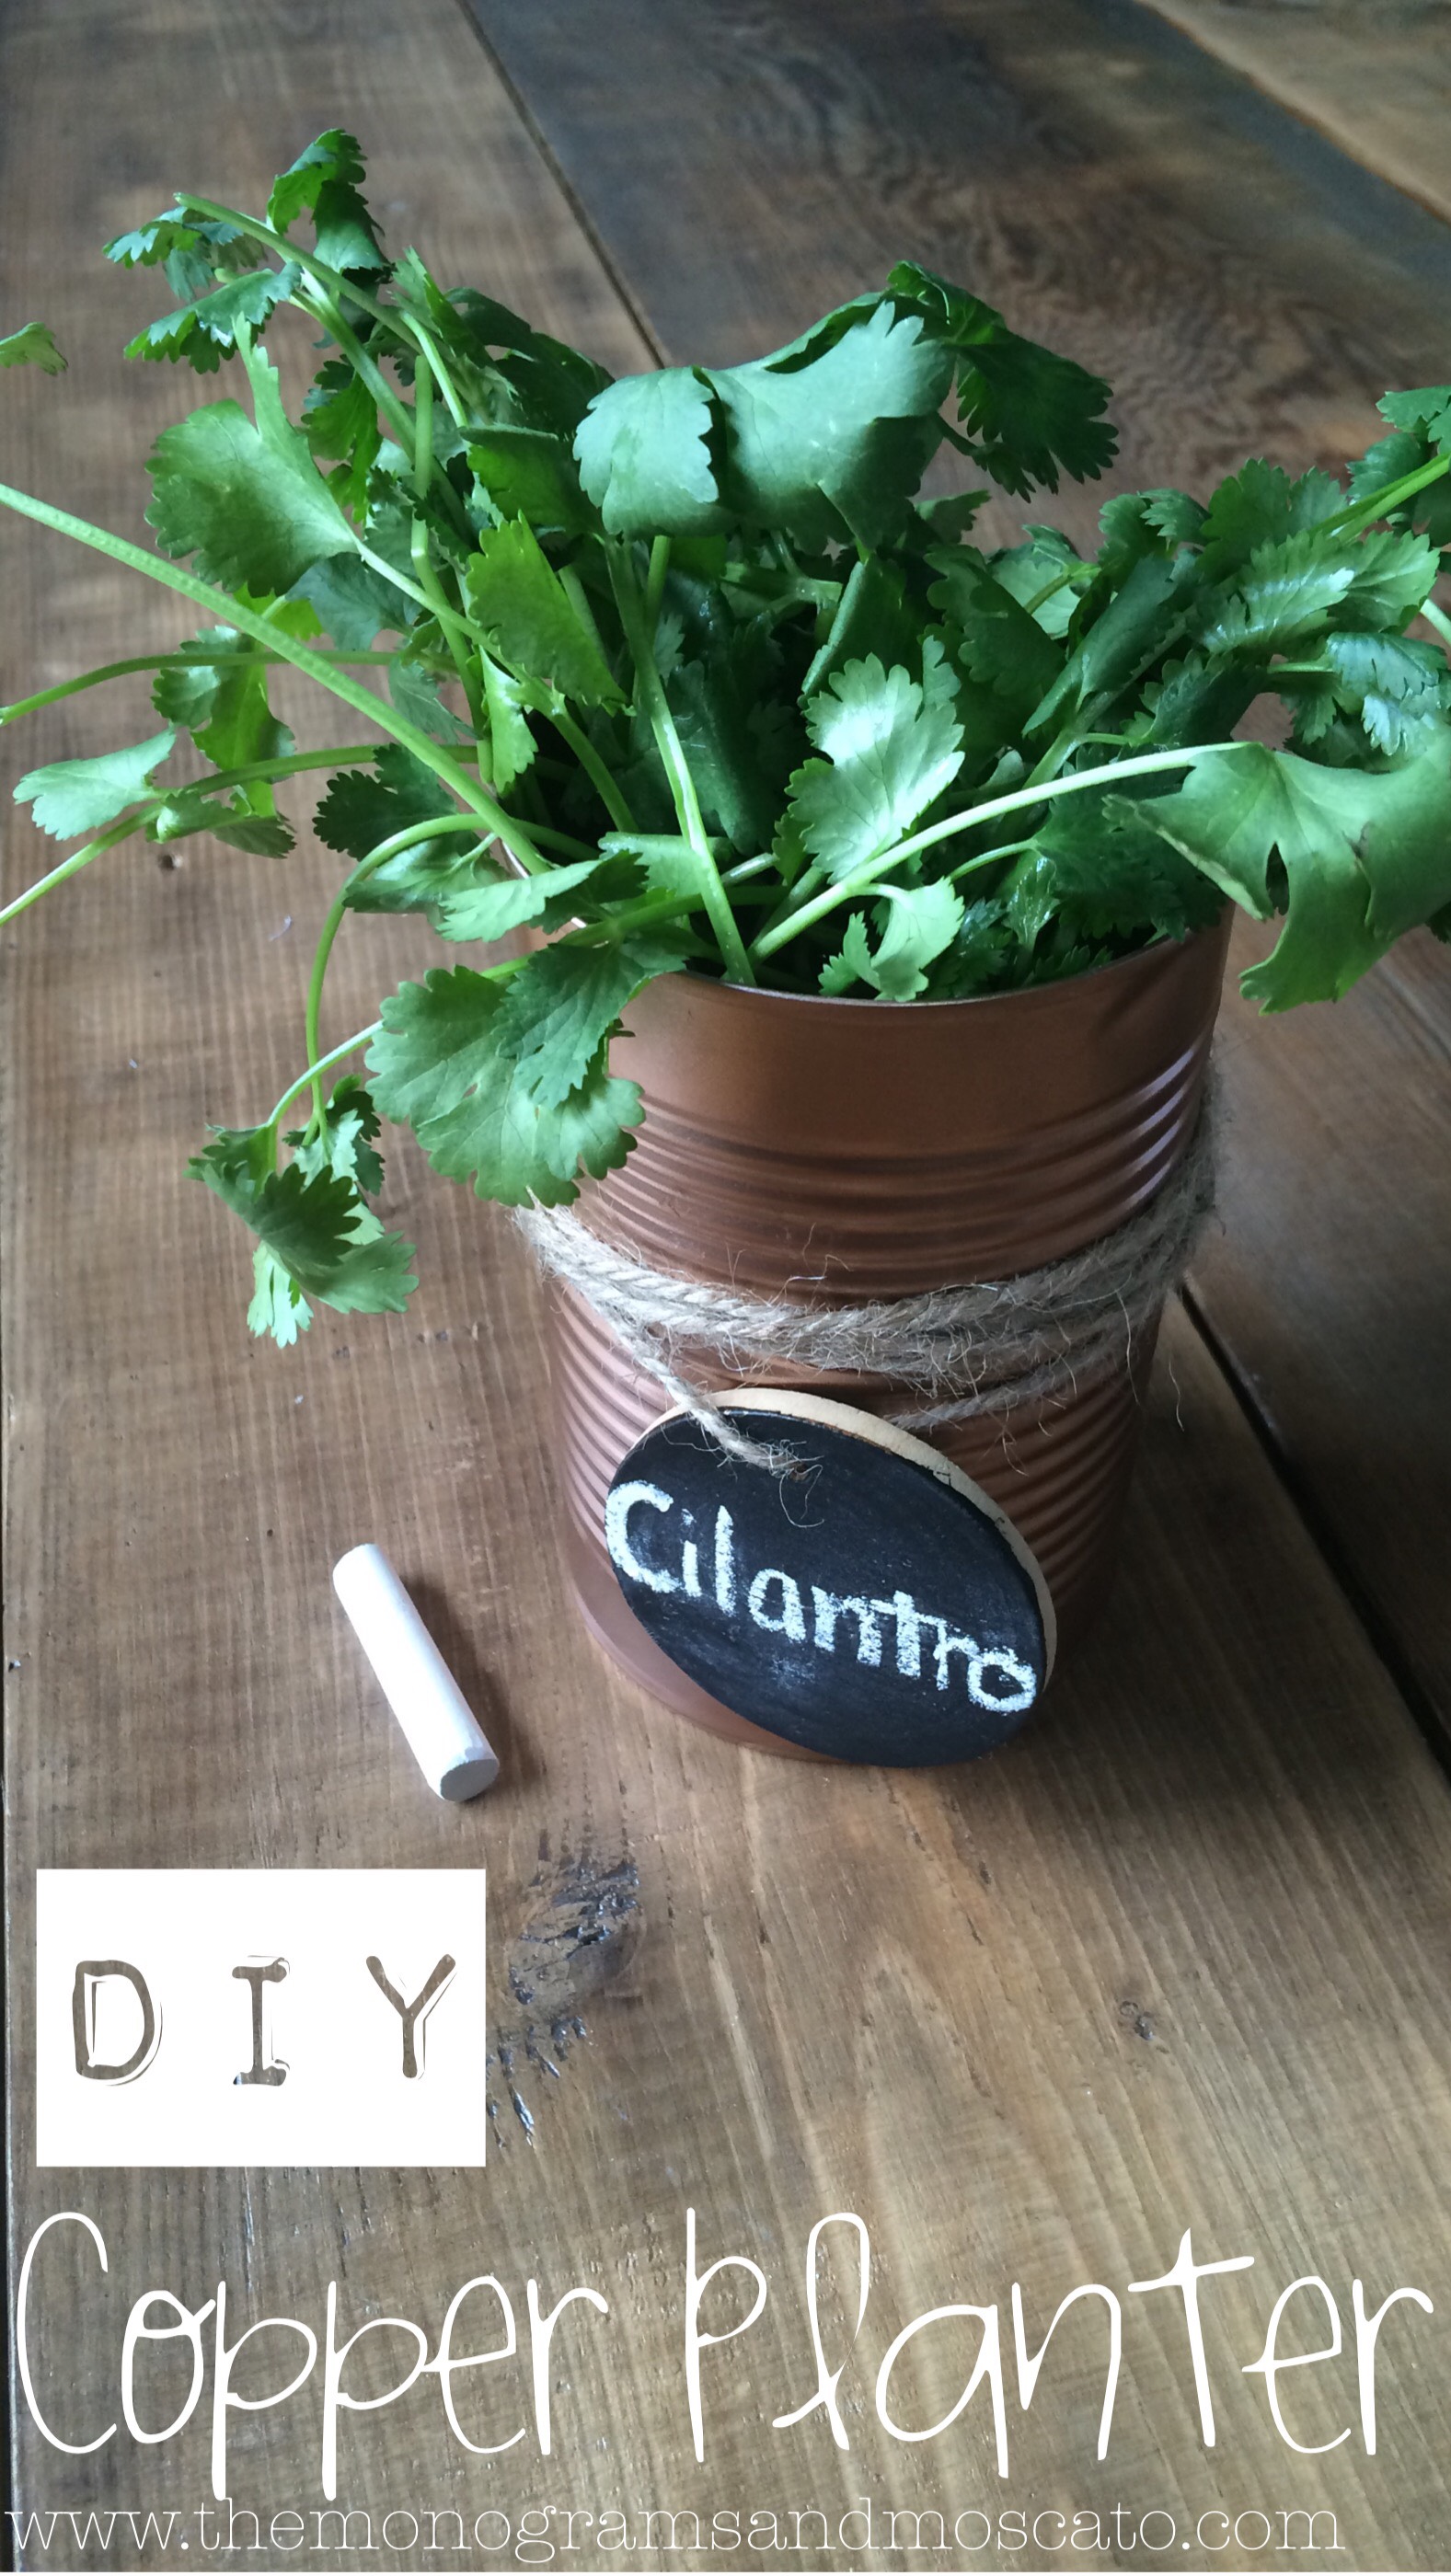
Hello Ellery Designs readers! It’s me again, Laura, from the blog Monograms and Moscato. It’s officially spring and Iowa has been slacking on the sunshine and warm temperatures but I’m determined to get ready for spring anyways! Do any of you have a green thumb? I do not BUT I’m determined to try! I’m starting out small… I would love to have a garden some day but I’m worried nothing would survive. Today I’m sharing with you a fun little DIY so if you’re like me you can take baby steps to get something to grow! Also, I have a slight obsession with copper right now, which is why I chose the copper spray paint but you could use any color of spray paint! Disclaimer: I did not grow this cilantro plant from a seed π ….but a picture of dirt would not have been as pretty. π #realtalk

Supplies:
- Tin can(s) (I used one from leftover pasta sauce!)
- if you want to make more then one planter you’ll need more then one can!
- Copper spray paint (My favorite brands are Krylon or Valspar)
- Twine (or string, or yarn!)
- Tag/Label (wooden, or paper – I used wooden.)
- Chalk paint (optional)
- Chalk (optional)
- Soil
- Seeds (cilantro, oregano, basil)

To get started you’ll want to spray paint your can(s). I spray painted my can with 3 layers.

While your spray paint is drying, make a tag so you know which plant is which! If you’re going to use tags of some sort, like I did….paint it with chalk paint or you could use regular paint too and write on it with paint pens! I had chalk paint in the closet so that’s what I used.

Next, tie on your twine, write on your chalk and ta-da….easy peasy! Now, I cheated because I didn’t have soil or seeds but I am planning to make more so I can actually plant some spices! ππ½ You could fill your can with dirt and seeds and wait for those babies to grow!!

I would love to see yours if you try it! Find me on Facebook, Instragram, or Twitter and use the hashtag #monogramsandmoscato to share and see what else I’m up to! Happy planting!!
xo,
Laura
Five Entertaining Ideas for Easter
Hi, Michele here with Sweet Threads. Whether hosting a meal for 20 or a small intimate gathering, nothing says welcome like a few simple gestures to make your guests feel right at home. This Easter give your guests a warm welcome with these five simple inspiring tips. Click on the photos below for more details!
- Have a cocktail on hand for their arrival ~ Get the party started with a themed cocktail {or mocktail} for the occasion. I just love this simple Easter cocktail made with fresh carrot juice.
Frank the Rabbit Cocktail by 10th Kitchen
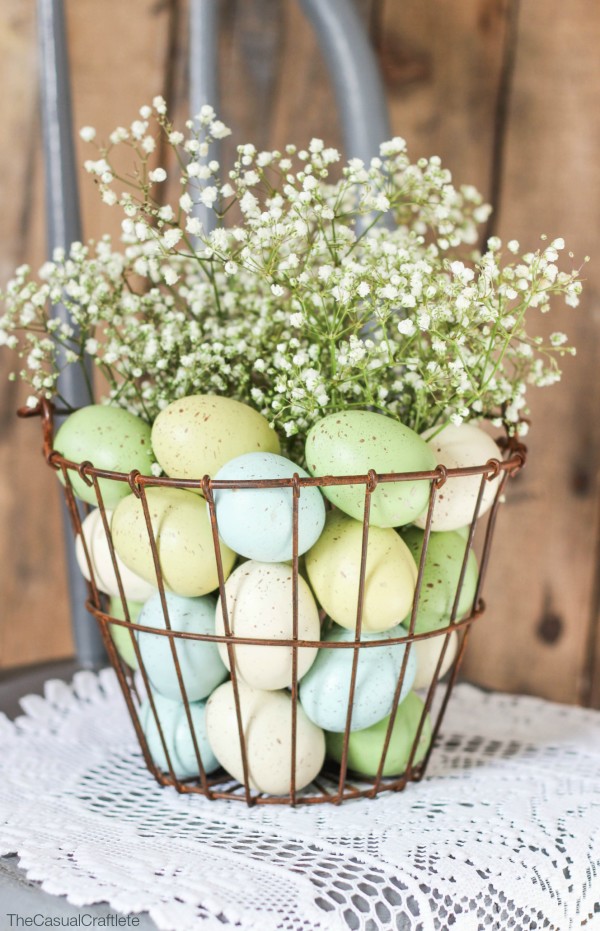
- A simple and charming centerpiece for your table that will get your guests talking ~ Skip the traditional bouquet of flowers in a vase and add a bit of charm to your tablescape. I love the simplicity of this wire basket filled with eggs and some baby’s breath.
Easter Floral Arrangment by The Casual Craftlete
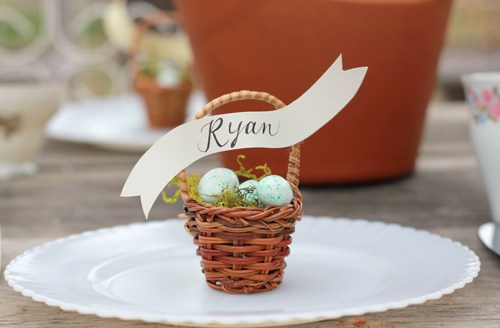
- Guide them to their seats ~ Nothing dulls the sparkle out of a party than figuring out where to sit. Help your guests out by doing seating arrangements ahead of time. How cute is this mini basket place setting with chocolate candies.
Mini Basket Place Setting by The House That Lars Built
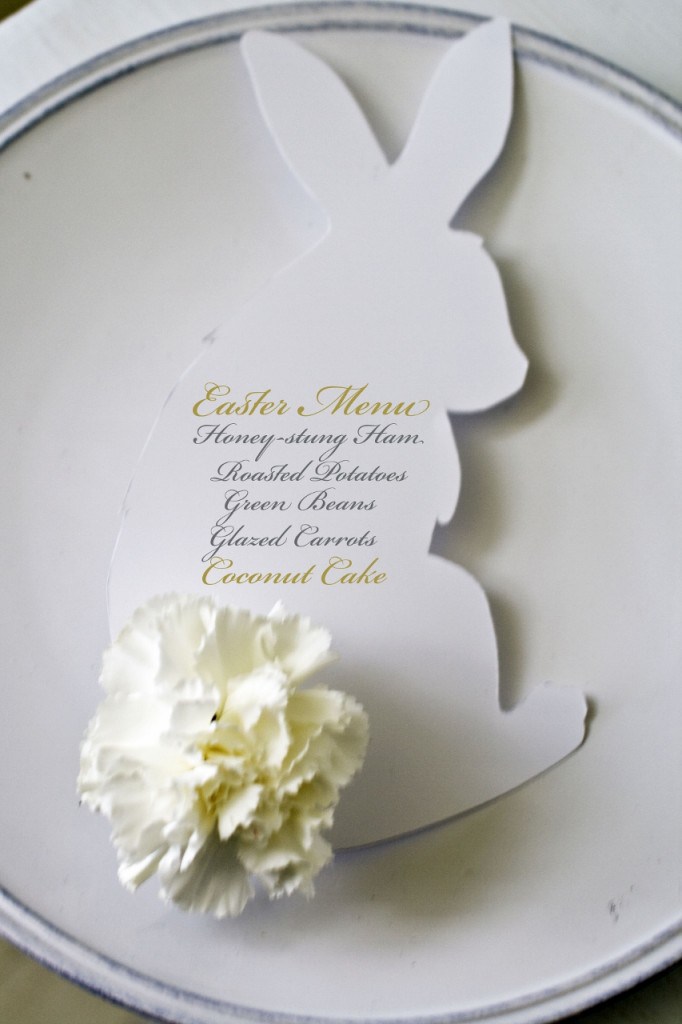
- Take the guess out of what’s for dinner ~ Create menu cards for the table treating your guests to a sneak peek of what’s to come. Place one at each setting or frame a few for the table.
Place Setting from Matthew Mead at Miss Mustard Seed
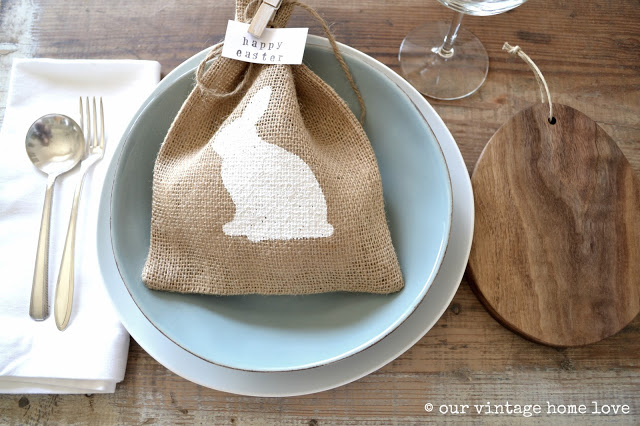
- Send them home with a treat ~ Don’t let them leave the gathering empty handed! Send them home with a simple treat to remind them of the beautiful holiday you shared together. I love this charming burlap bag that can be filled with candy or even a seed packet for the spring.
Easter Table Idea by Our Vintage Home Love
Happy Easter everyone!
—–
Thanks so much for sharing, Michele! This has definitely inspired me to get my Easter Entertaining in gear! Read more about Michele below and follow her on Instagram @sweetthreadsco.
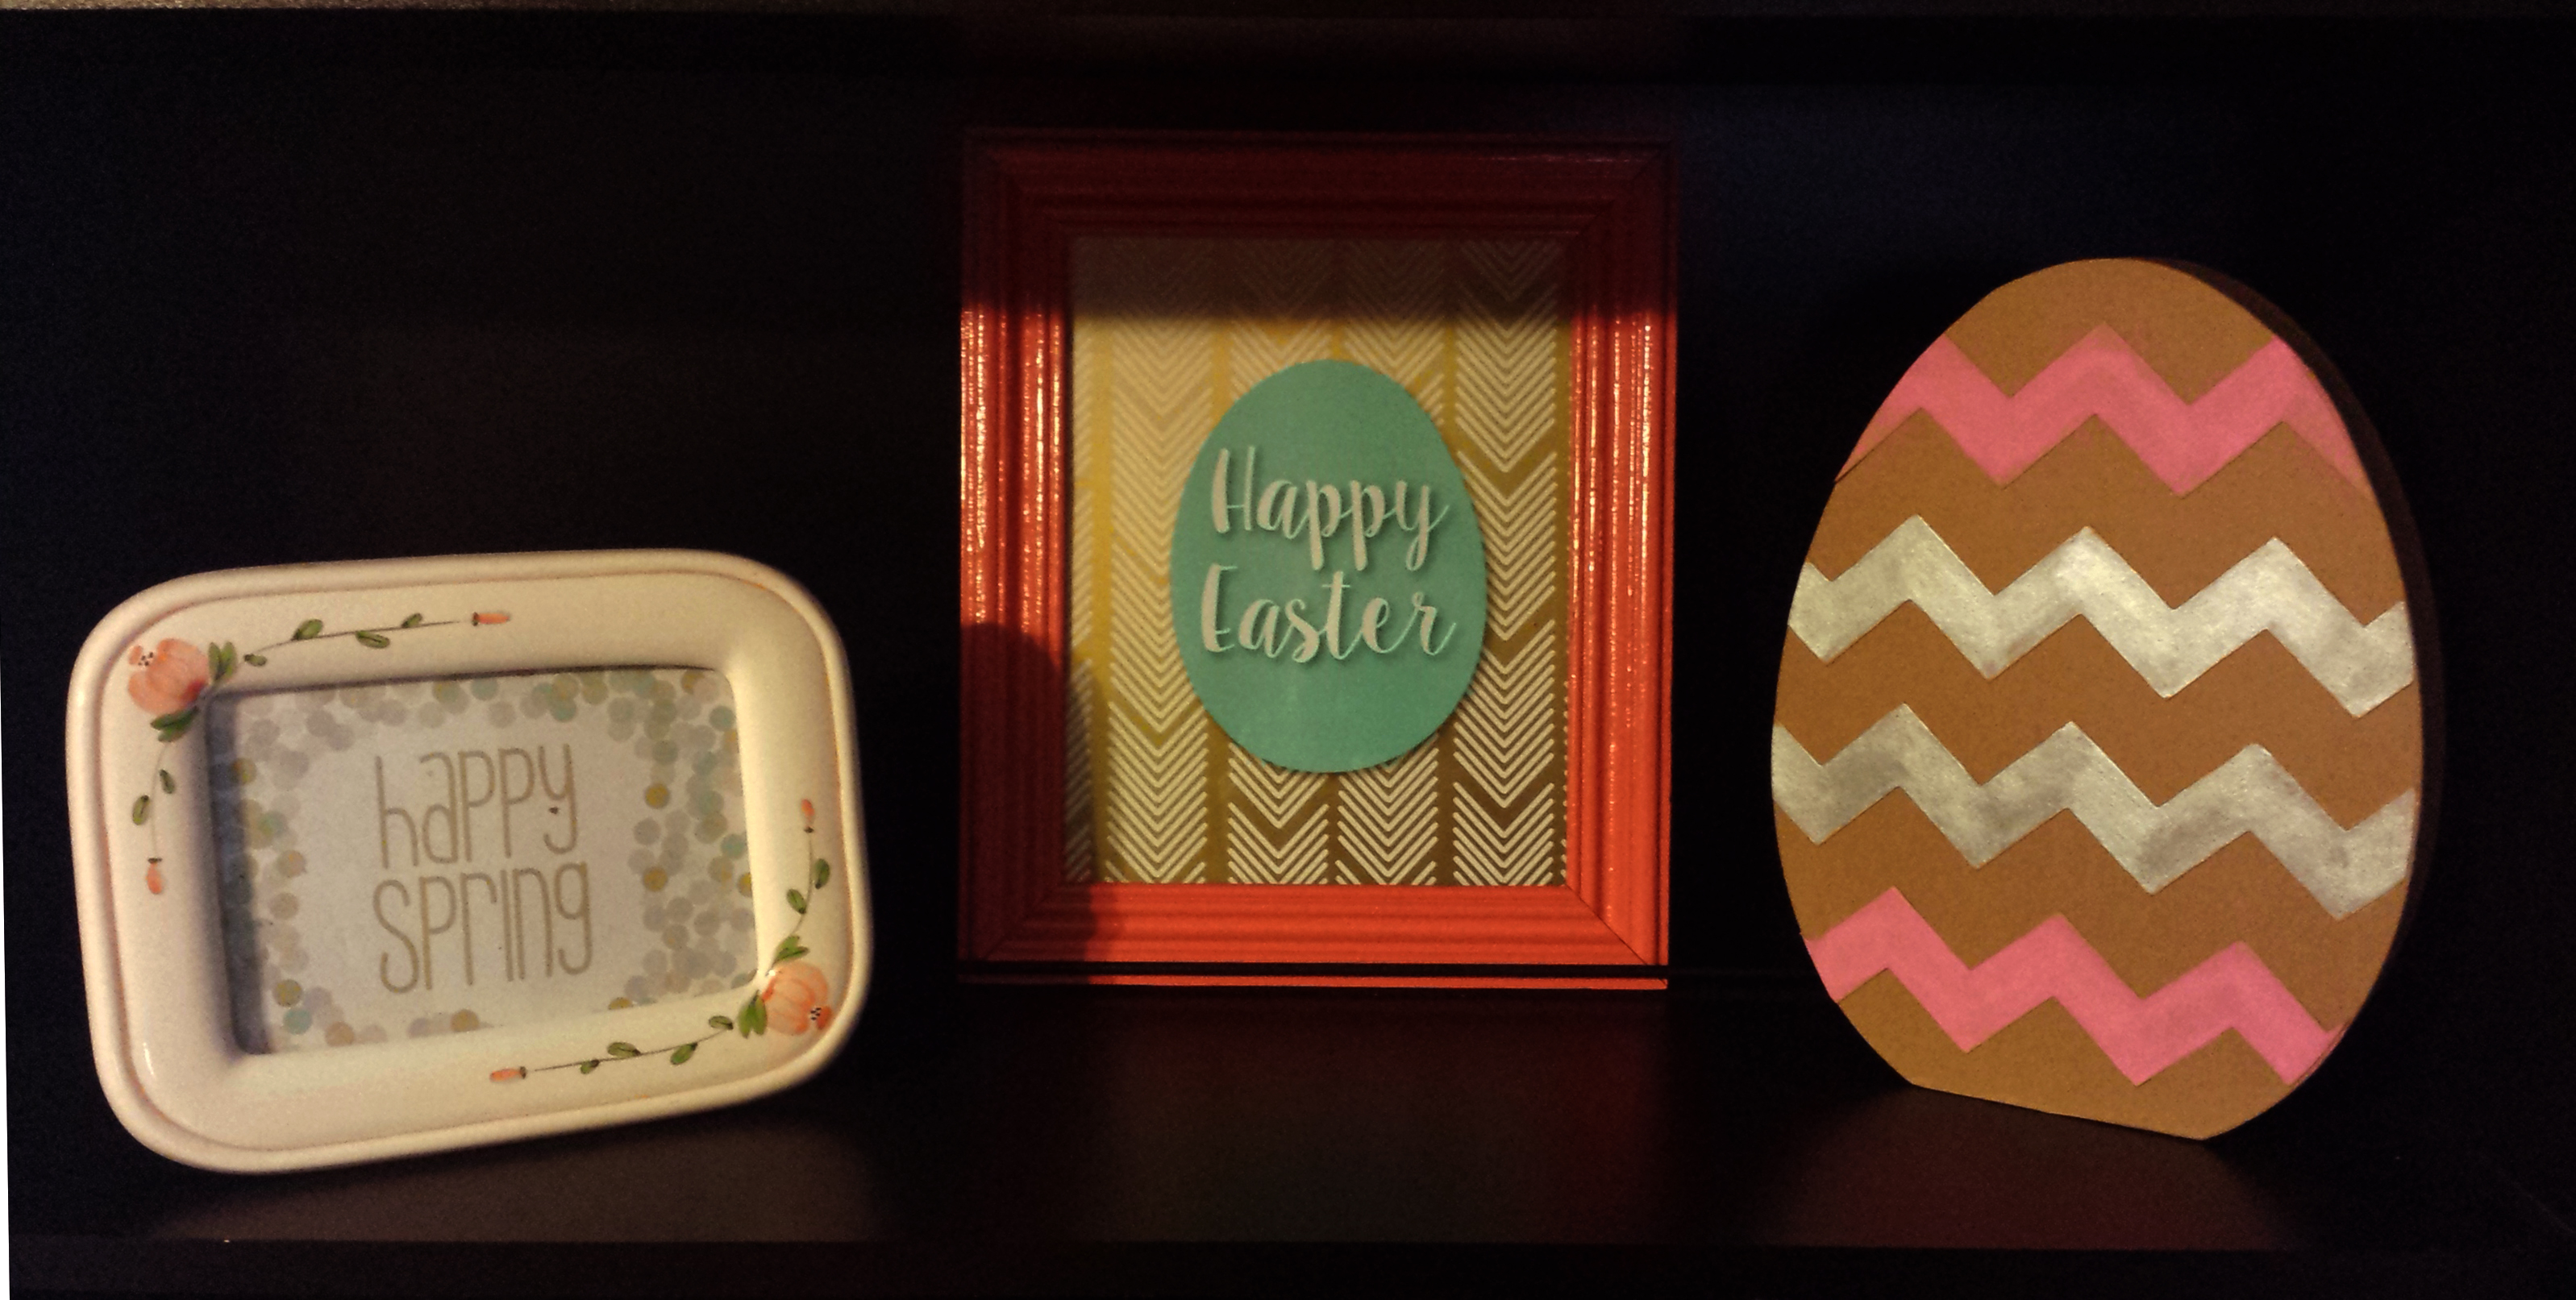
Easter & Spring Free Printables
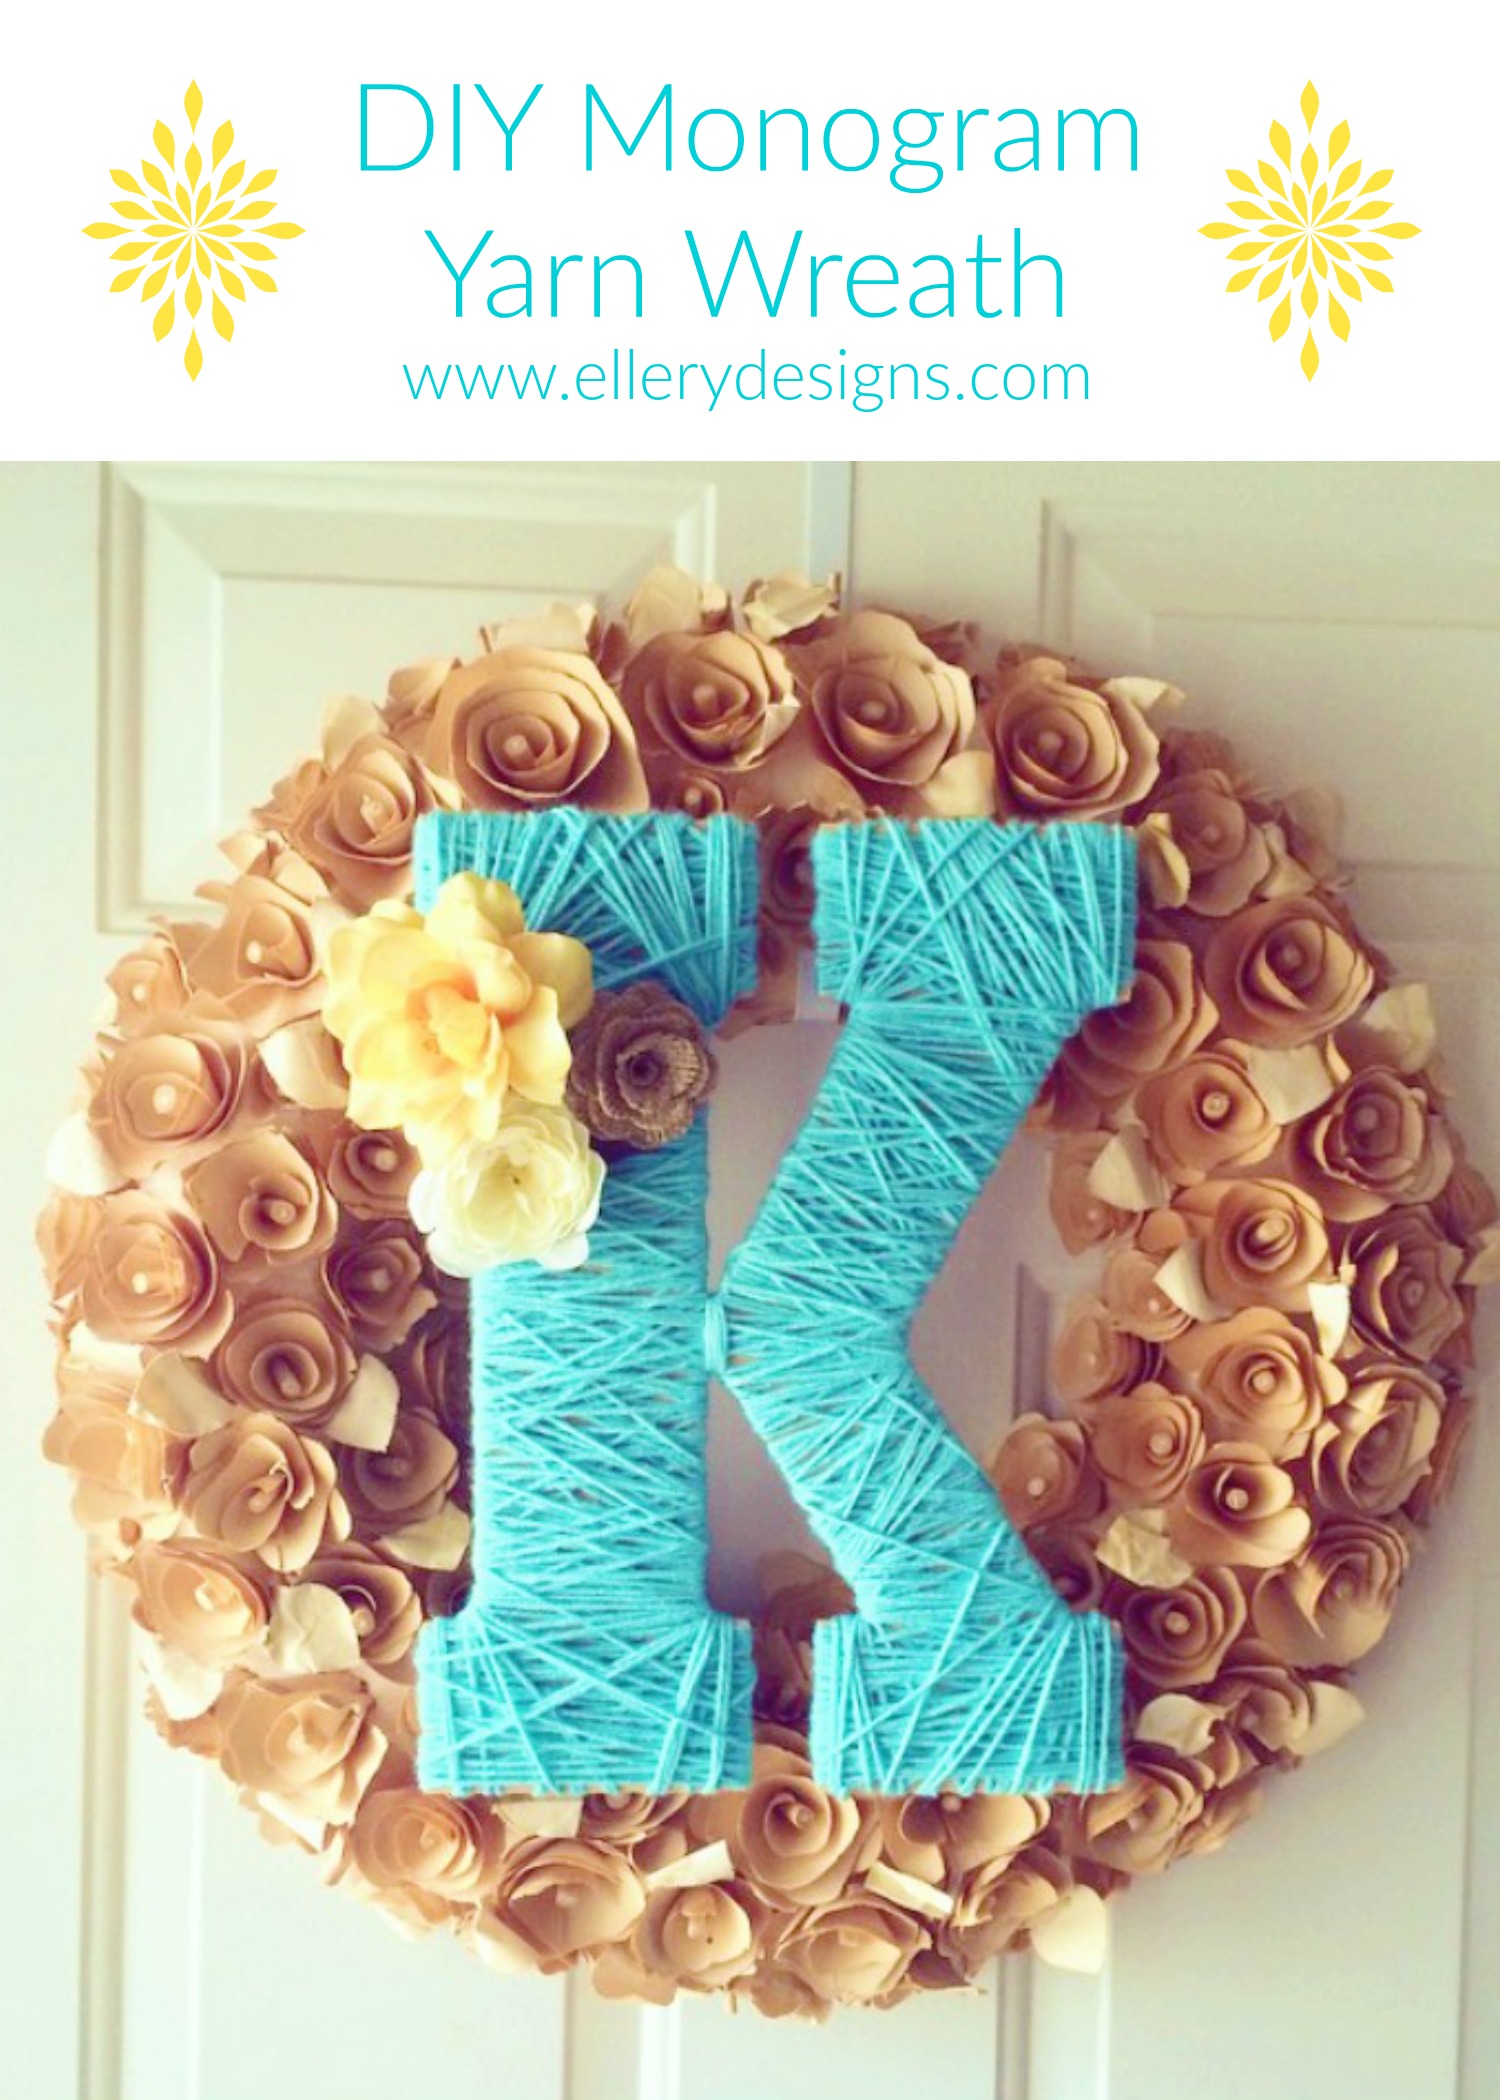
DIY Yarn Monogram Wreath for Spring
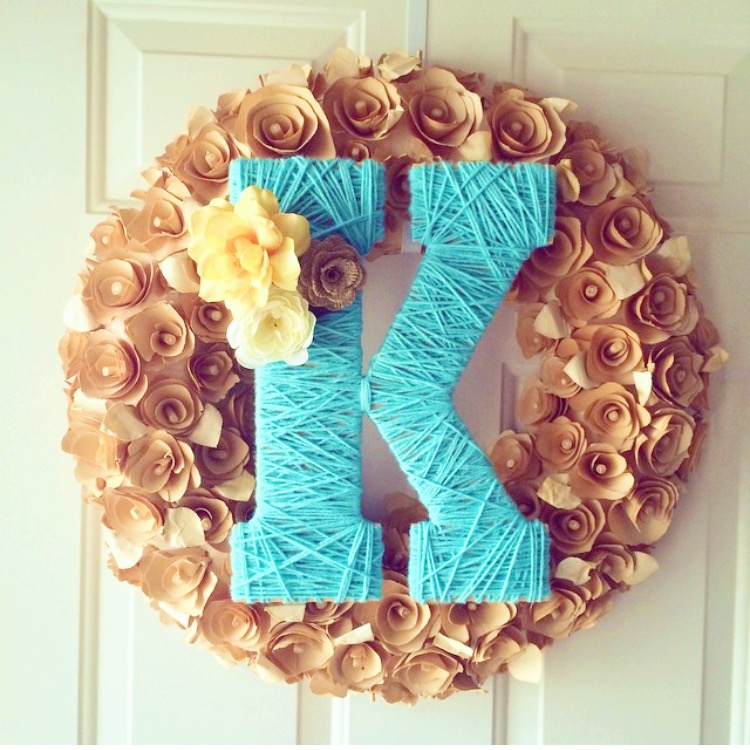
Here is an easy and fun DIY Monogram Wreath that is the perfect Spring door decoration!
What you need:
Monogram from Hobby Lobby
Yarn from Hobby Lobby
Faux Flowers (I used some that I had laying around)
Hot Glue
Wreath from Target
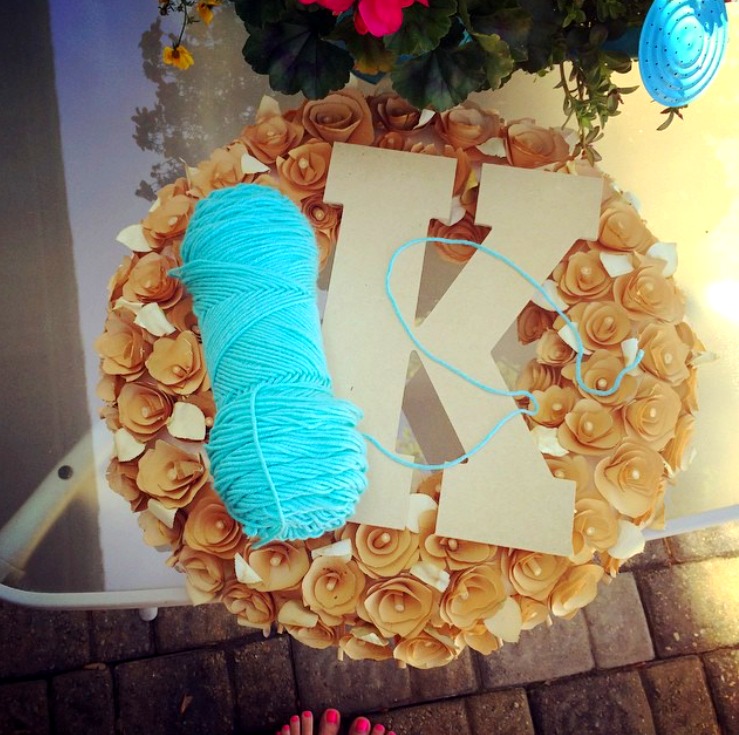
I simply wrapped yarn around the monogram – there is no science to it. I like the messy look so it was fun to just keep wrapping it around and around until I was pleased with it. I hot glued some faux flowers on it and then hot glued it to my wreath and voila! A pretty {and easy!} wreath for Spring! Your options are really endless! Have you started decorating yet for Spring? What are you waiting for? π
DIY No Sew Pillow Covers
*Note: this post contains affiliate links. To learn more about affiliate links please visit my disclosure page.
Hi, Anna here with Southern Breeze Collections. Iβm so excited to be sharing my first post as a contributor to Ellery Designs! Thank you so much for having me, Michelle!
Now, onto one of my favorite DIY projects Iβve done to date. It is easy and quick! Win, Win!
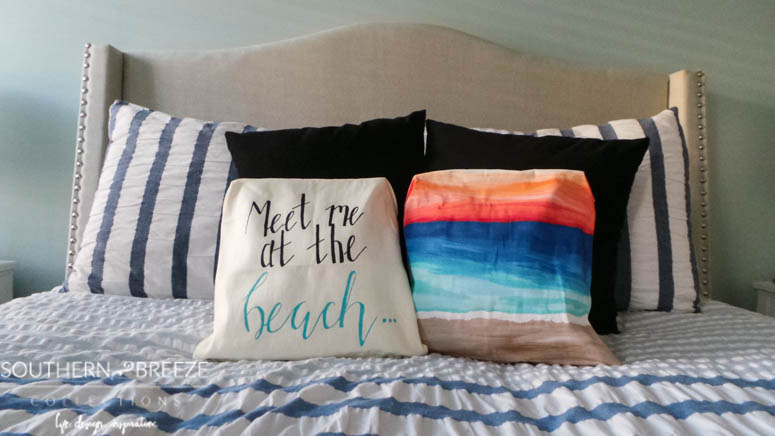
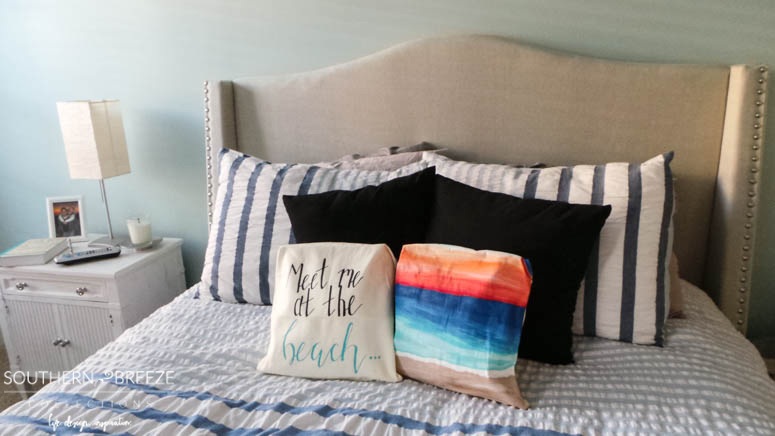
Iβve wanted a couple of new accent pillows for a while to use in my master bedroom. Weβve been working on a makeover for our master the last several weeks. As most of you probably know, accent pillows tend to be a little pricey! I knew I could make my own I just had to figure out the best way to do it.
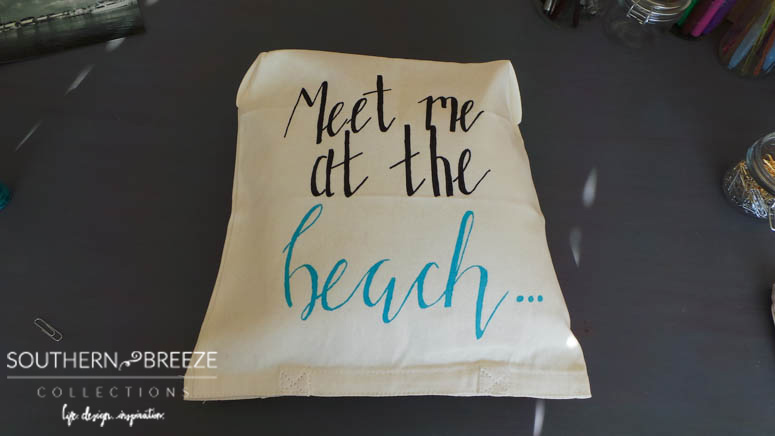
I like to sew but donβt have a machine so I needed something that didnβt involve sewing at all. I decided to use some blank canvas material and do my own artwork on them. In order to keep from having to sew I found blank canvas tote bags at Michaels that were the perfect size!
WHAT YOU’LL NEED:
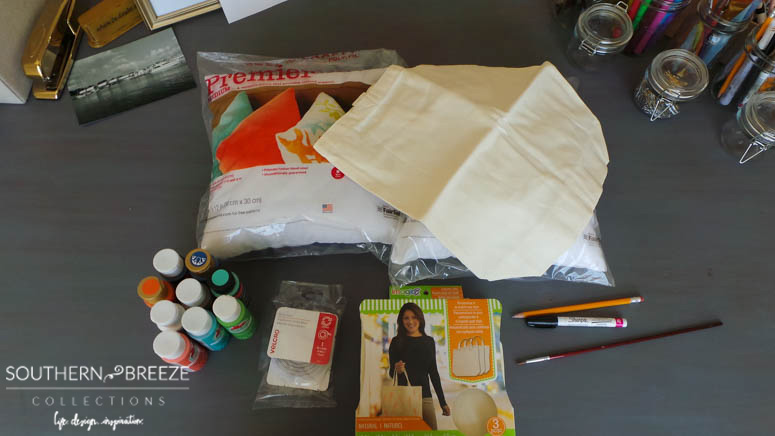
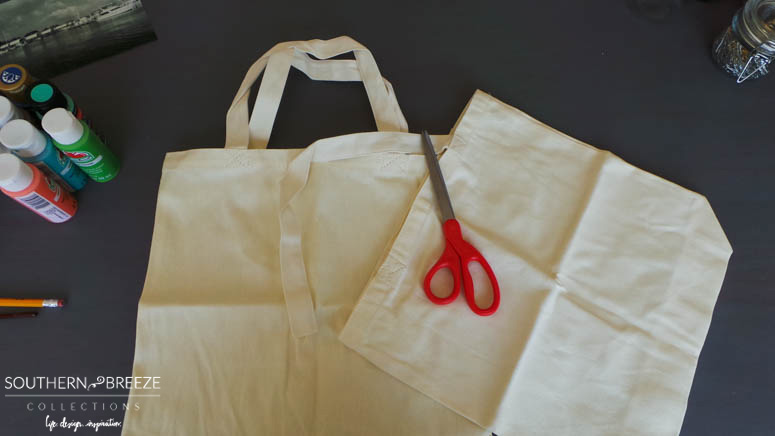
–Blank canvas bags (any size depending on the size you want your pillows) I used 13.5β x 13.5β
–Strips of sticky velcro (I got a package that contained 3ft which was perfect for my 2
pillows)
-Pillows to cover (get a little smaller than your bag size) OR poly-fil stuffing material if using the pillows inside only
-Your favorite paint, paint pens, stencils, etc. for decorating
-Paint brushes
-Scissors
I found this 3-pack of blank canvas bags at Michaels for around 10 bucks. Instead of buying the poly-fil stuffing I decided to get these pillow forms from Jo-Ann Fabrics because with my coupons I got two 12β x 12β pillow forms for only $11! The Velcro is 3ft long and was only about $4. I already had the paint, pens, and other materials. So, for around $25 I got 2 new accent pillows!
The first thing I did was research some pillow design ideas so Iβd know what I wanted to paint/write on them. This is the creative part where you can do whatever you like.
Then I took the bags and cut the handles off right at their seam.

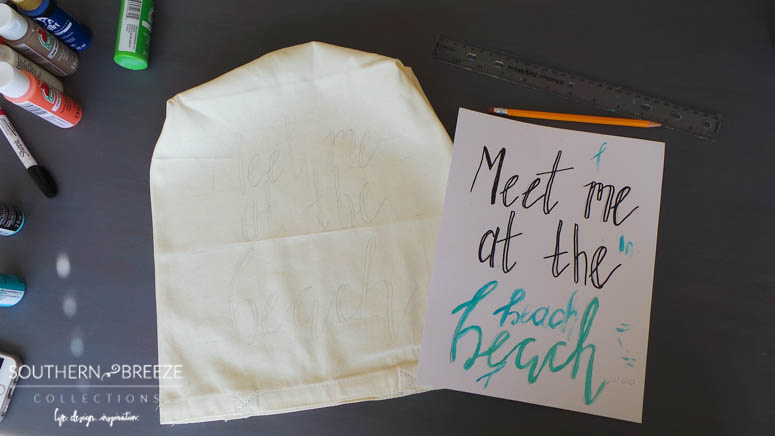
I put them out on my work surface and began prepping to paint/write. At this point, like I mentioned before, this is where your creativity can come out. If you donβt feel comfortable painting something free hand you can use stencils too. Those would work great to paint on your initials, last name, a quote, etc.
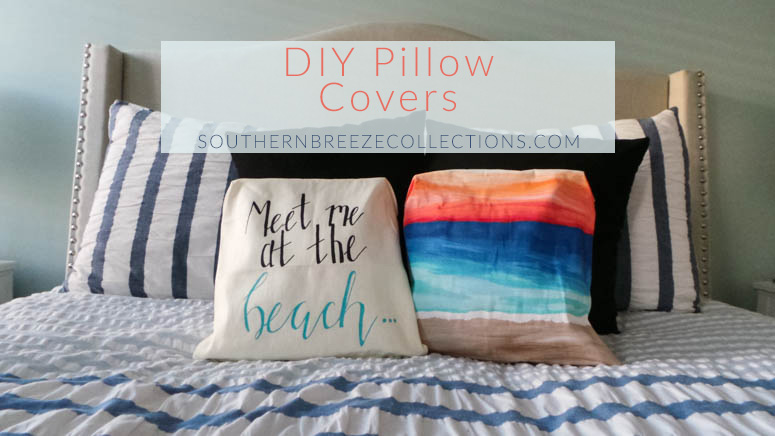
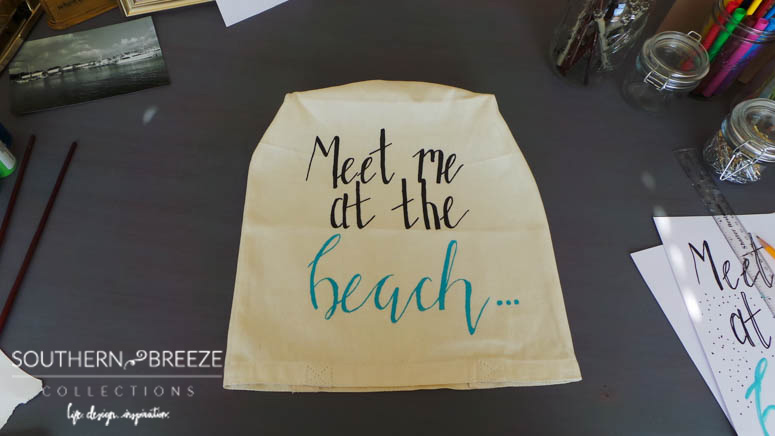
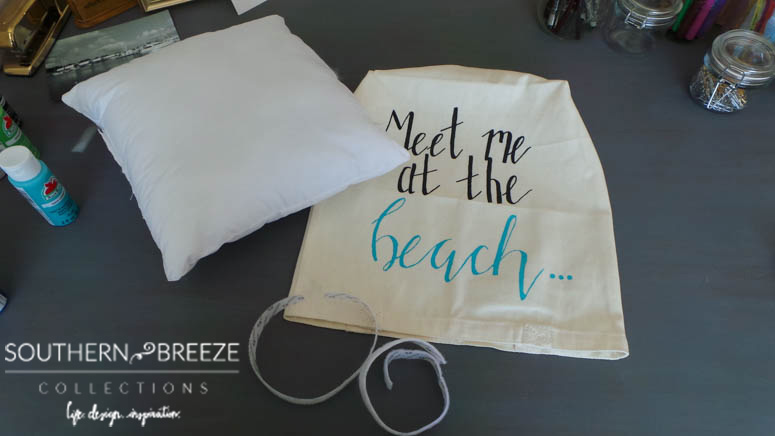
I like to do hand-lettering so I decided to use a pencil first to letter my quote then went back over it with my Sharpie oil-based paint pens. I also like to sketch out my writing on paper first just to make sure I get the layout the way I like.
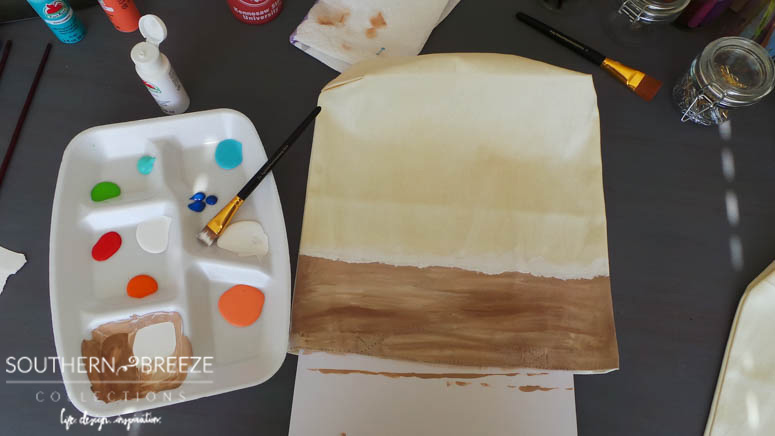
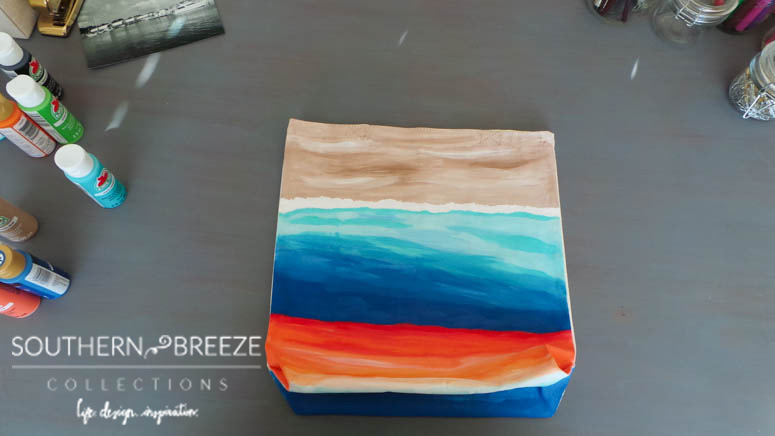
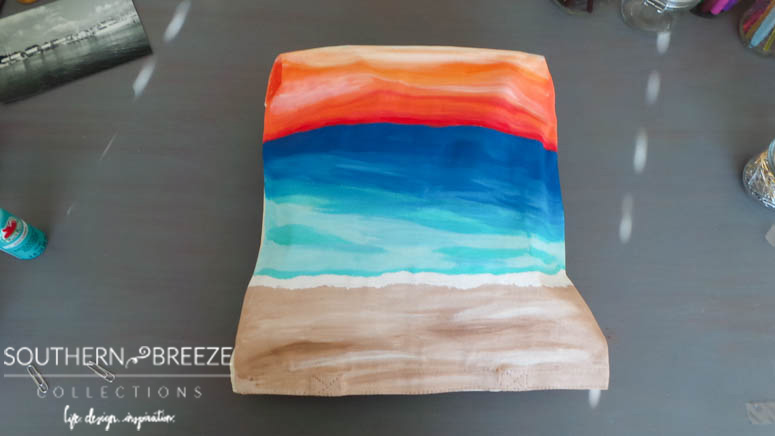
My style is coastal inspired so I did an abstract painting of the beach on the other one. I just blended colors for the sand, then water, then sky. Anyone can do that! π
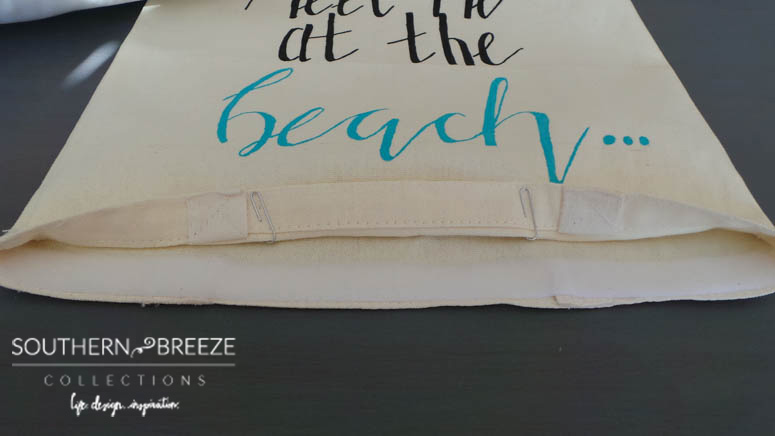
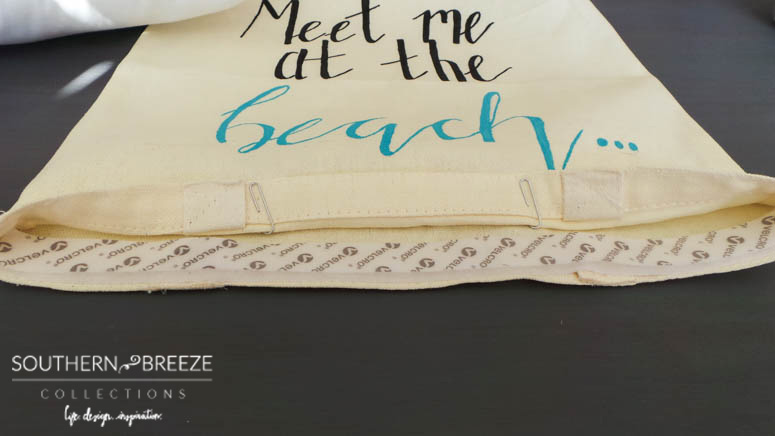
Once youβve finished your designs let them dry completely. Then, cut strips of Velcro to the length you need to cover the full length of the opening and stick it to the bag. You could hot glue the strips if you feel itβs not secure enough. Mine felt pretty secure, and I donβt plan on having to wash them so I just used the sticky. You can always sew on the Velcro or sew the bag closed completely if you want as well! I like easy, so I went with that! π
Thatβs it! The painting took the longest time of all. This would all vary depending on what you decided to do. Pinterest is a great source for finding ideas on what to paint on your pillow. I definitely found some cute ideas on there; including the use of stencils, so anyone can do it. I hope you enjoyed this DIY Pillow Cover tutorial! Be sure to stop by my blog to check out my other home decor and DIY projects at Southern Breeze Collections!
So crafty and cute, Anna! I can’t wait to give these a try! Beach themed decor is so popular right now and just love this idea! Follow Anna on Instagram @southernbreezecollections and read more about her below!
DIY Tissue Paper Poms
Hello there, Ellery Designs readers! Iβm Laura from the blog Monograms and Moscato. I love to share DIY’s, home decor, and yummy recipes! Today I am excited to share this simple DIY for Tissue Paper Poms – it’s perfect for some easy spring decorating! We had warm weather this weekend in the Midwest…and by warm, I mean 50’s but I’ll take it! I wasn’t motivated enough to get out all my spring decor, but I decided to make a little spring themed DIY to keep the kitchen feeling springy! Trust me when I say you can make this. The best part is you should have everything at home! Find the easy step-by-step guide below!
What you’ll need:
- tissue paper
- scissors
- hole punch
- yarn, string, or twine for tying
Instructions
First, set out your large piece of tissue paper.

Fold it in half.

Fold it in half again.

Fold it to make a triangle and cut off the extra.

Fold the triangle in half.

Fold triangle in half…again.

Finally, fold the triangle again to form one last smaller triangle

With the folded edge as a point, mark a half circle onto triangle (the key to it turning out is making sure the point you draw the half circle on, is the middle of your pom!)


Trim tissue with scissors, discarding top of triangle.
Open tissue petals and stack layers in rotation

If you’re making half a pom, fold in half and hole punch in center and tie with twine

If you’re making a full pom, then repeat the steps to make another layer of petals and tie the first pom and second pom together. (shown below)

Attach to box, or hang!


Yay, you did it!! How adorable are your poms!?
xoxo,
Laura

So pretty, Laura! I love using these as pretty gift toppers or to decorate at parties! Thanks so much! Follow Laura on Instagram @monogramsandmoscato and learn more about Laura below….
7 Tips & Tricks to make your Instagram GREAT!
- « Previous Page
- 1
- …
- 15
- 16
- 17
- 18
- 19
- …
- 39
- Next Page »