*Note: this post contains affiliate links. To learn more about affiliate links please visit my disclosure page.
Hi, Anna here with Southern Breeze Collections. I’m so excited to be sharing my first post as a contributor to Ellery Designs! Thank you so much for having me, Michelle!
Now, onto one of my favorite DIY projects I’ve done to date. It is easy and quick! Win, Win!
I’ve wanted a couple of new accent pillows for a while to use in my master bedroom. We’ve been working on a makeover for our master the last several weeks. As most of you probably know, accent pillows tend to be a little pricey! I knew I could make my own I just had to figure out the best way to do it.
I like to sew but don’t have a machine so I needed something that didn’t involve sewing at all. I decided to use some blank canvas material and do my own artwork on them. In order to keep from having to sew I found blank canvas tote bags at Michaels that were the perfect size!
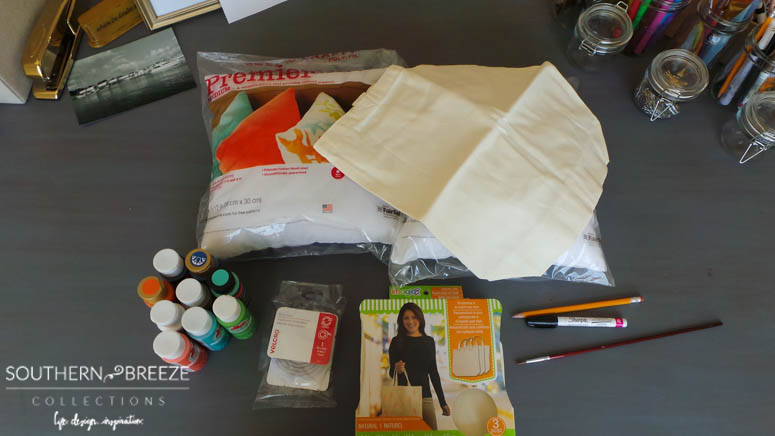
WHAT YOU’LL NEED:
–Blank canvas bags (any size depending on the size you want your pillows) I used 13.5” x 13.5”
–Strips of sticky velcro (I got a package that contained 3ft which was perfect for my 2
pillows)
-Pillows to cover (get a little smaller than your bag size) OR poly-fil stuffing material if using the pillows inside only
-Your favorite paint, paint pens, stencils, etc. for decorating
-Paint brushes
-Scissors
I found this 3-pack of blank canvas bags at Michaels for around 10 bucks. Instead of buying the poly-fil stuffing I decided to get these pillow forms from Jo-Ann Fabrics because with my coupons I got two 12” x 12” pillow forms for only $11! The Velcro is 3ft long and was only about $4. I already had the paint, pens, and other materials. So, for around $25 I got 2 new accent pillows!
The first thing I did was research some pillow design ideas so I’d know what I wanted to paint/write on them. This is the creative part where you can do whatever you like.
Then I took the bags and cut the handles off right at their seam.
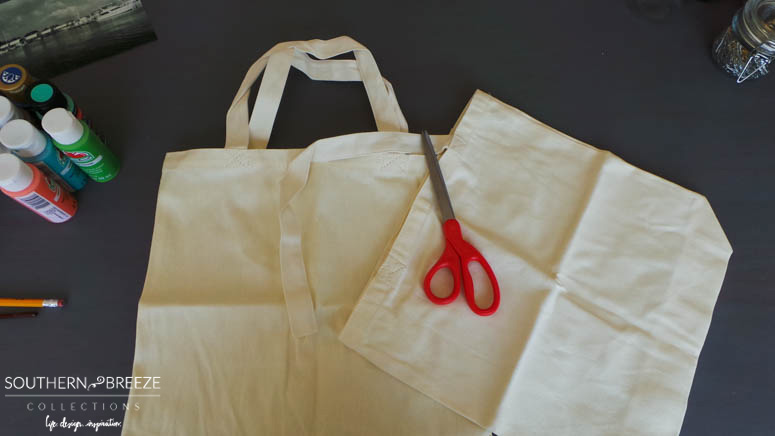
I put them out on my work surface and began prepping to paint/write. At this point, like I mentioned before, this is where your creativity can come out. If you don’t feel comfortable painting something free hand you can use stencils too. Those would work great to paint on your initials, last name, a quote, etc.
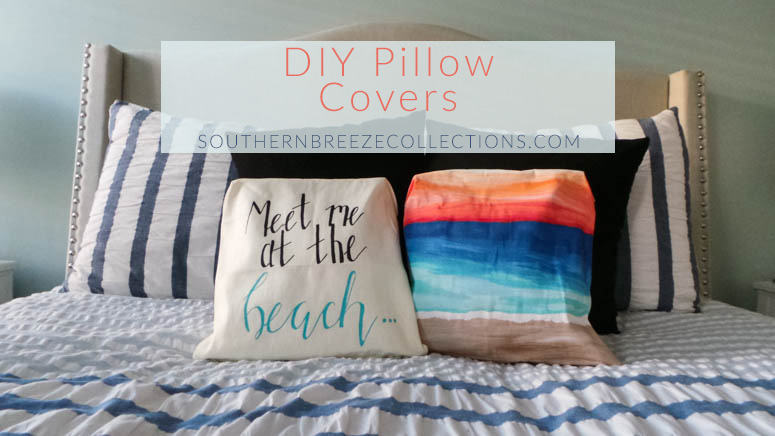
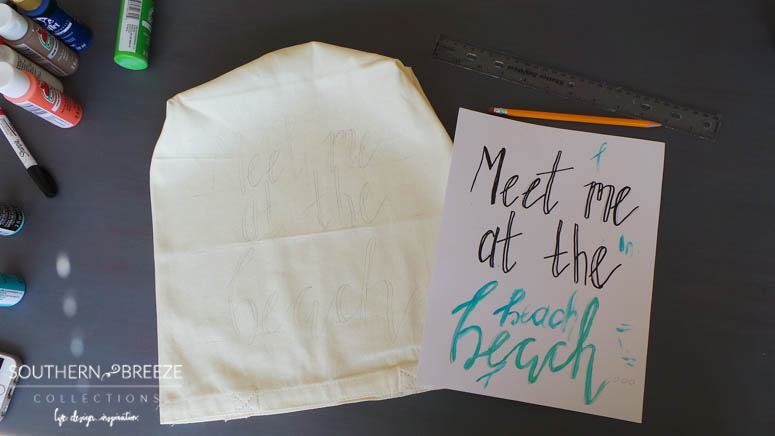
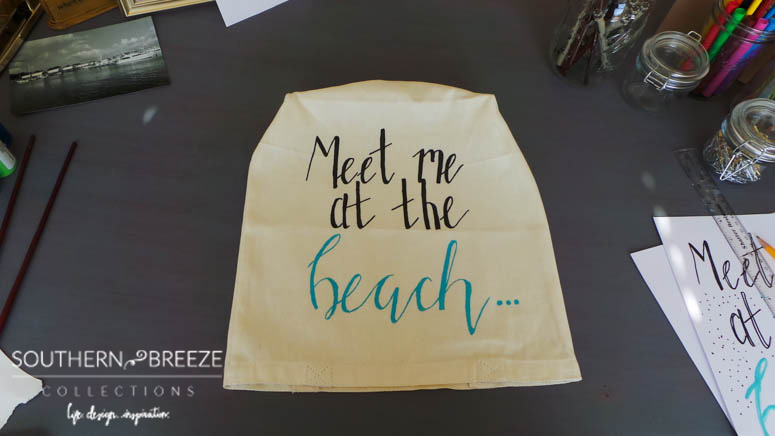
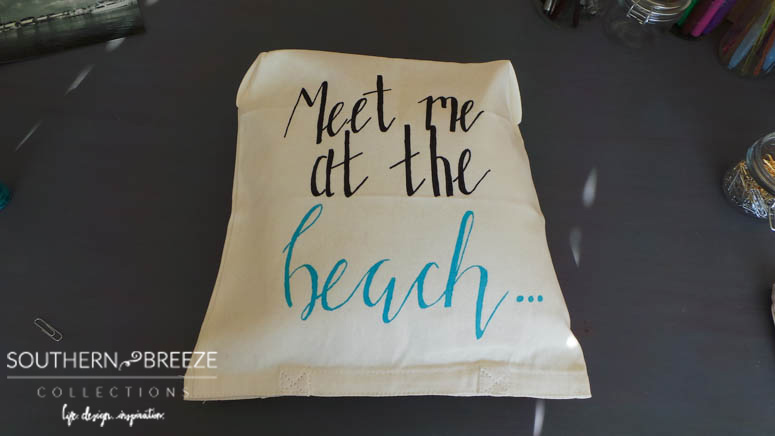
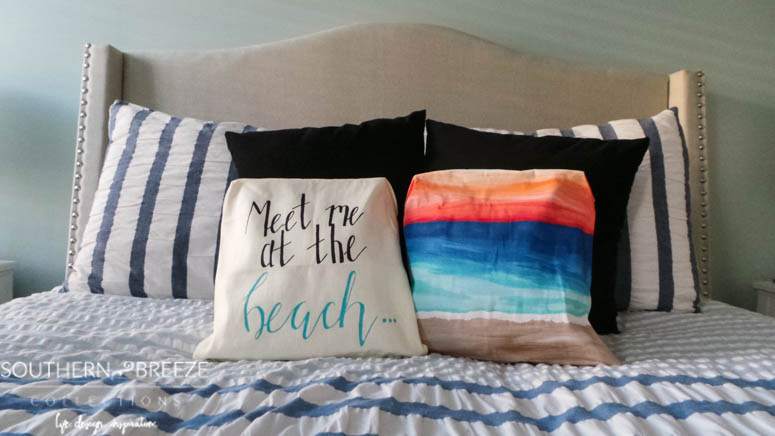
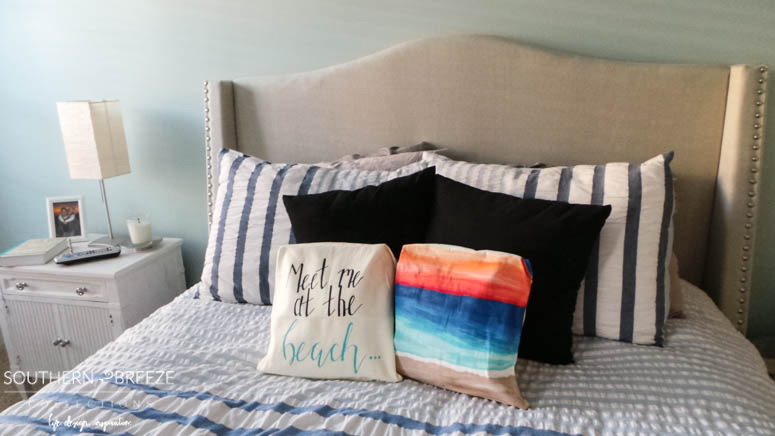
I like to do hand-lettering so I decided to use a pencil first to letter my quote then went back over it with my Sharpie oil-based paint pens. I also like to sketch out my writing on paper first just to make sure I get the layout the way I like.
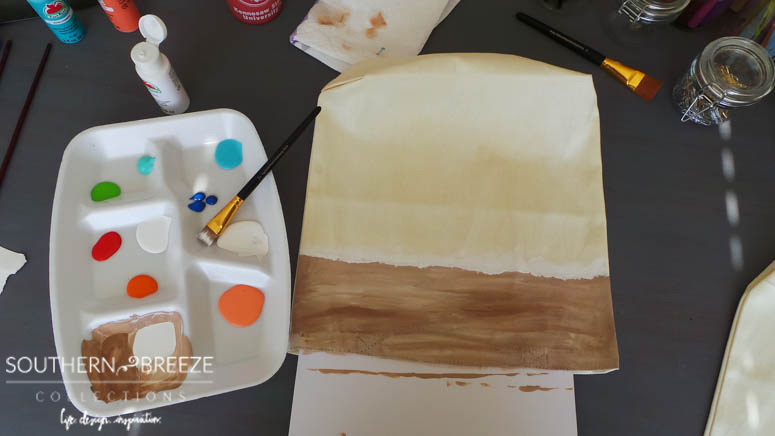
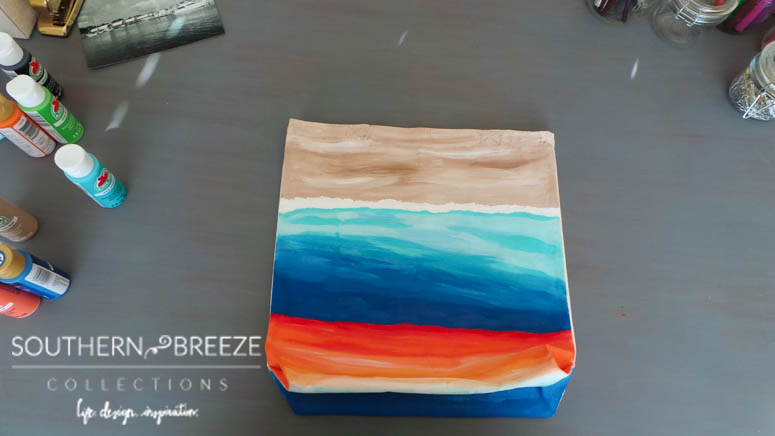
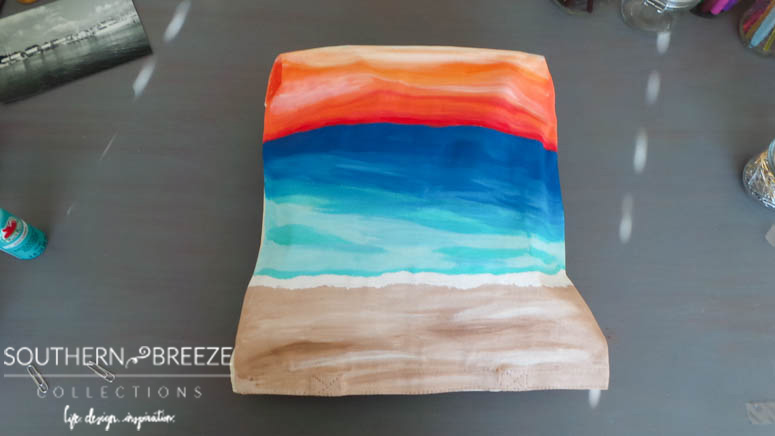
My style is coastal inspired so I did an abstract painting of the beach on the other one. I just blended colors for the sand, then water, then sky. Anyone can do that! 🙂
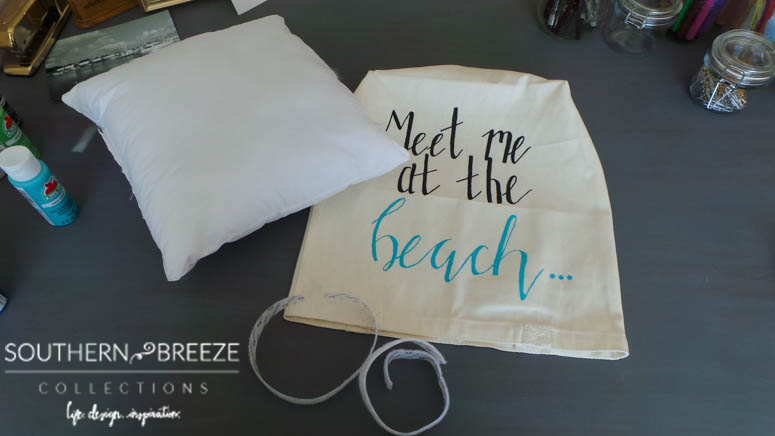
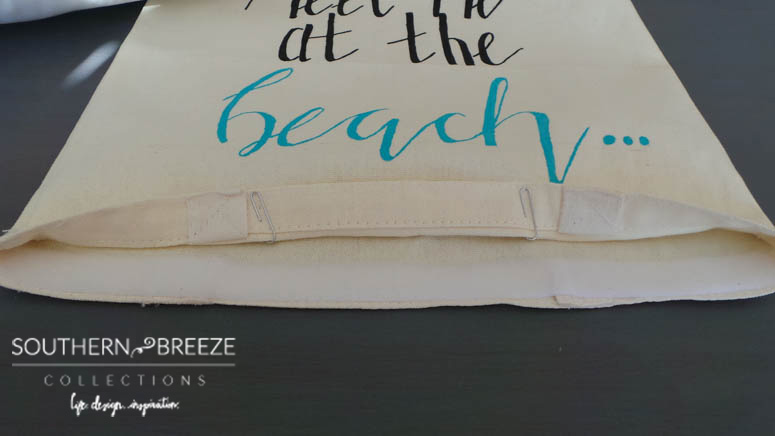
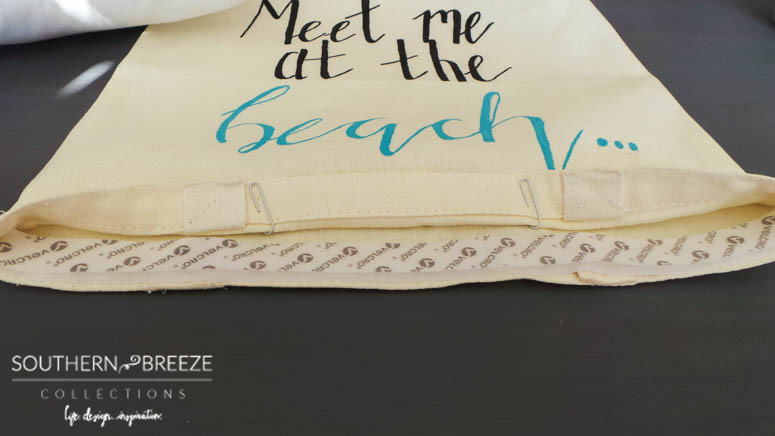
Once you’ve finished your designs let them dry completely. Then, cut strips of Velcro to the length you need to cover the full length of the opening and stick it to the bag. You could hot glue the strips if you feel it’s not secure enough. Mine felt pretty secure, and I don’t plan on having to wash them so I just used the sticky. You can always sew on the Velcro or sew the bag closed completely if you want as well! I like easy, so I went with that! 😉
That’s it! The painting took the longest time of all. This would all vary depending on what you decided to do. Pinterest is a great source for finding ideas on what to paint on your pillow. I definitely found some cute ideas on there; including the use of stencils, so anyone can do it. I hope you enjoyed this DIY Pillow Cover tutorial! Be sure to stop by my blog to check out my other home decor and DIY projects at Southern Breeze Collections!
So crafty and cute, Anna! I can’t wait to give these a try! Beach themed decor is so popular right now and just love this idea! Follow Anna on Instagram @southernbreezecollections and read more about her below!


Leave a Reply