Hi! Nikki here with The Riojas House. As a lover of all things wood and farmhouse, it’s hard not to buy every rustic or chippy piece of furniture I pass by. But occasionally, I come across something that speaks to me, and it inevitably ends up in the back of our truck and into our home. It happened recently when doing a little thrift shopping one weekend. The perfect entryway bench was just sitting there, waiting for me to snap it up. Unfortunately, when I made my way through the crowd, I saw a little yellow note taped to the top with the words no thrifter wants to read: “For Display Only”.
Well, thank goodness for smart phones because with a photo and a quick measure, plan B was in full effect.
For those who enjoy a good DIY project, this one is a little bit MacGuyver, and little bit Joanna Gaines, and every bit of amazing when it’s finished!
While not everyone has access to a skilled carpenter, I am fortunate enough to have a local craftsman who is amazingly talented and can build just about anything. Once he looked at the photo of the un-buyable bench and jotted down the measurements, he was off and running.
Tip: Check your local farmers markets and swap meets if you’re looking for a woodworker or carpenter–many times you’ll find talented folks who you can hire by the job.
I knew I wanted to finish out the bench myself once it was constructed, so I asked my carpenter to build and sand it, but leave it unfinished. This way I could add my touches and save a little money too. This piece was built out of pine and was fairly simple in its design. I wanted an area made for baskets or shoes, so the shelf became the perfect catch-all.
Once I had it in our garage, the fun part really started. Now, whether it’s a bench, or a crate, or any kind of unfinished wooden piece, these instructions will work. I’m just using the bench as my example.
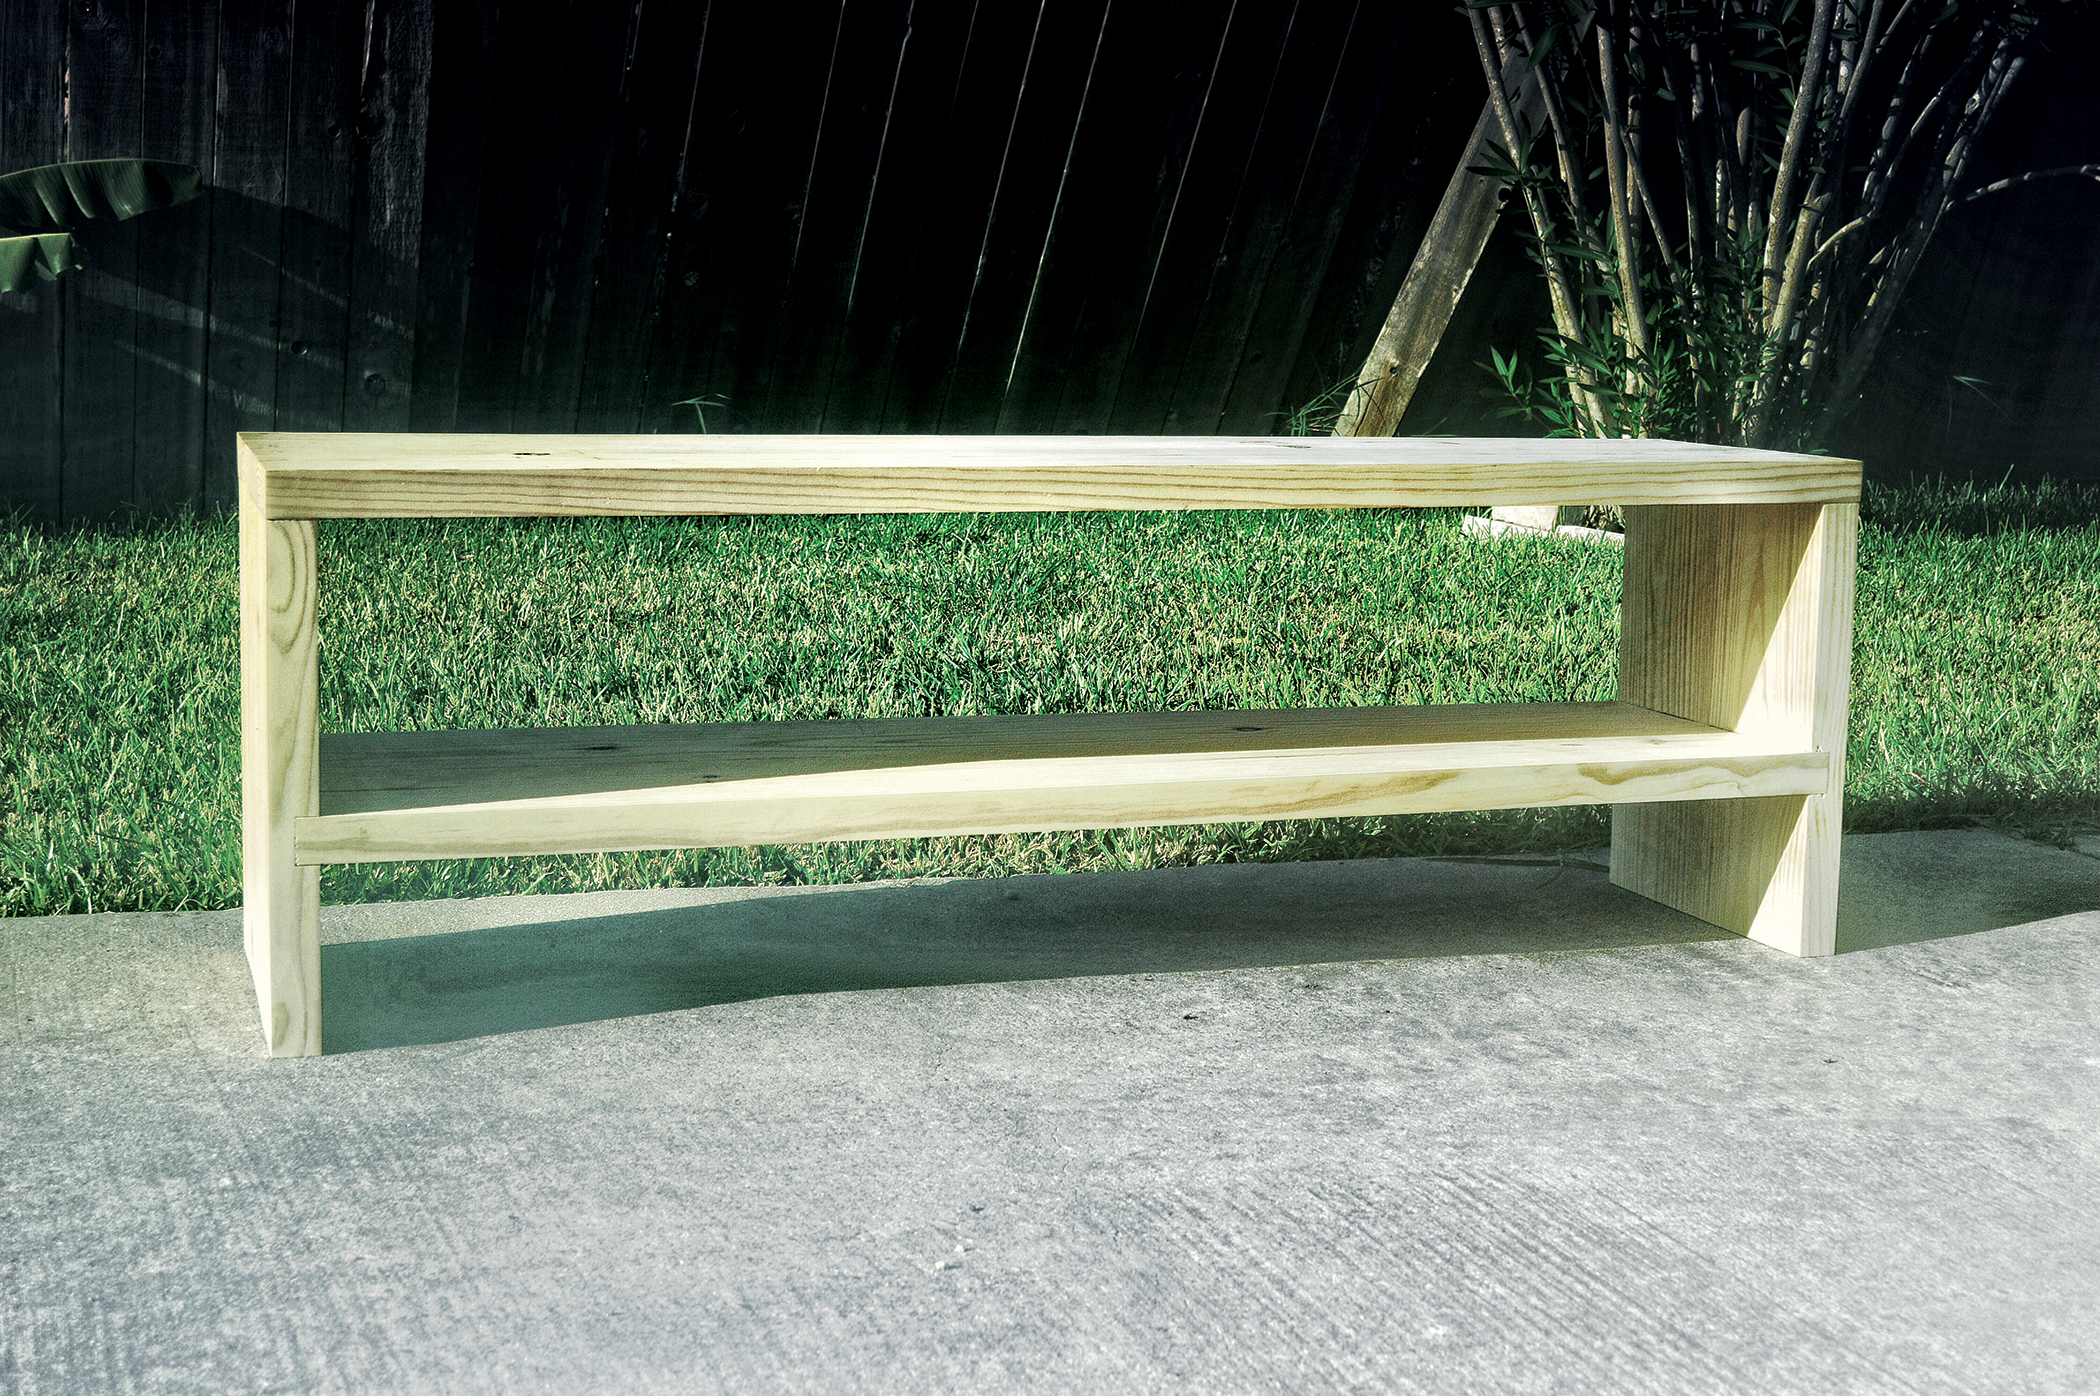
Before you get started, you’ll want to take a trip to your local hardware store and pick up all of your supplies.
What you’ll need:
- Unfinished wooden tray (in any size you prefer)
- Sandpaper (180 and 220 grit)
- A clean rag (to apply the stain)
- Rubber gloves
- Wood stain (color of your choosing)
- Soft paint brush (1-2” works best, for finishing with the satin poly)
- Satin polyurethane
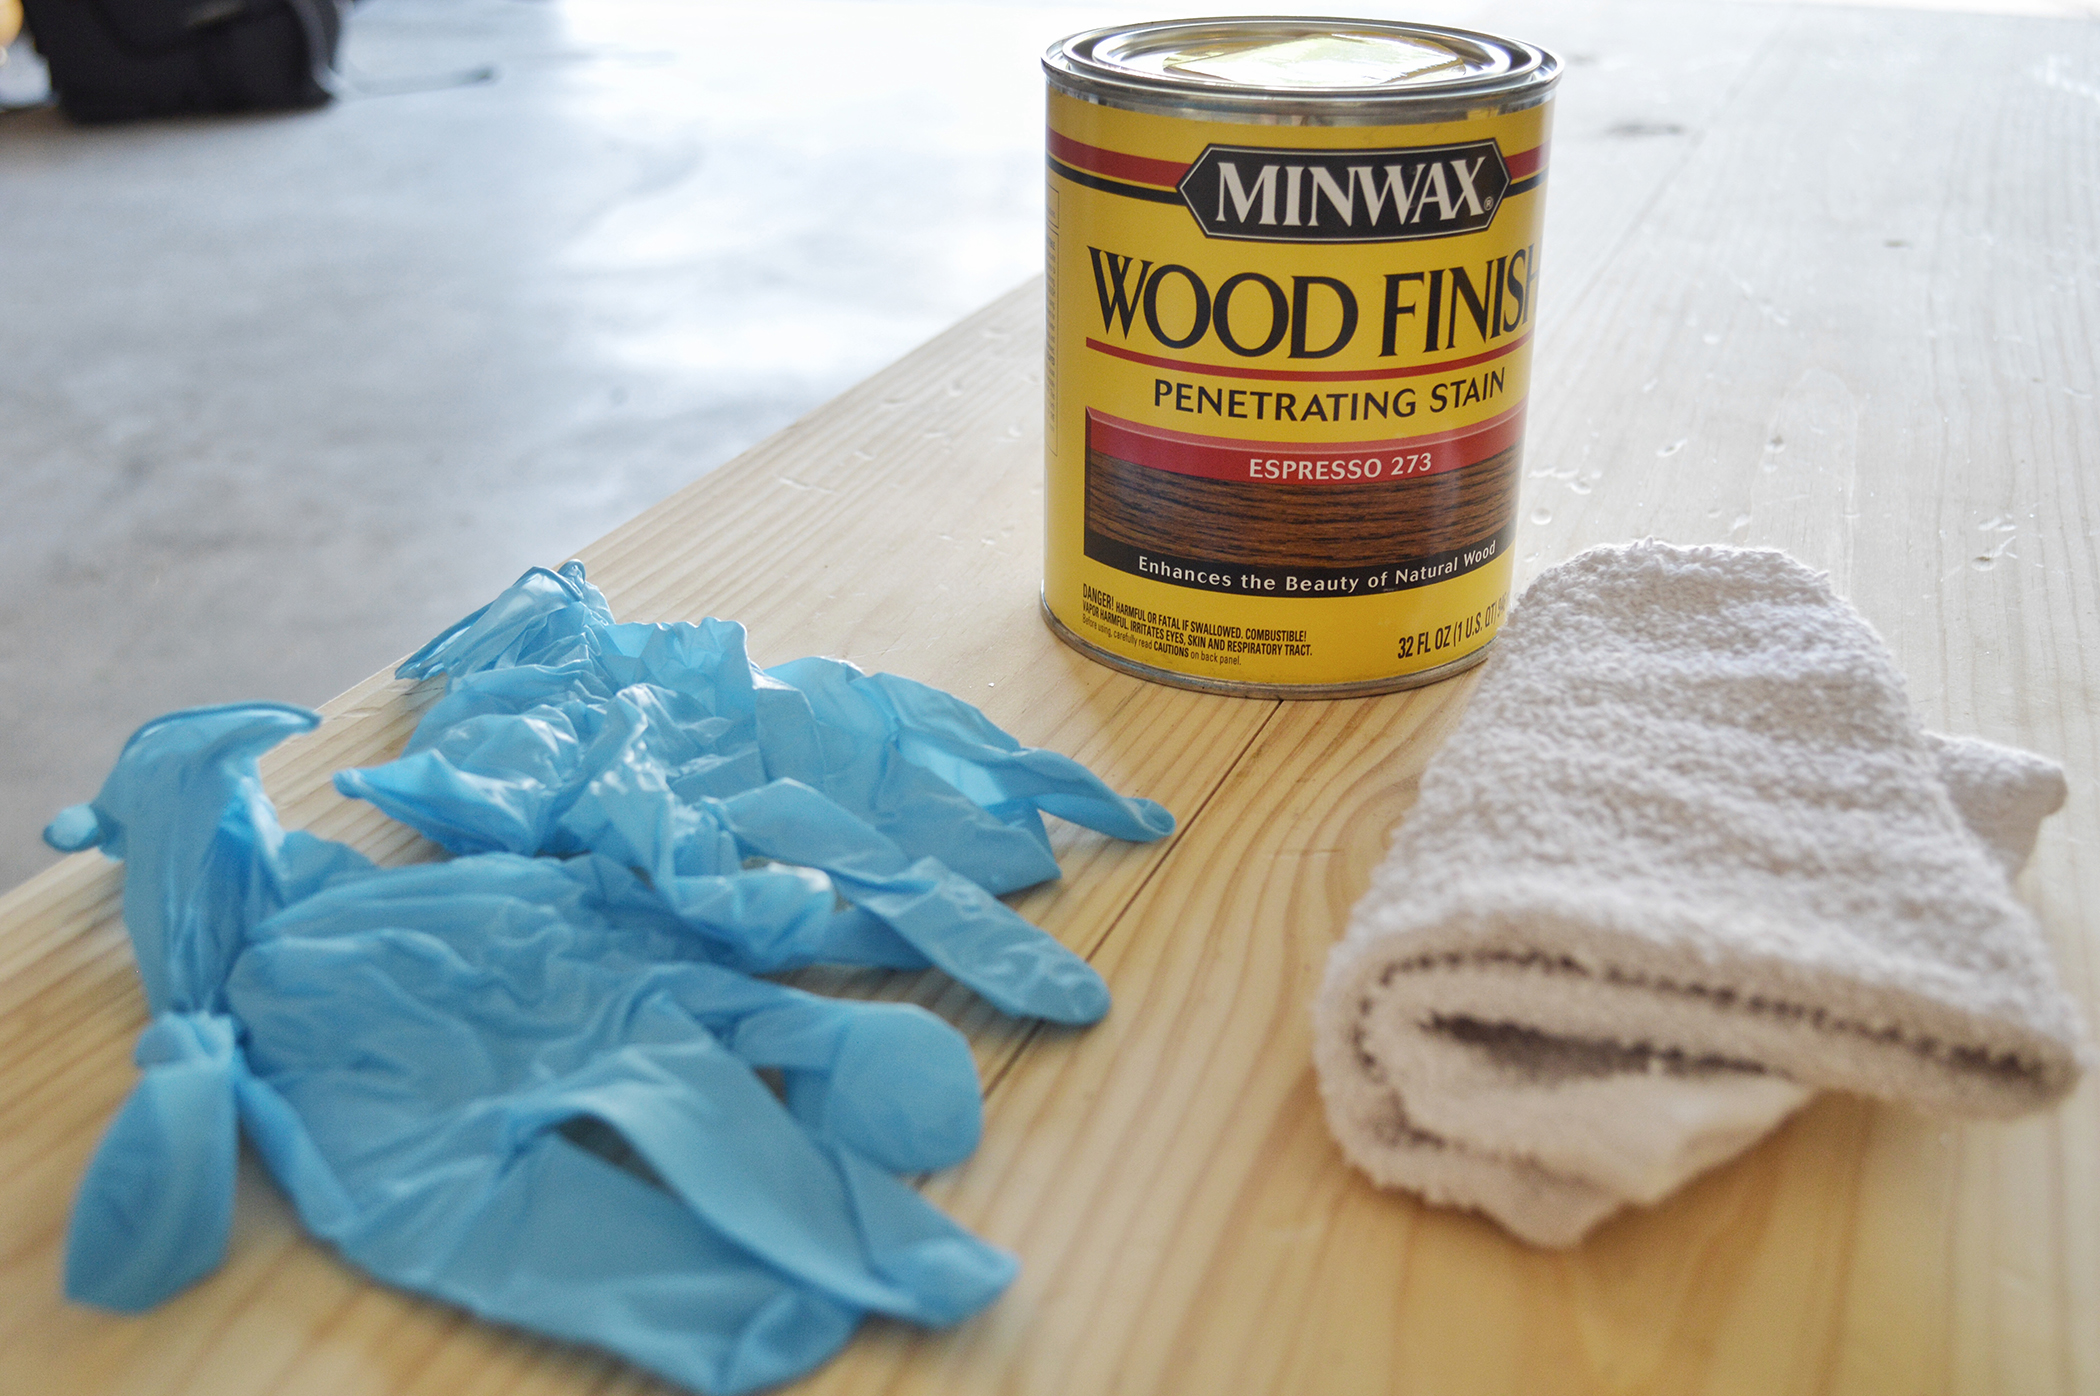
- Get your wooden piece ready to go by making sure it’s sanded well and free of any dust or dirt.
- If you like a more weathered look (like I do), an easy trick is to get some heavy chain (I grabbed about 3 feet from the hardware store) and hit the bench with it multiple times, from multiple directions, to add some divots and texture. It’s a great way to relieve stress after a long day too!
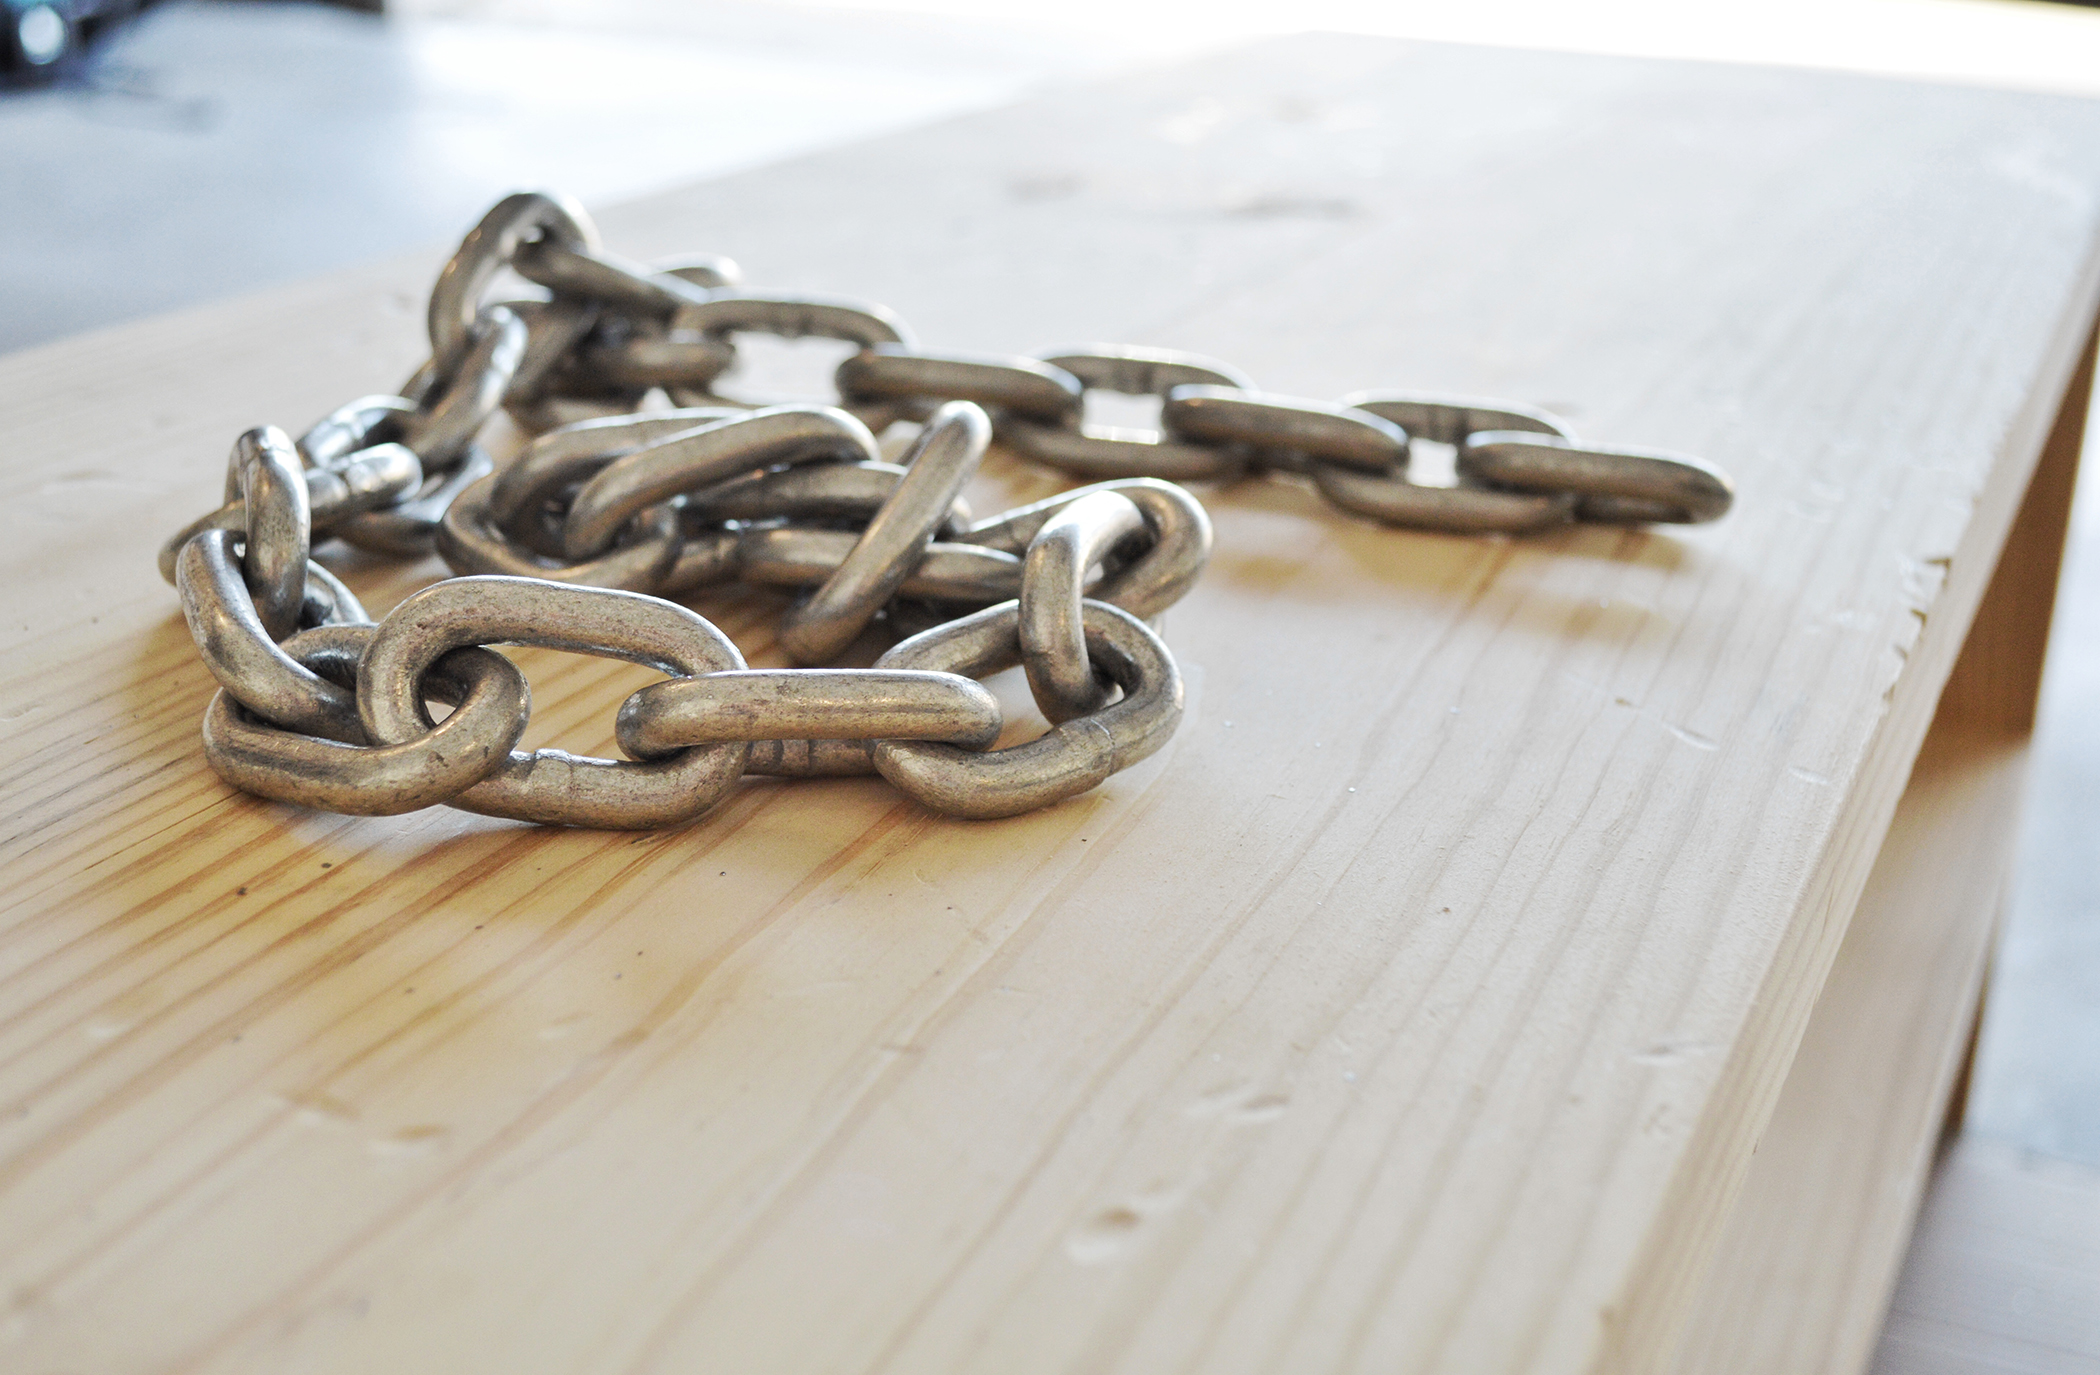
- Run some sandpaper (180 grit) over the edges to make sure they stay as smooth as possible.
- Get your rubber gloves on and your stain ready (read the instructions on the back if you’ve not used it before). I like darker stains, so chose Espresso as my color.
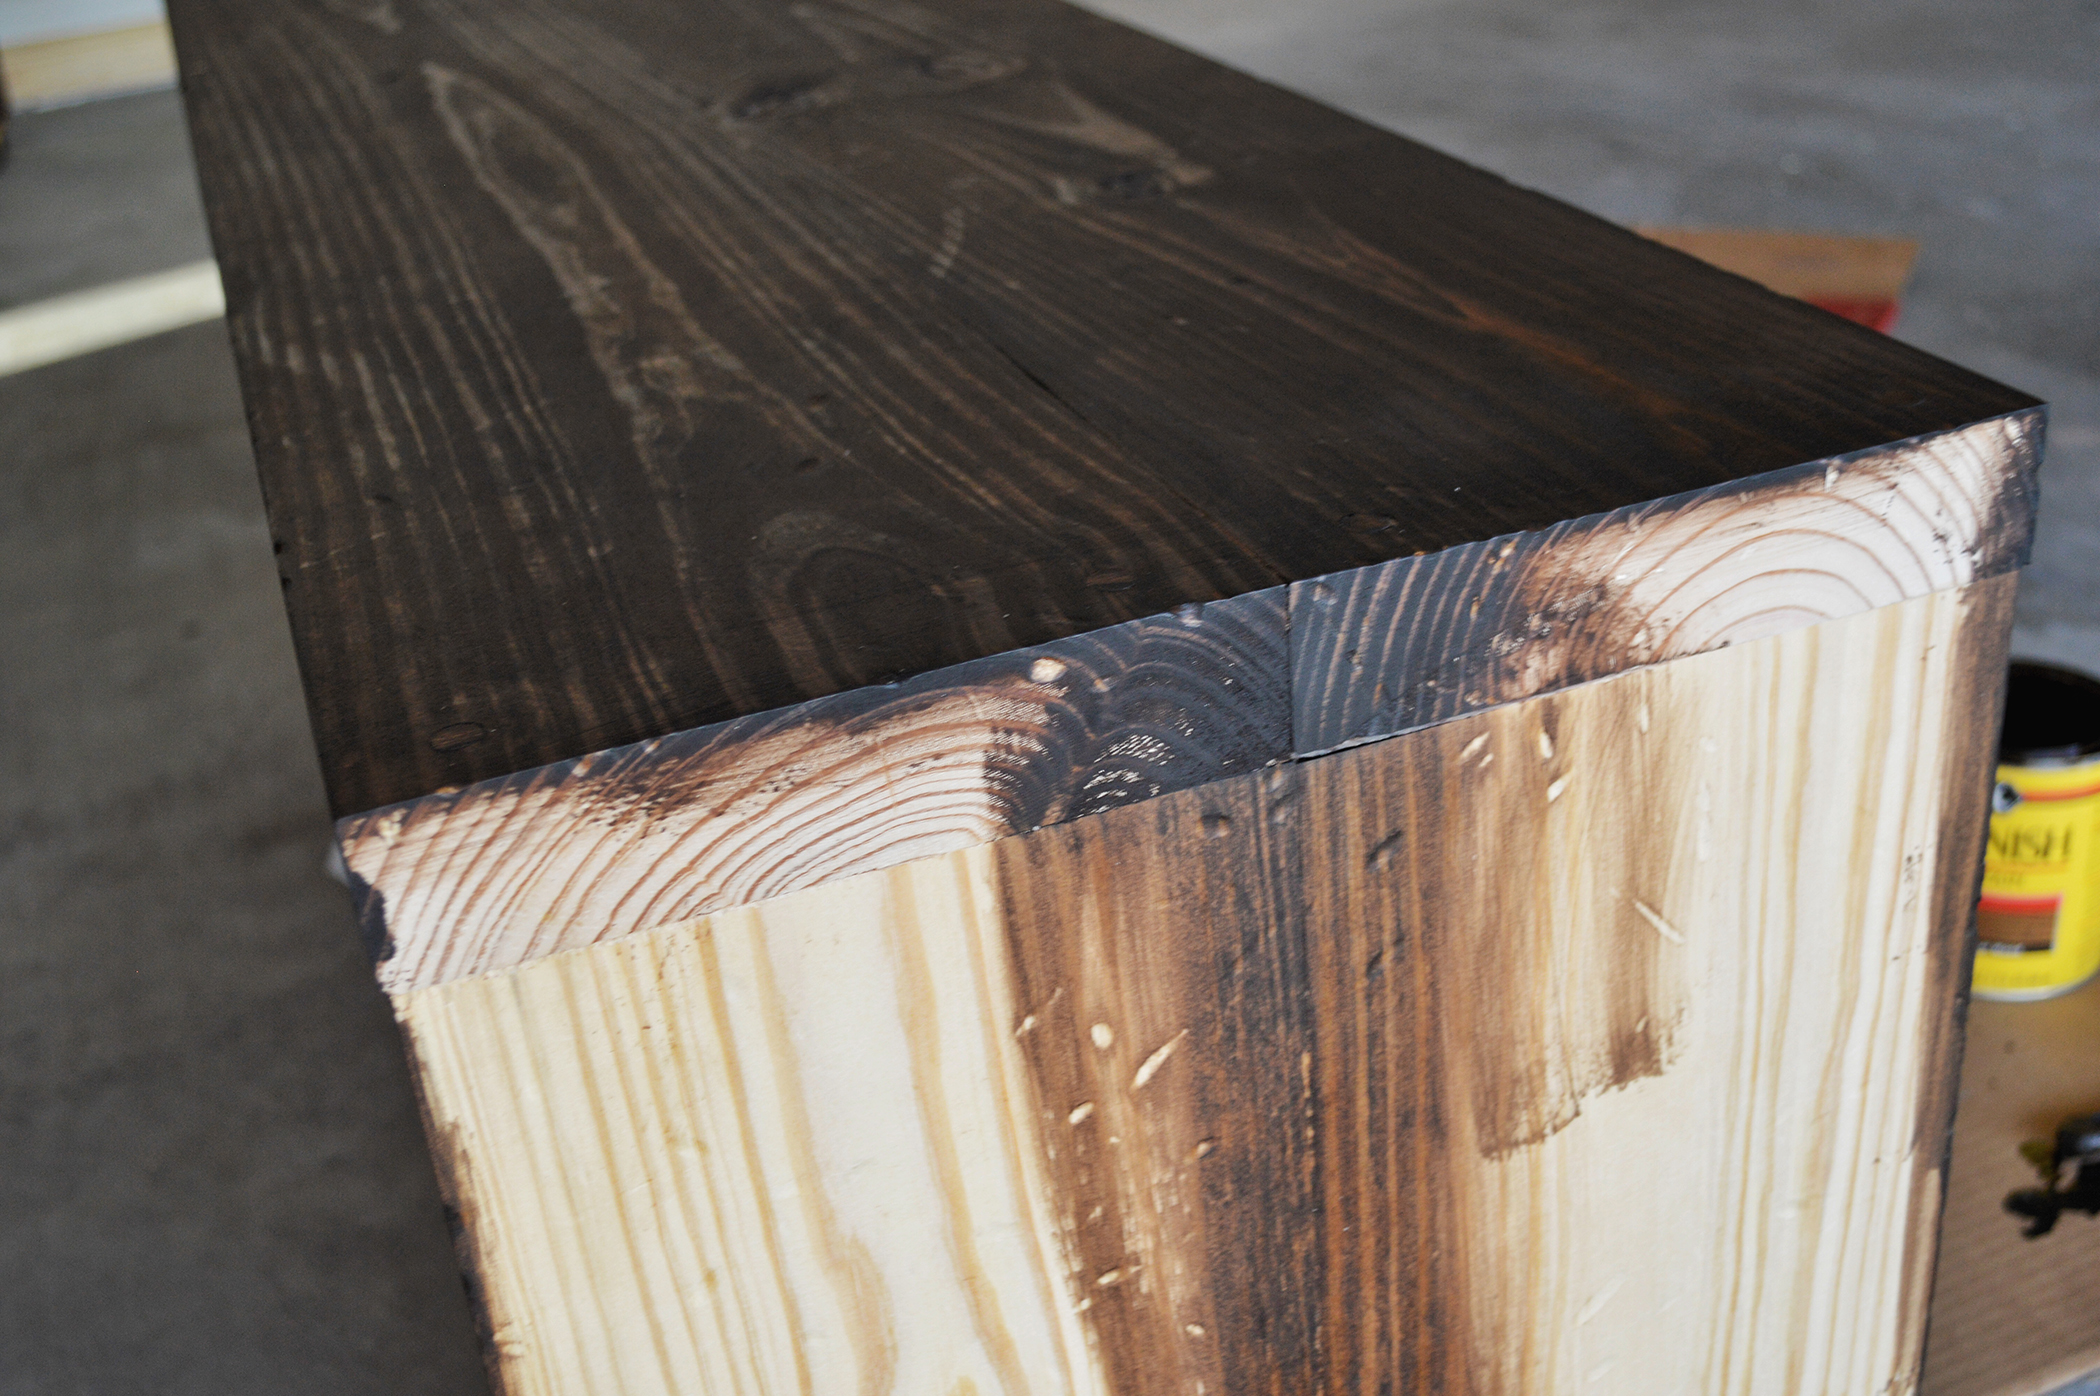
- Dip your clean rag into the stain and begin applying it onto the wood. Make sure you go with grain and put on a light, even coat. Ensure the first side is dry before flipping and staining the other side.
- If you want the stain color to look a bit deeper, apply a second coat once the first coat has completely set.
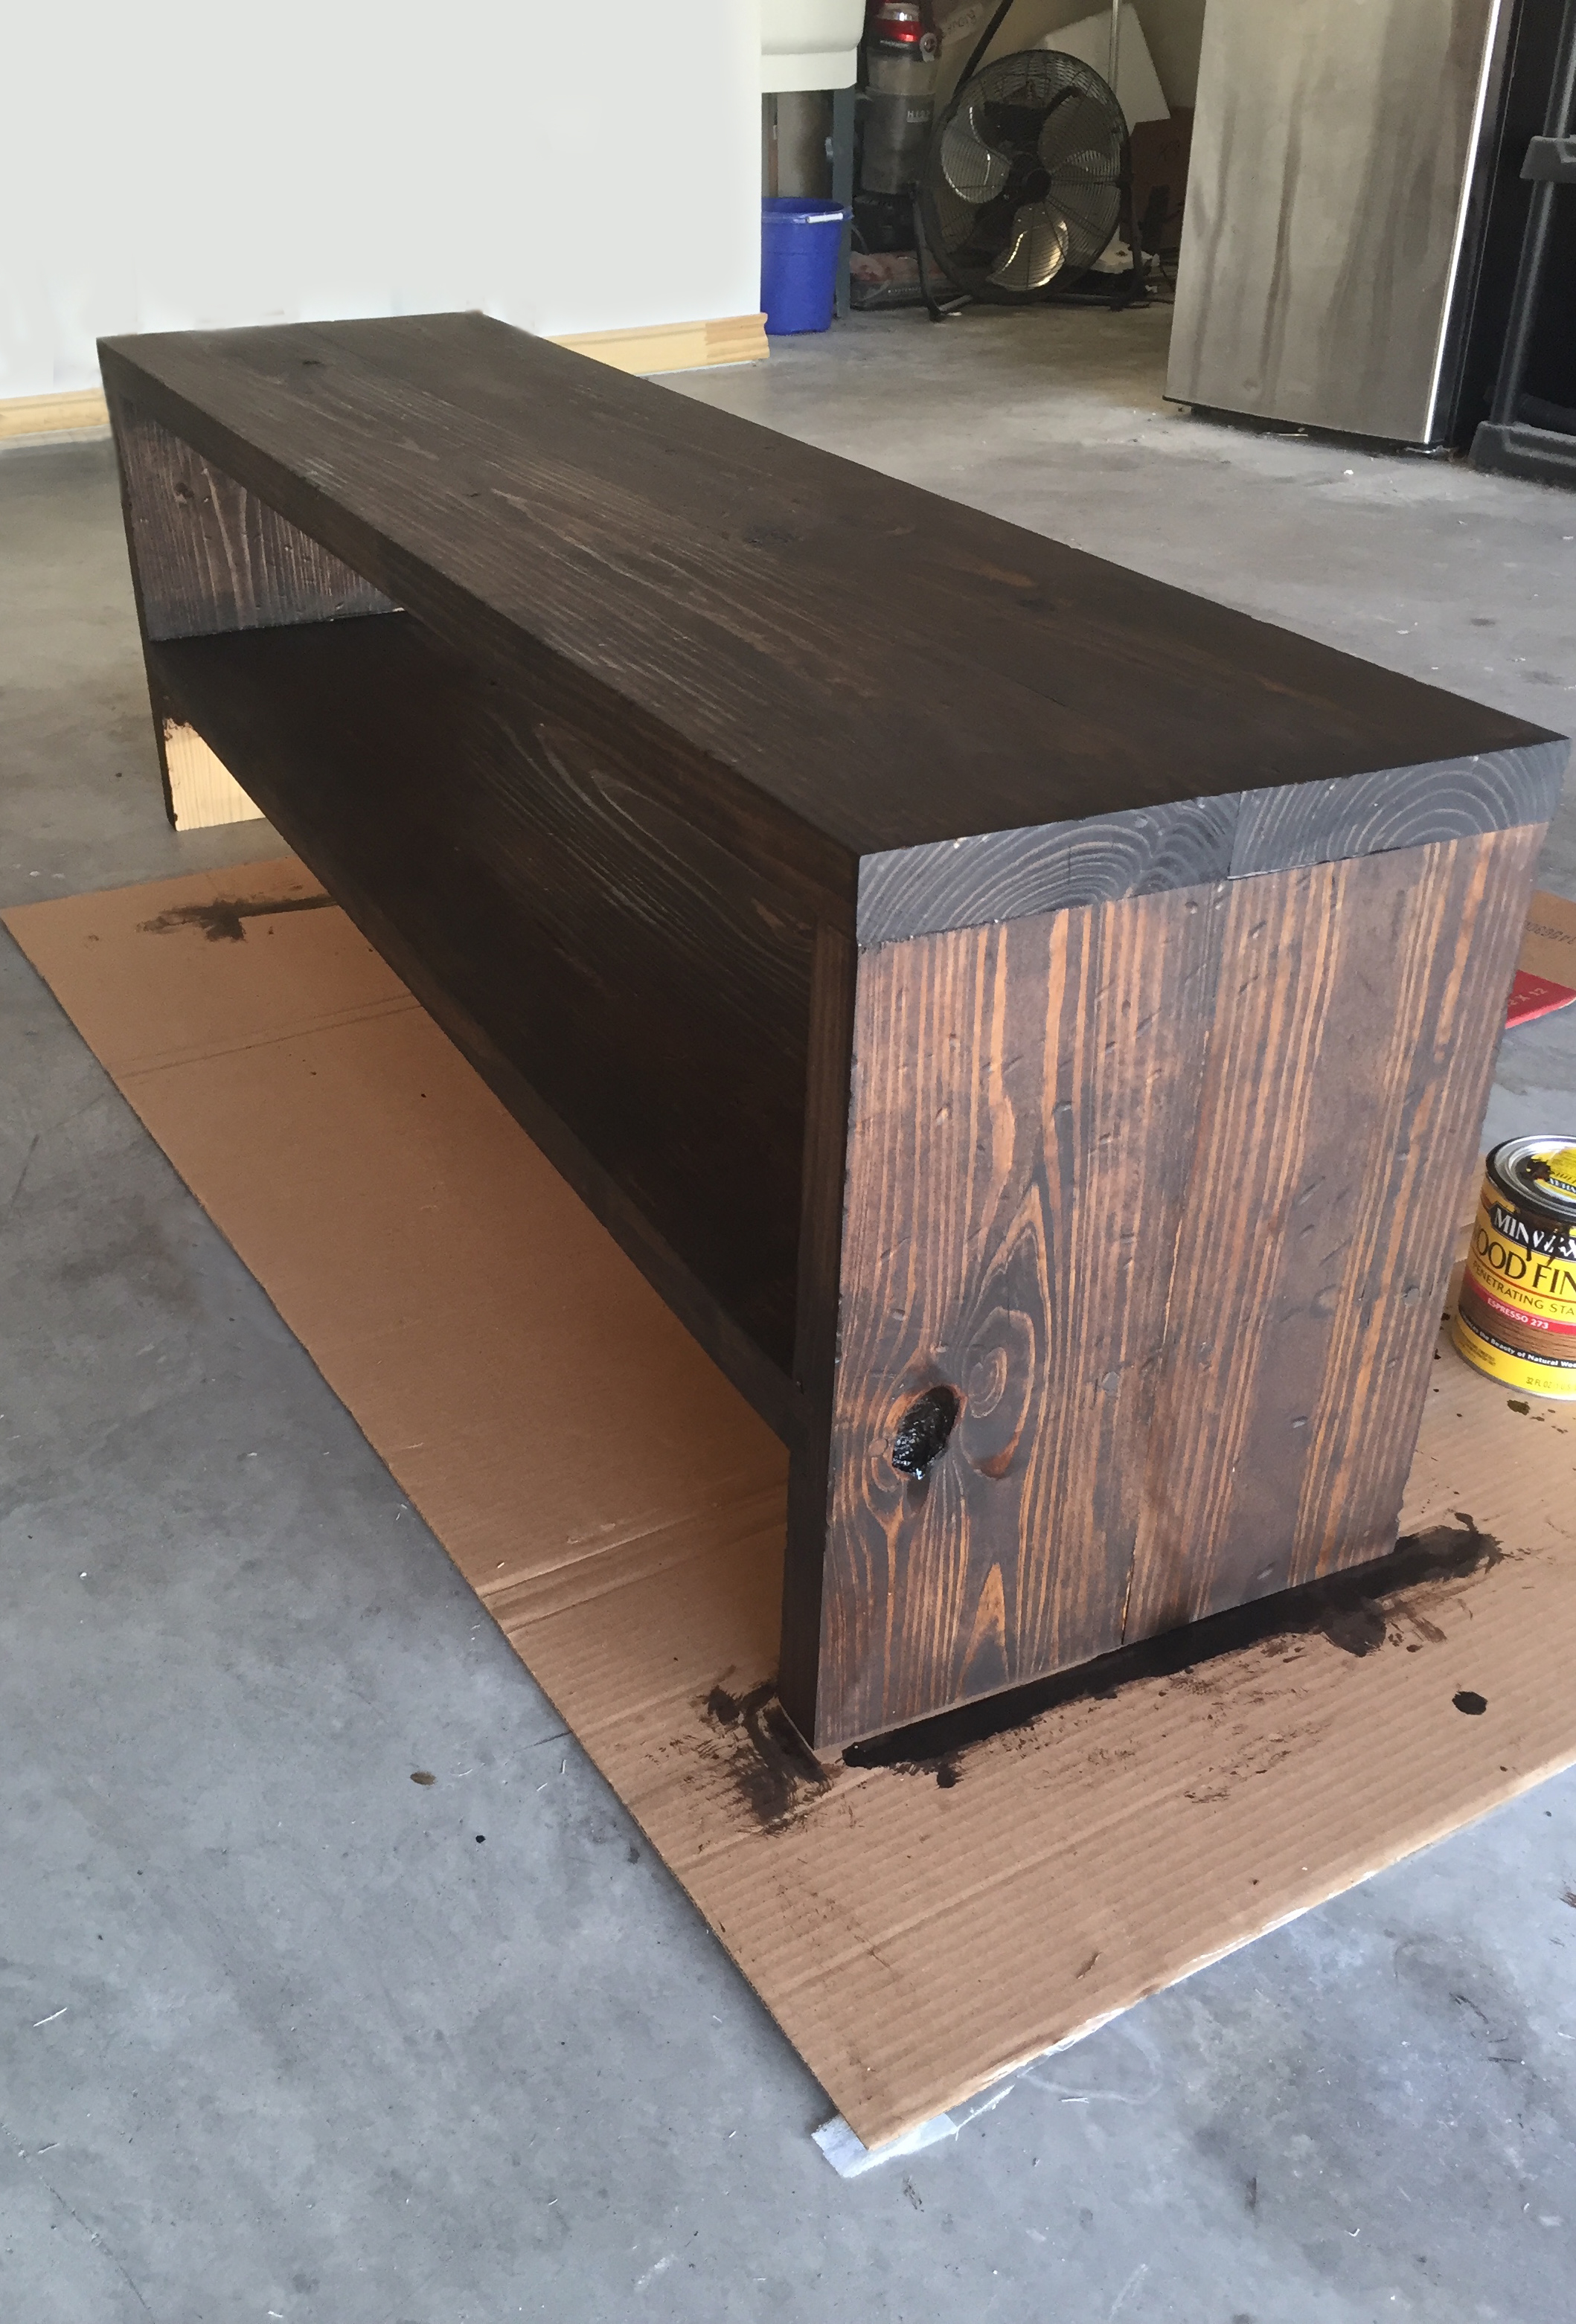
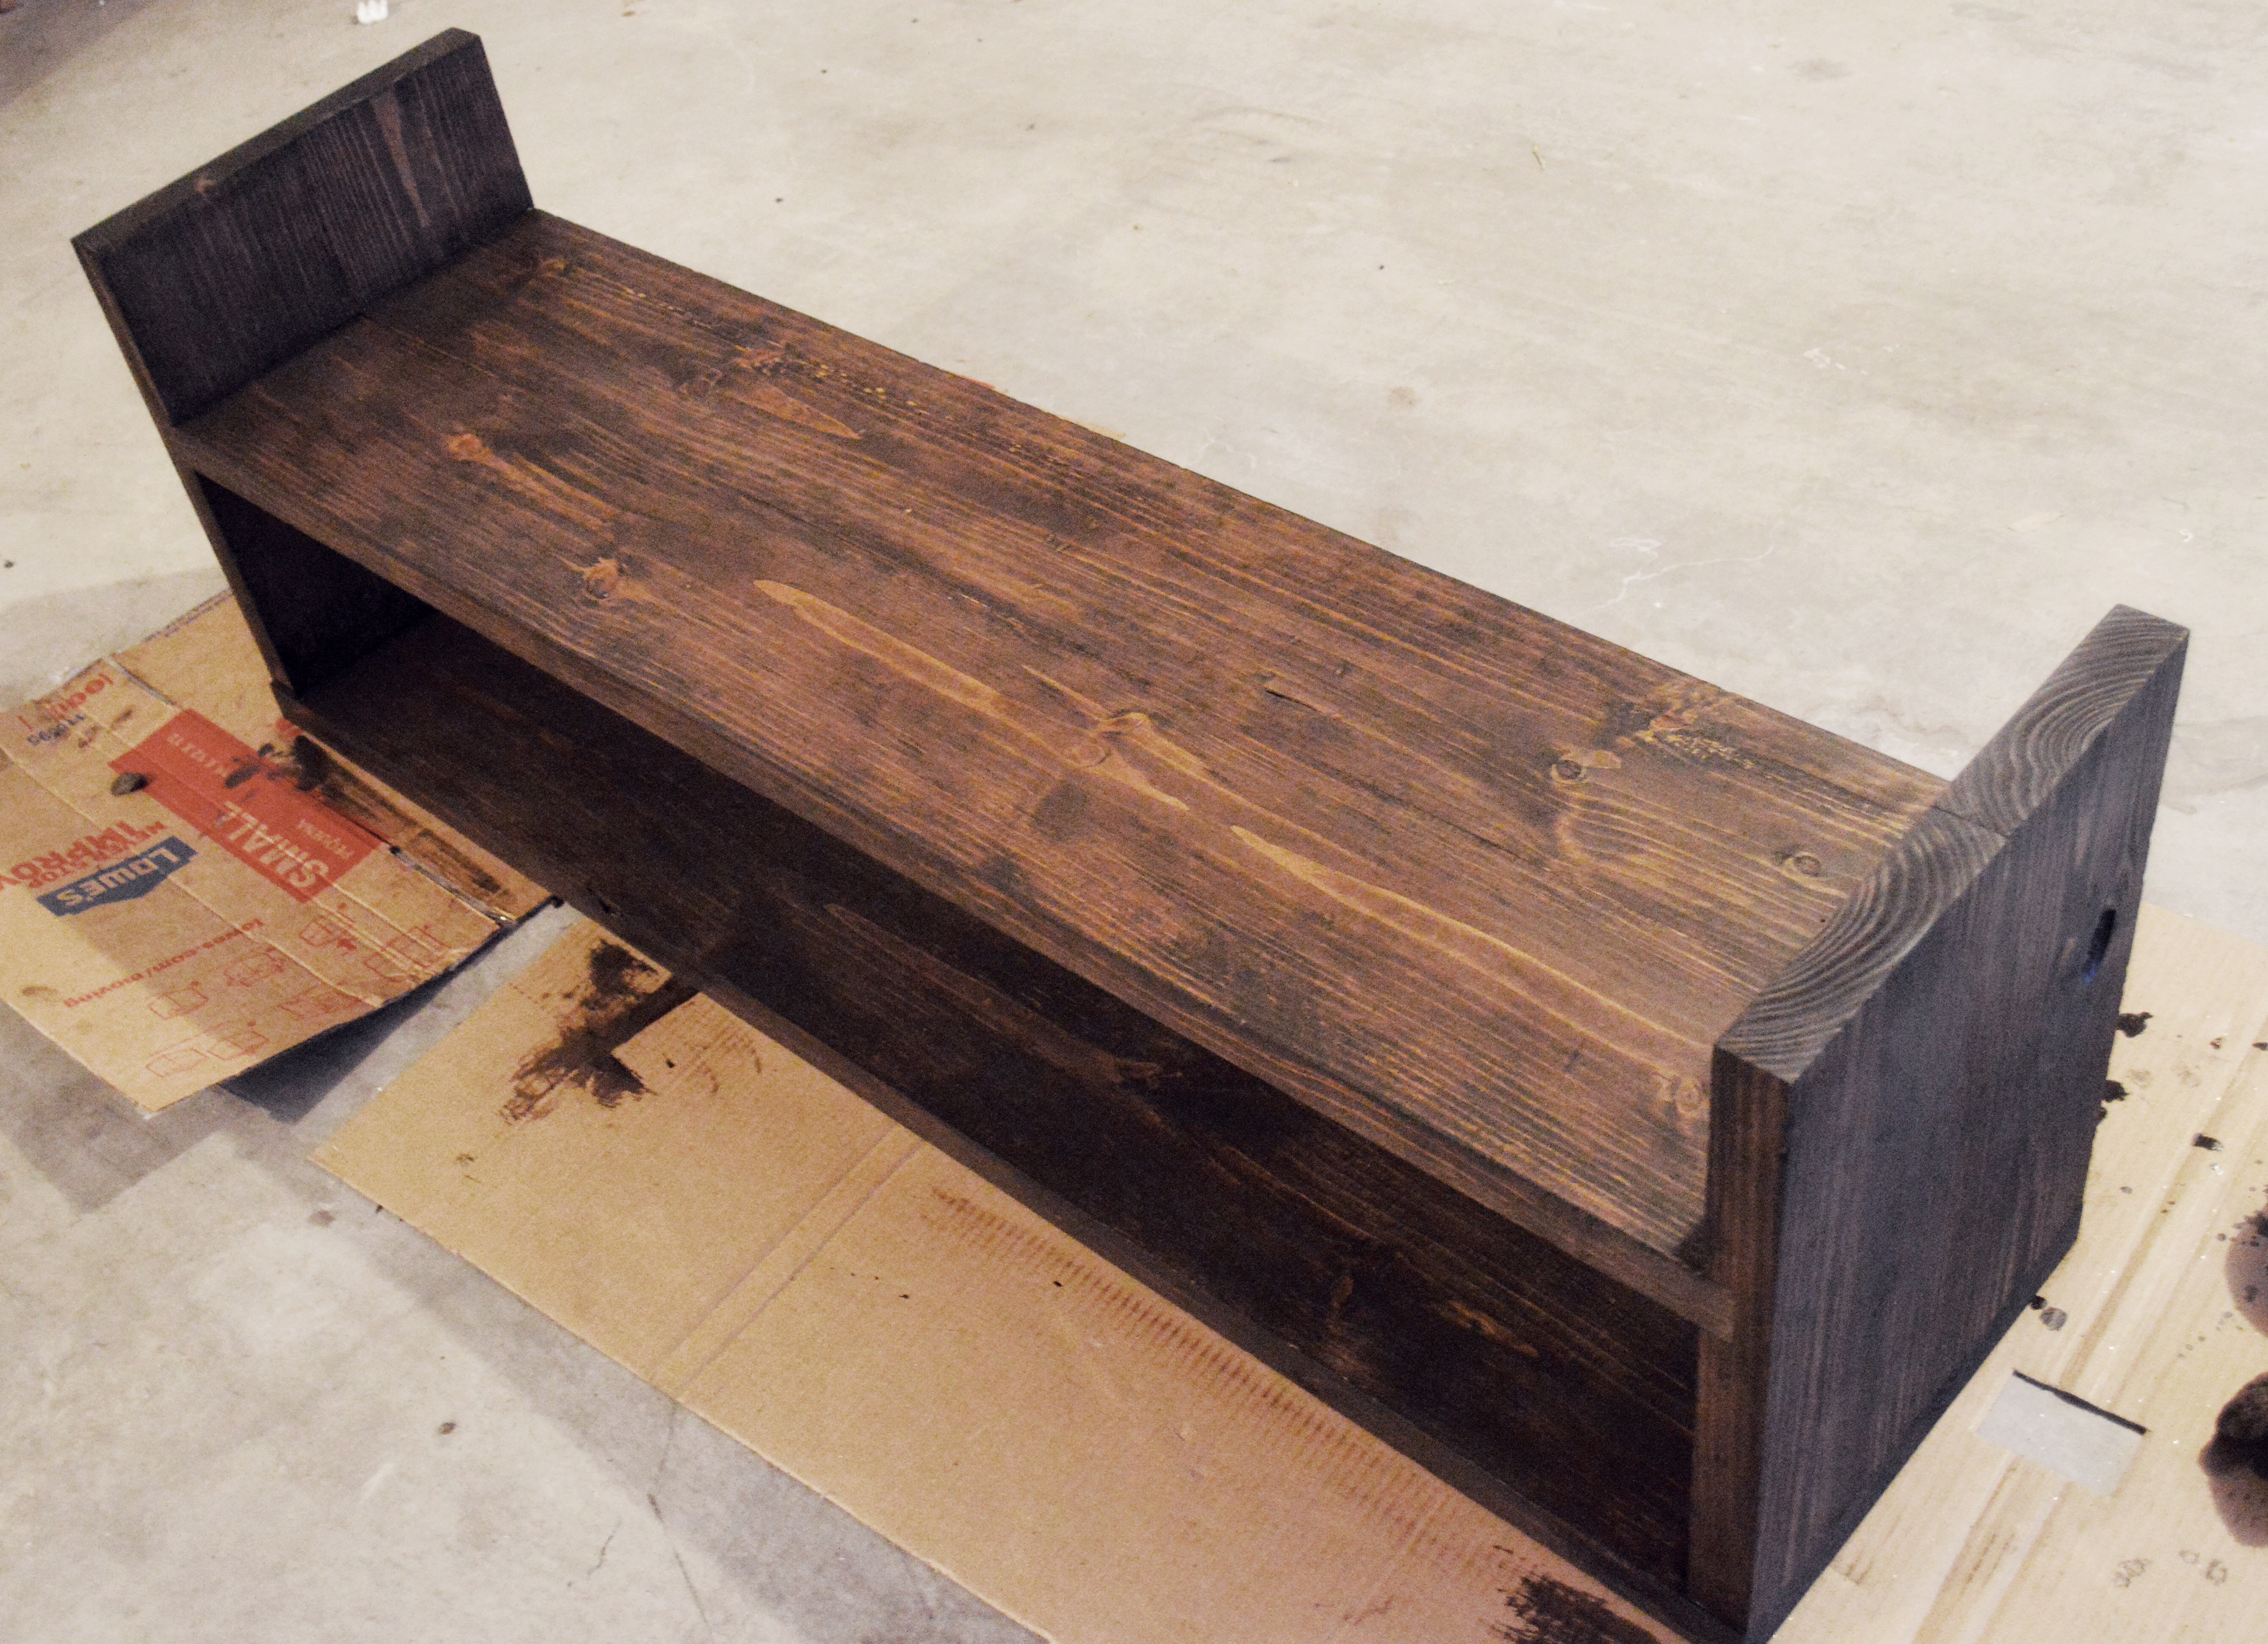
- After the piece has fully dried, you can seal it by brushing on a light coat of satin polyurethane to give it a little more protection (especially if it’s something you’ll be using often). Give that 24 hours to set and you’re ready to put your new piece into use!
This bench is exactly how I had envisioned it, and has become a perfect, welcoming piece as you walk into our home. I’ve styled it simply with wicker baskets (great for storing little one’s shoes), and softened it up with a couple of pillows and a plush neutral throw. 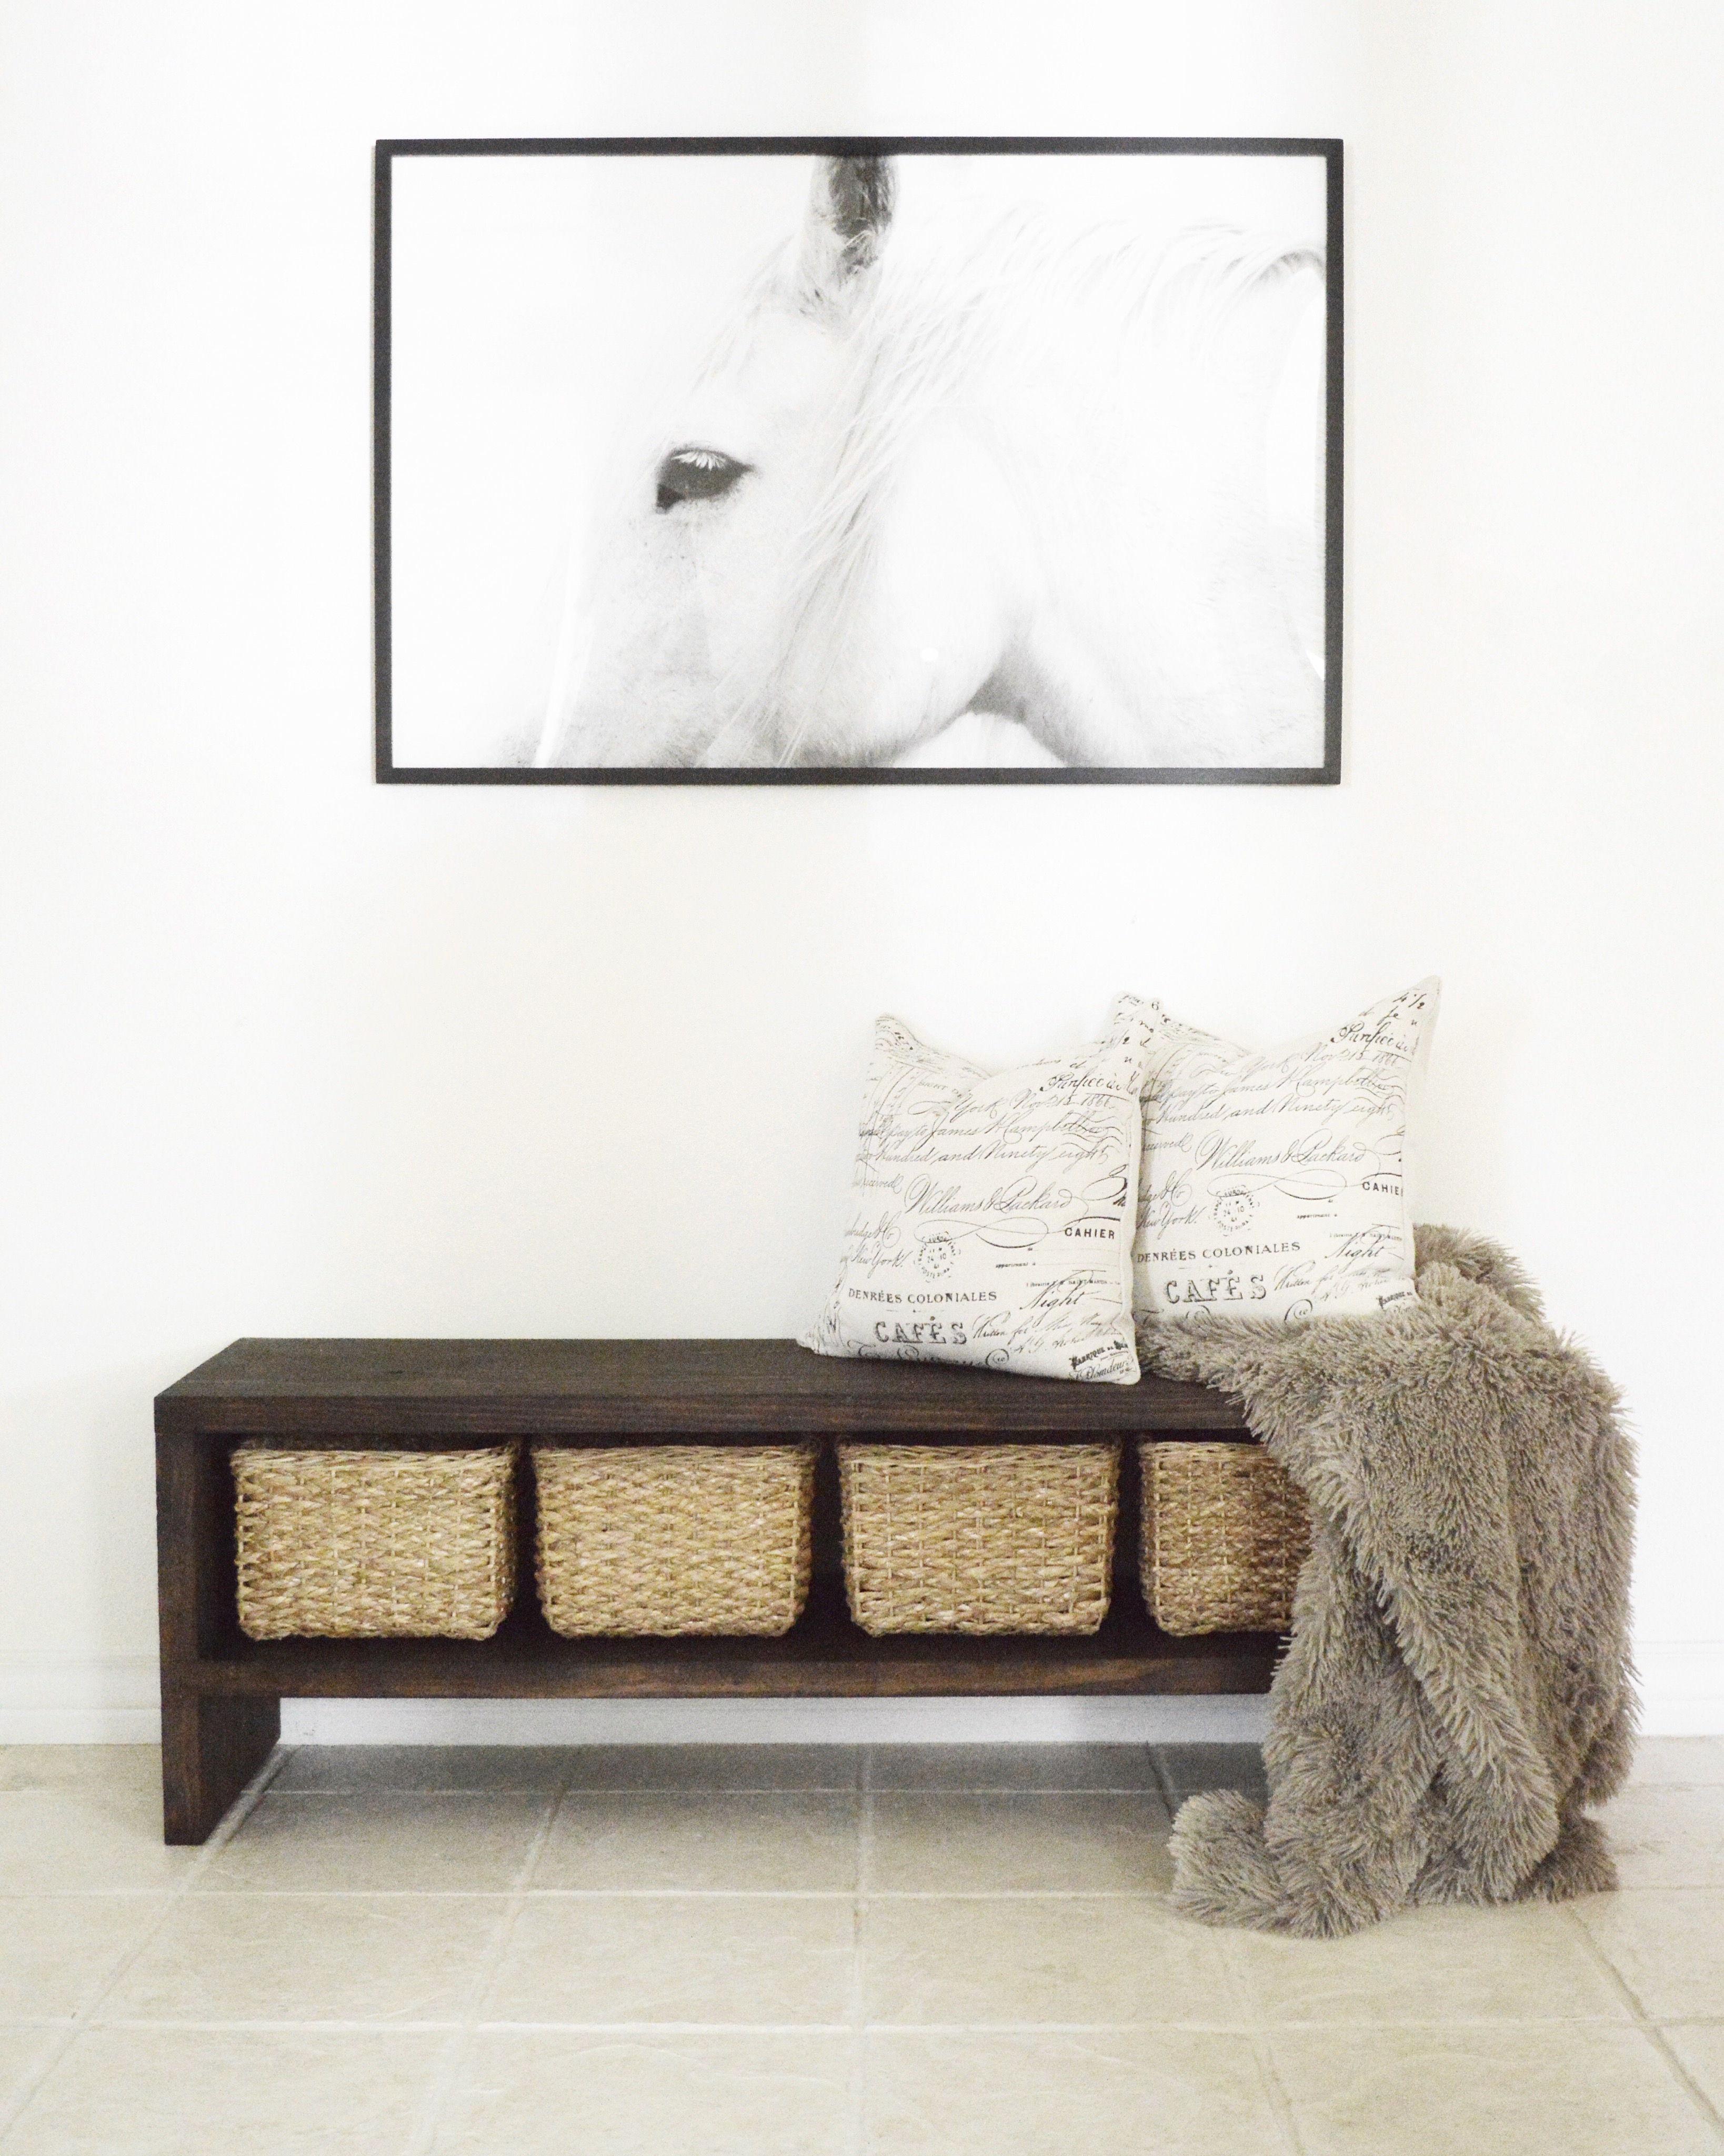
If you’re looking for a way to add a little rustic chic to your home, a project like this one could be right up your alley!
Nikki Riojas
@theriojashouse
Thanks so much for sharing Nikki! This bench is darling and I love how you styled it!


Leave a Reply