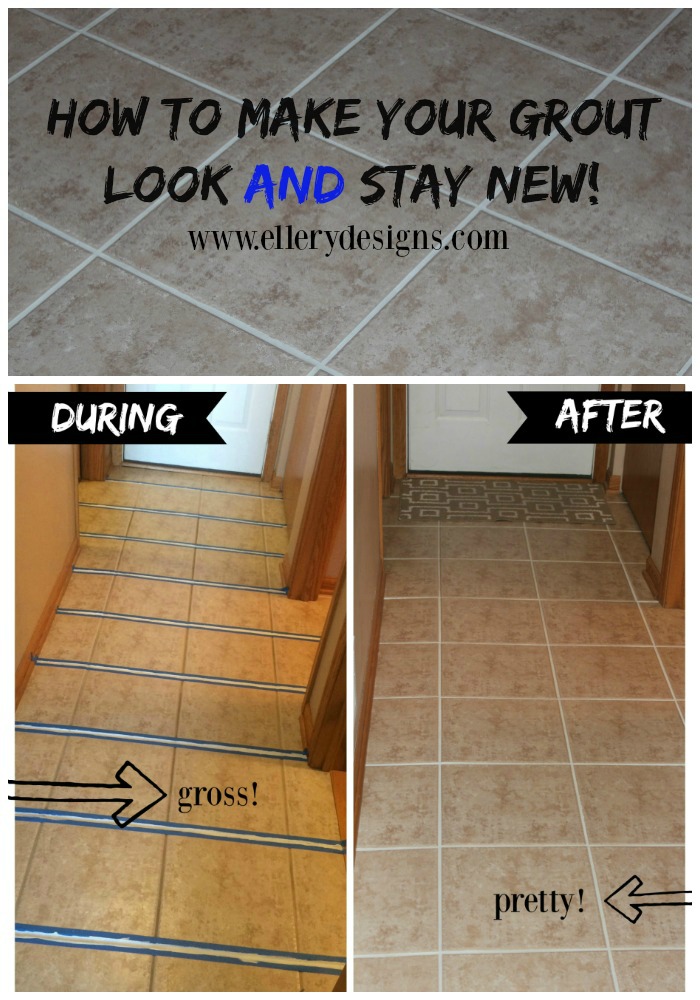
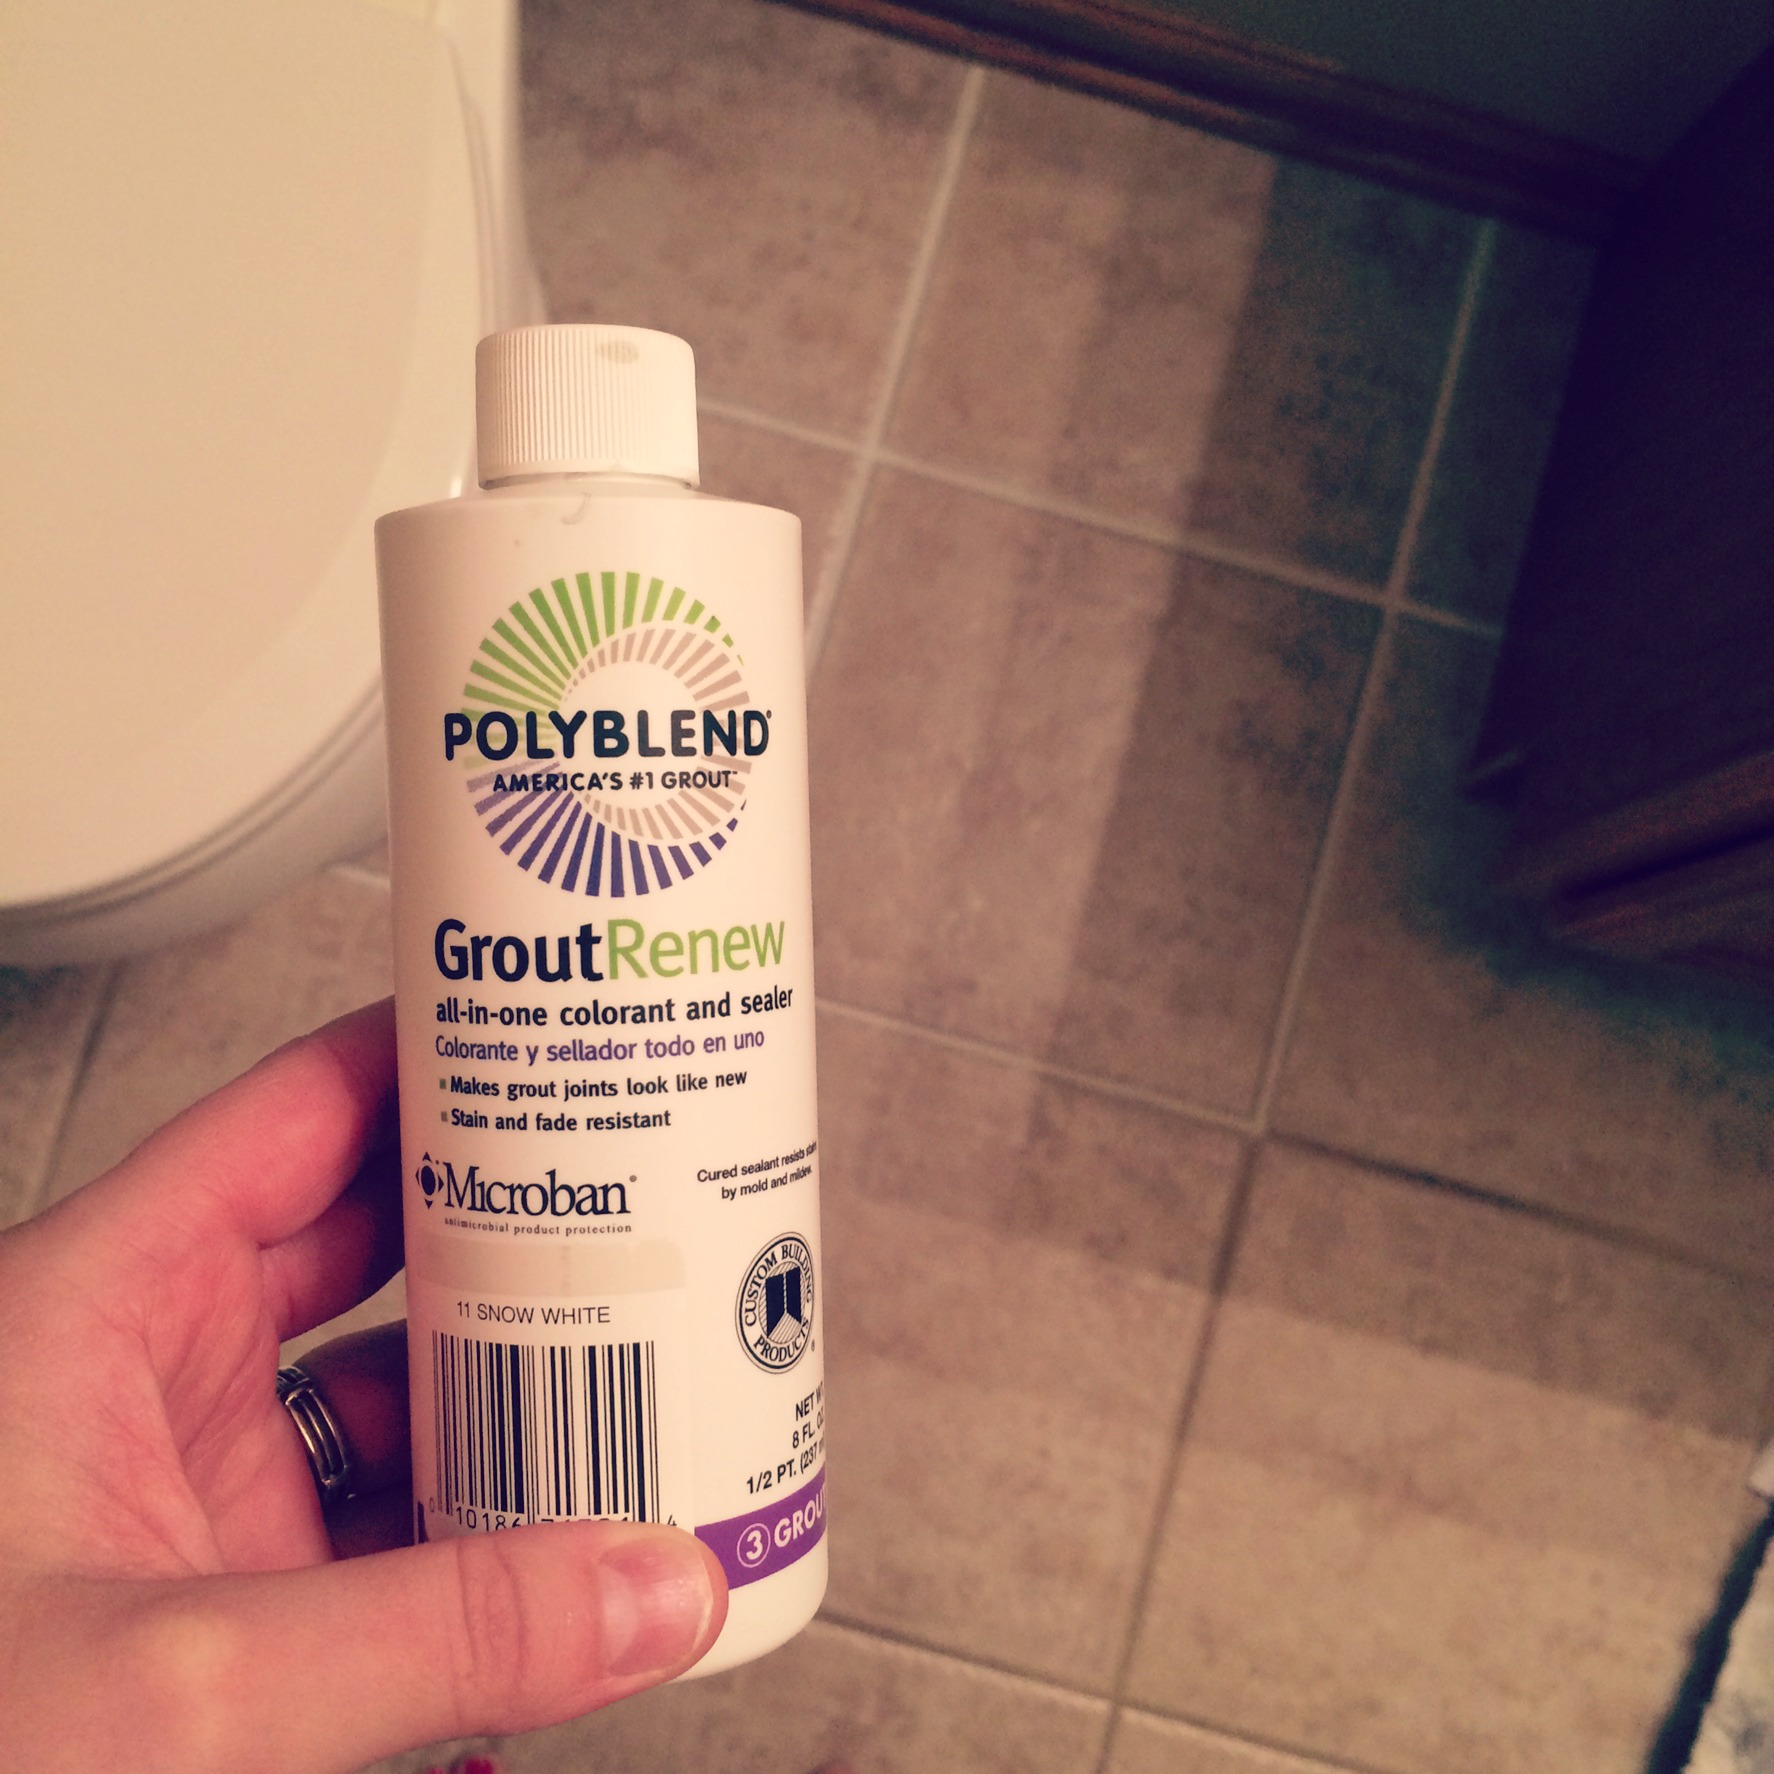
Raise of hands who has dirty looking grout? Come on, we all do! Go look around I bet you never thought it was “that bad” until you really looked at it. Well, guess what? I have a solution for you! I’ve tried everything from grout cleaners to using foam carpet cleaner to all of the suggestions I’m sure you’ve seen online and nothing seemed to keep my grout lines clean for long. I came across the product Grout Renew by Polyblend and the rest is history. Here is the exact product I purchased: Grout Renew (Snow White). Grout Renew by Polyblend is a colorant AND sealer so you can recolor your grout lines and it’s stain and fade resistant! BOOM!
There are many colors to choose from, I went with a traditional white b/c I like the clean lines and wanted a clean, fresh look. Our tile is pretty almond-like so wanted something that brightened up the space. I bought two bottles and still have some left! It goes a long way!
Now, here’s the deets. The bottle says to apply the paint using a toothbrush and to wipe away the left over on the tile as you go. I found this not to be possible, for me at least. As I would wipe away the access grout renew as I went, if I even moved a little it would wipe it off the grout lines and then I would have to start over or keep going back to fix which was sooo time consuming. After trying many things here is what I did and recommend for a clean finish:
- I used a paintbrush. Just a tiny little paintbrush I had laying around from my daughter’s paint book. Seriously. Nothing fancy. I used one that had a neutral bristles, as I used one that was black but it was shedding and obviously that wasn’t a good mix with my new white grout. Towards the end I did get a bit bigger brush which worked way faster but it did waste more of the grout renew.
- Disclaimer: I did not pre-clean my grout very well. I would probably advise to do what it tells you on the back of the bottle but I’m just letting you know I didn’t do much besides mop and vacuum before I started and it’s holding up great.
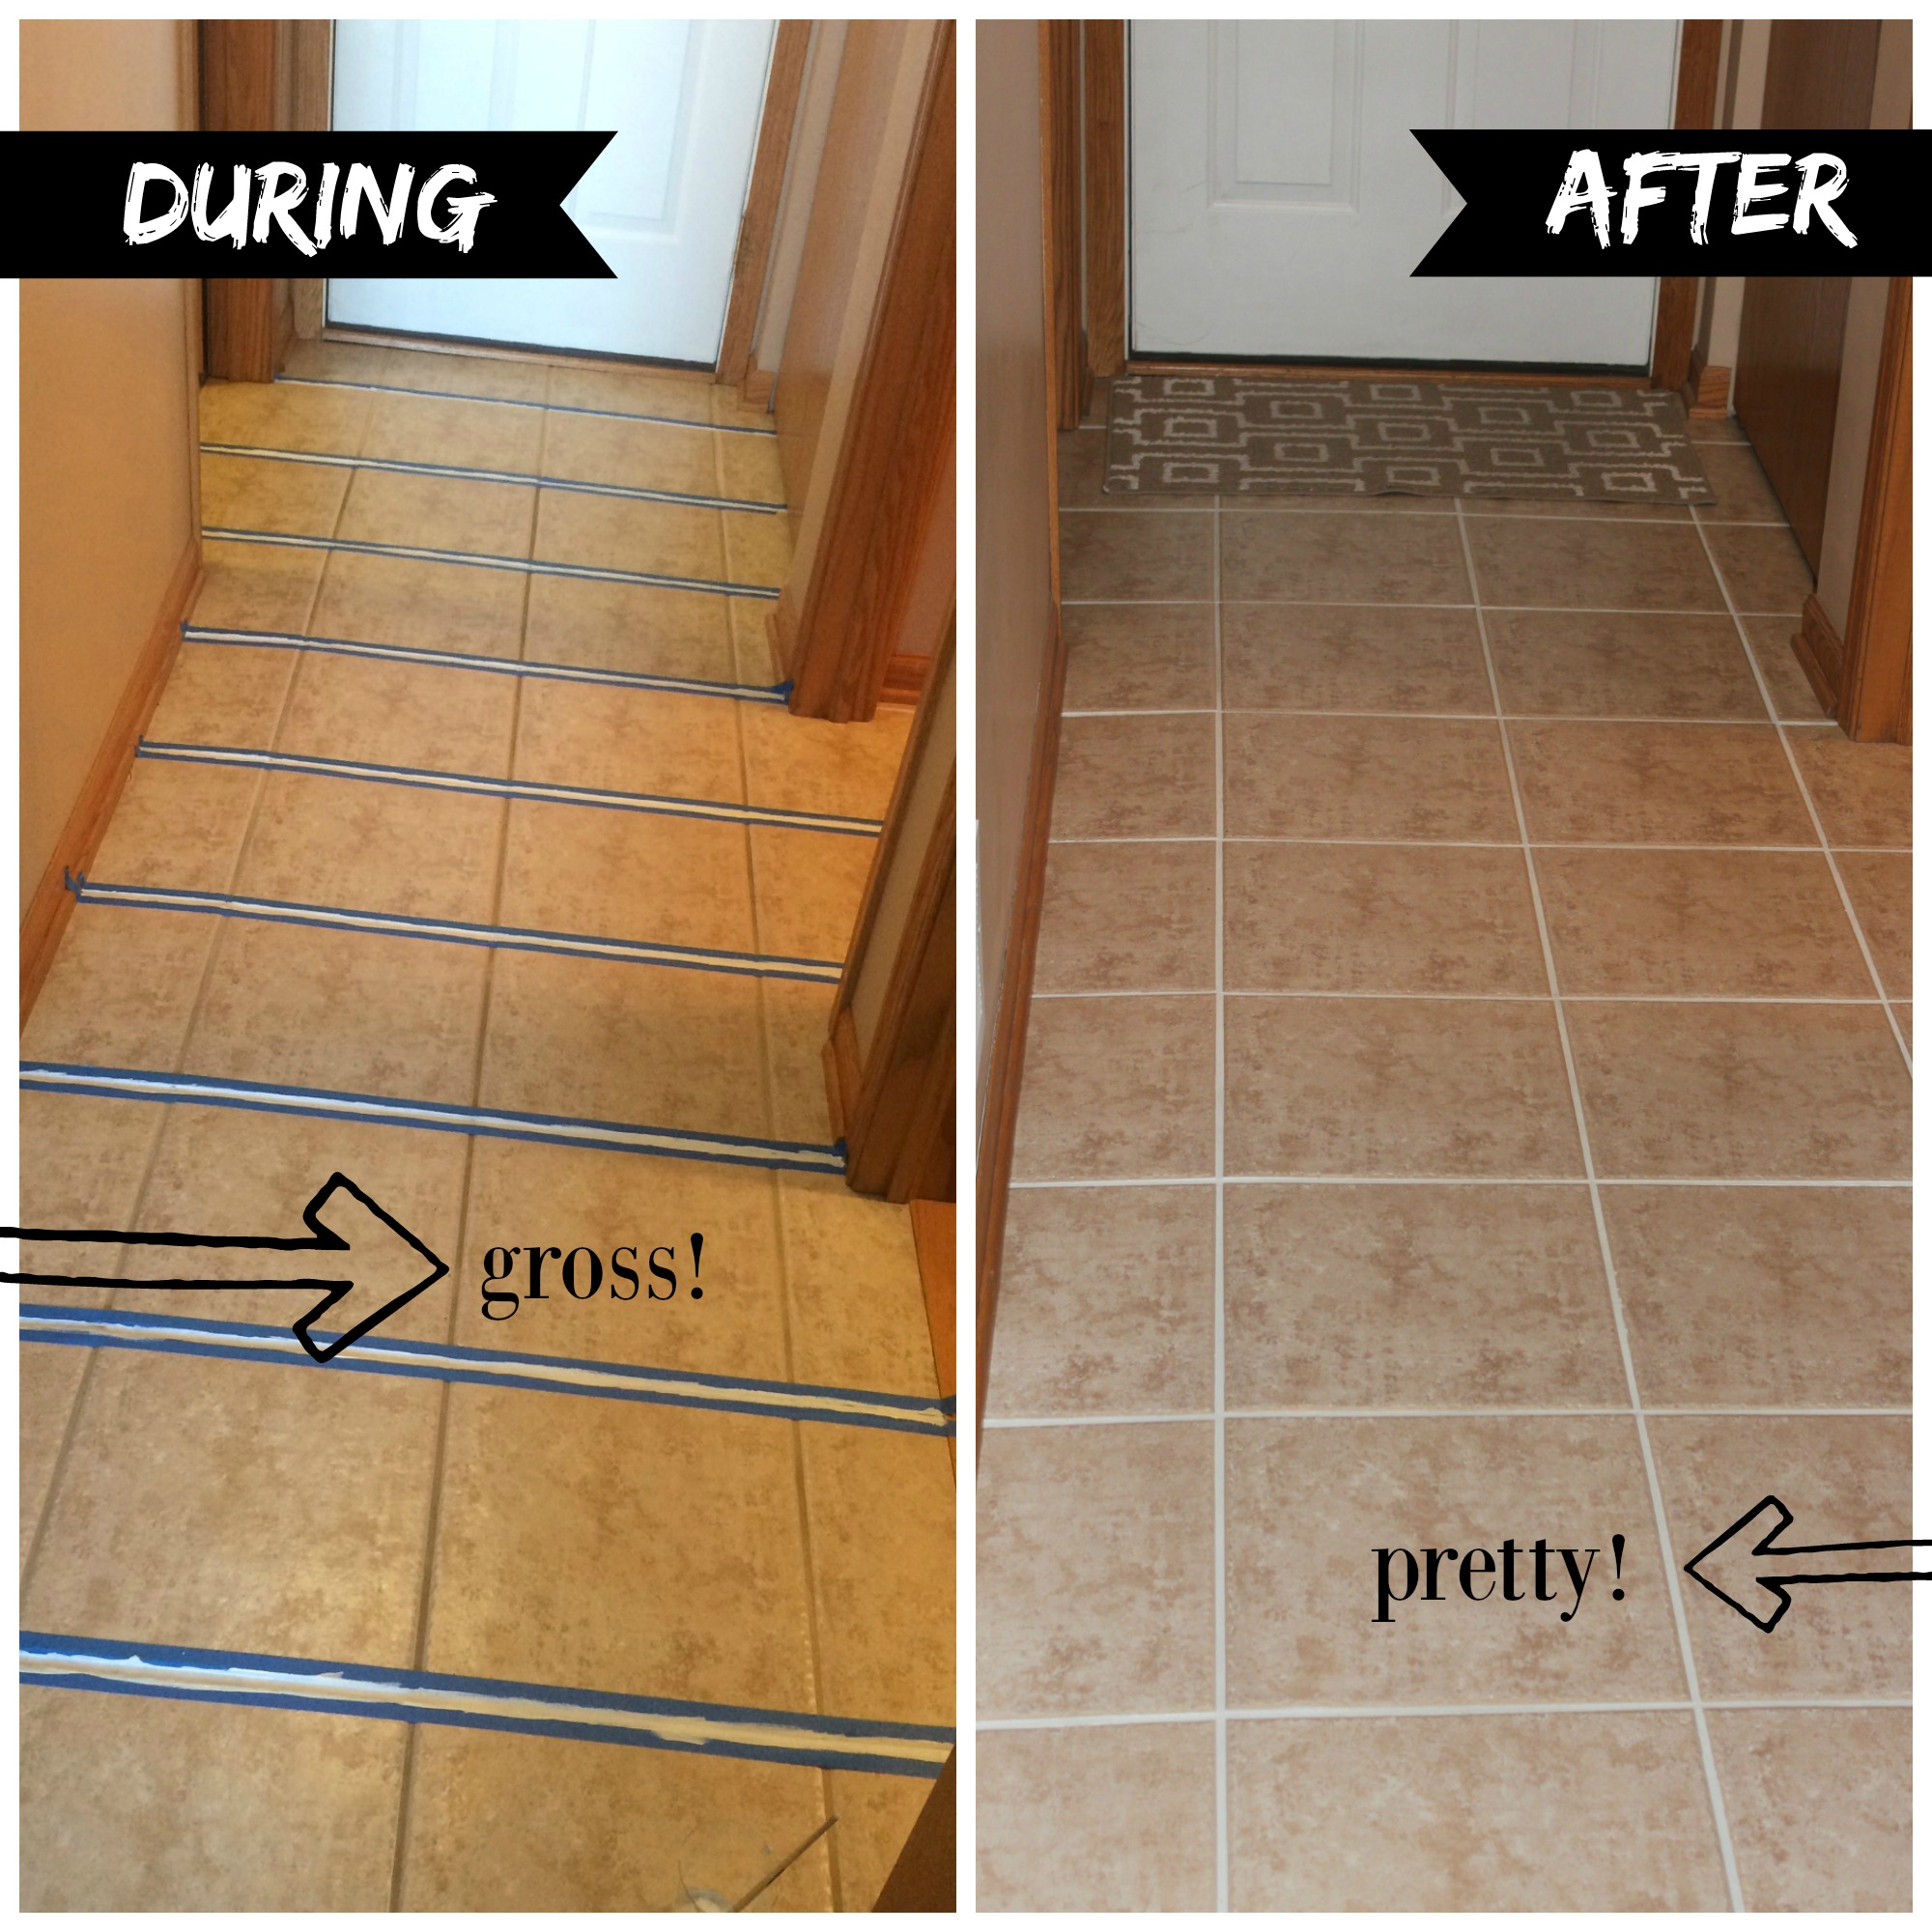
- I used painter’s tape to tape all of my grout lines. I know this seems super tedious but it is what worked best for me. You can wipe away the excess paint as you go along, like the directions on the bottle says but it just didn’t work that well for me. I’m a perfectionist and that may have been most of my problem. Taping is like anything else, once you figure it out on how to do it quickly and most efficiently, it goes by super fast. It took me several times to get the hang of it and just be sure not to tape any part of our grout lines or you’ll have to go back and touch up a lot). I taped all of my lines in one direction, painted the lines, then removed the tape after about 20 minutes and then started taping going in the other direction about a half hour later.
- This stuff dries FAST. Don’t worry if you have some grout renew on the tile, I just used the other end of my paintbrush to chip away the areas that left excess grout renew and voila!
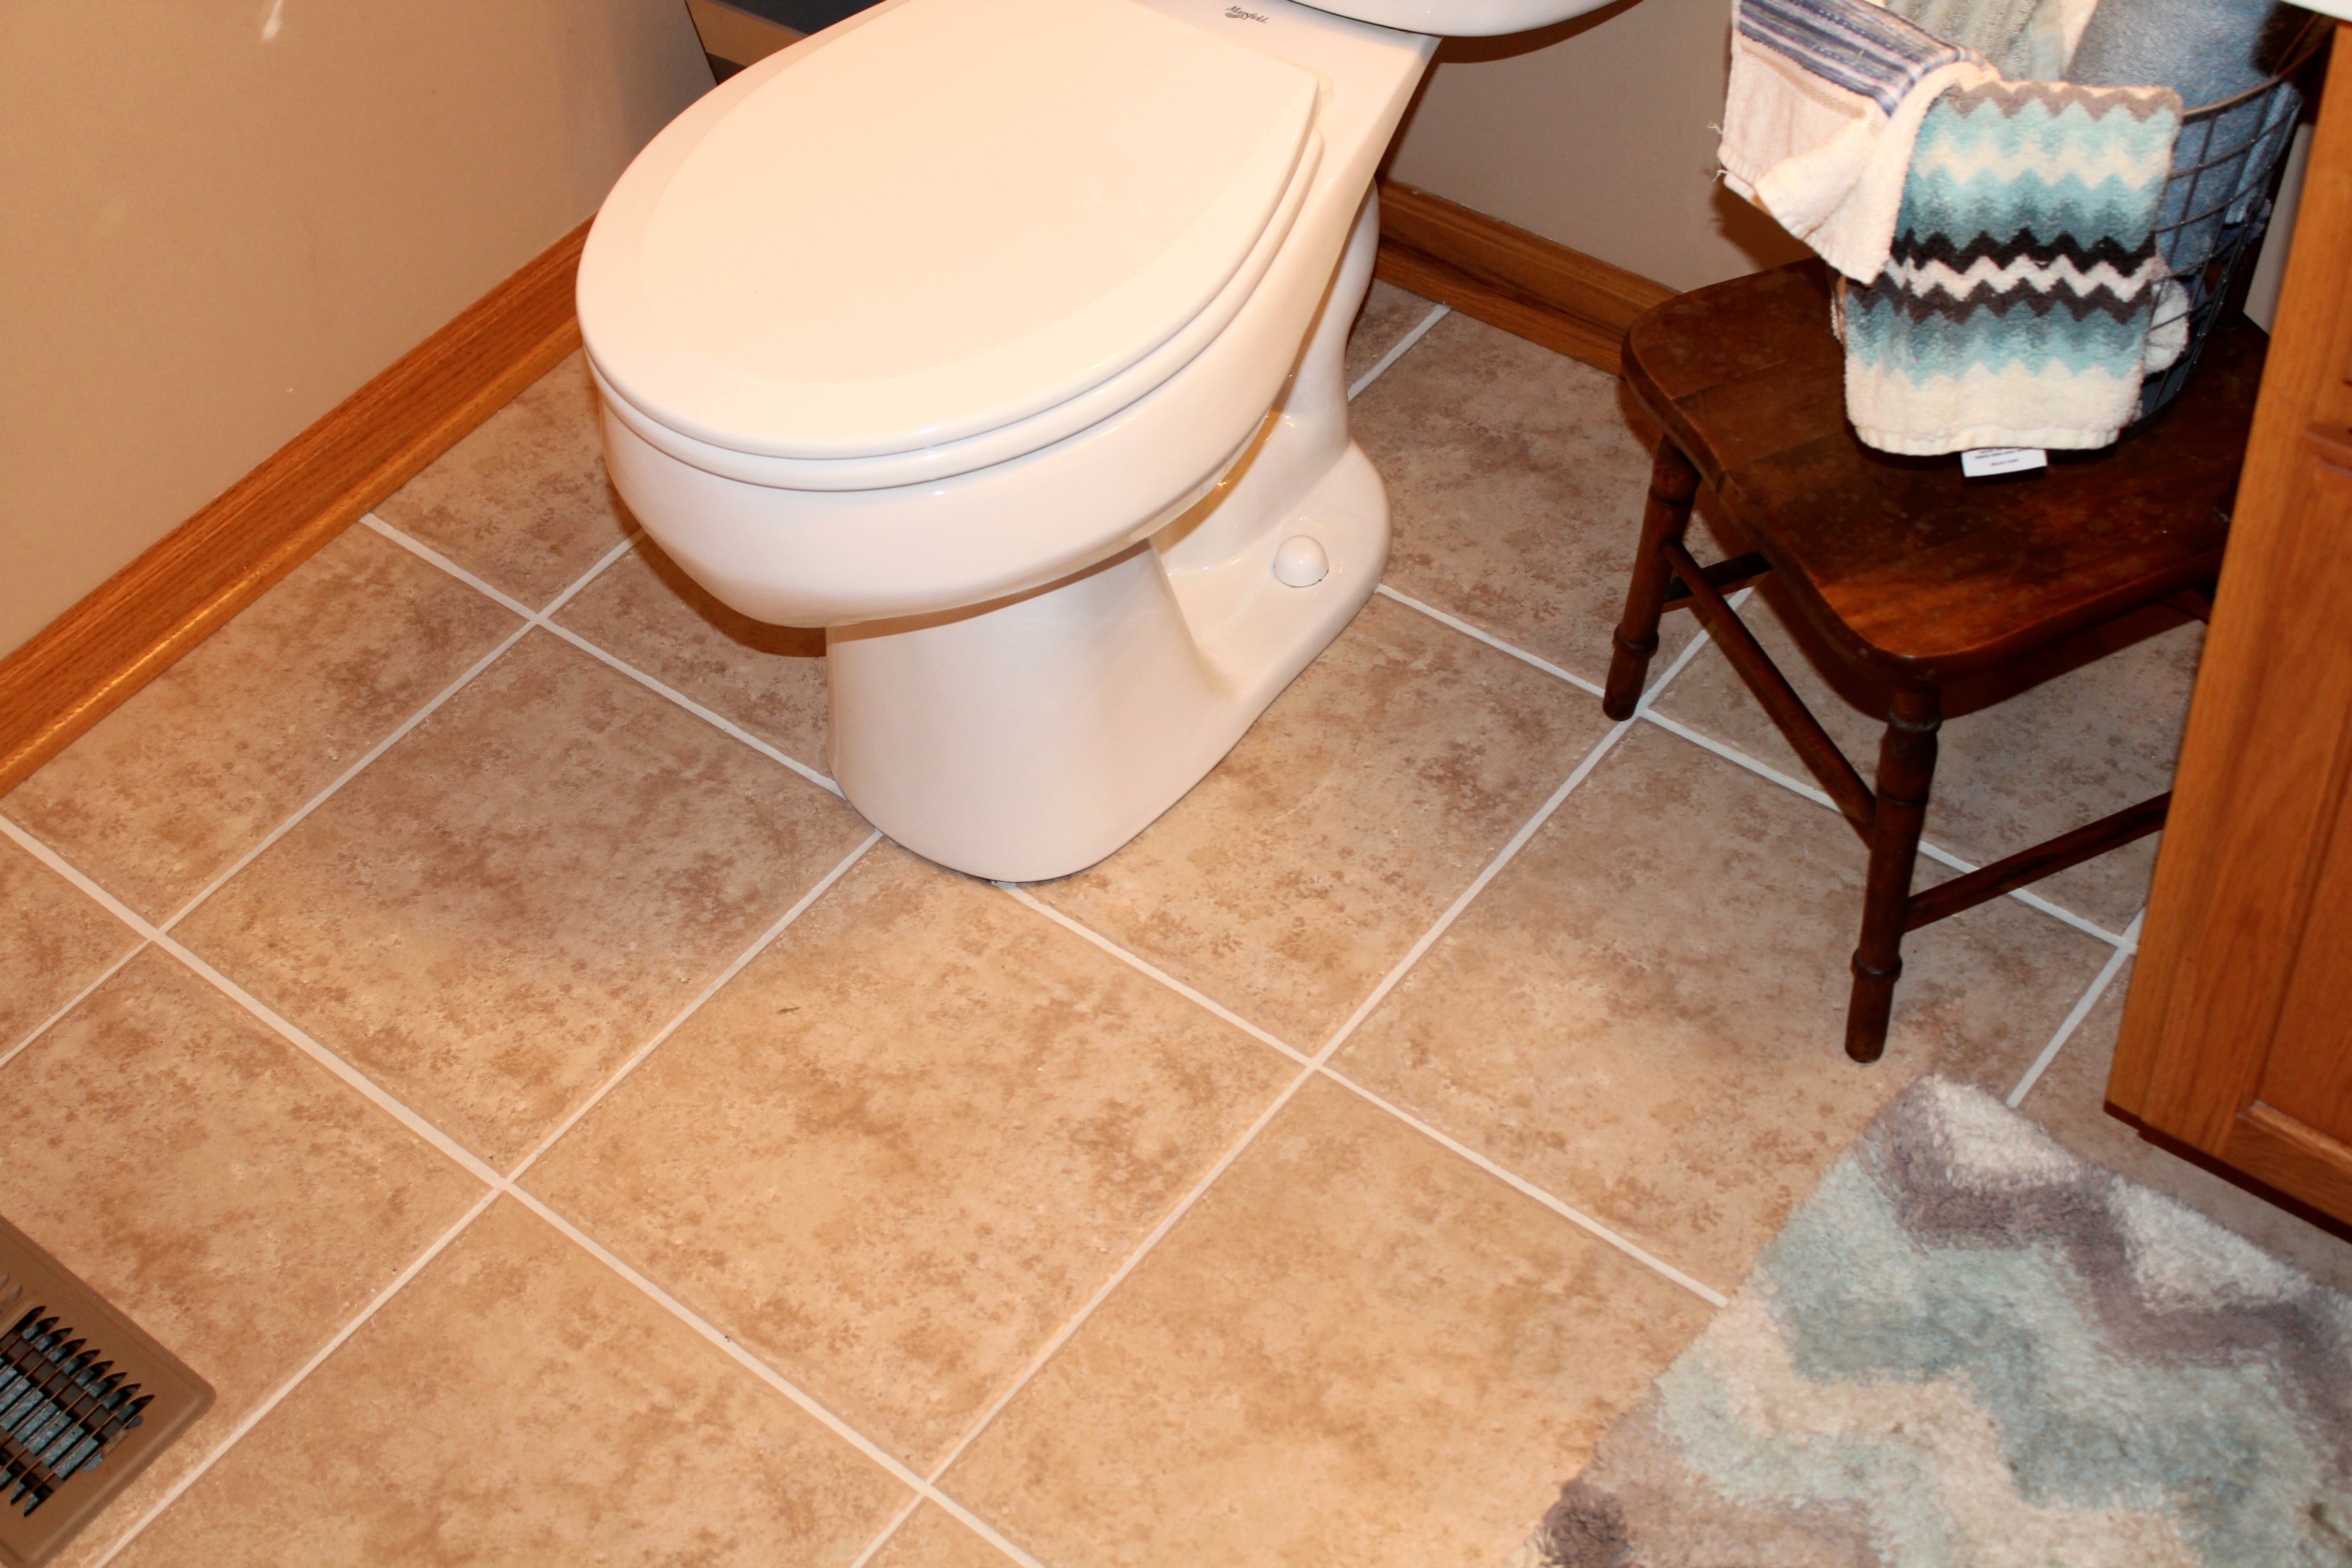
Here are some before and after photos that really show what a difference this product made! The best part is, if I spill something on the grout it easily wipes up! YAY!!
We did the whole first floor. I still need to tackle the closets and pantry but I figure no one really sees that except me, so I can give myself a little break. My hard work paid off and I’m so happy with the outcome! It’s a long process but well worth it, don’t you think?! My dear friend came over and helped me finish the dining room and it is amazing how quickly it goes with a little help! Grout painting party anyone?!
It’s a game changer!! My husband wasn’t sure how the white would look but now agrees it looks great and seriously makes our tile look brand new! While this post does contain affiliate links, I was not given this product for review. I just love it so much and highly recommend. Happy grout painting!






cialis prix: Acheter Cialis 20 mg pas cher – Tadalafil achat en ligne tadalmed.shop
Cialis sans ordonnance pas cher [url=https://tadalmed.com/#]Acheter Cialis 20 mg pas cher[/url] Pharmacie en ligne Cialis sans ordonnance tadalmed.com
https://pharmafst.shop/# п»їpharmacie en ligne france
п»їpharmacie en ligne france: pharmacie en ligne pas cher – pharmacie en ligne france livraison belgique pharmafst.com
kamagra en ligne: kamagra livraison 24h – Acheter Kamagra site fiable
Cialis sans ordonnance 24h: Cialis sans ordonnance 24h – Cialis sans ordonnance 24h tadalmed.shop
http://pharmafst.com/# pharmacie en ligne france livraison belgique
kamagra pas cher: Kamagra Oral Jelly pas cher – acheter kamagra site fiable
Pharmacie sans ordonnance: pharmacie en ligne – Pharmacie Internationale en ligne pharmafst.com
Acheter Cialis: Tadalafil 20 mg prix sans ordonnance – Acheter Viagra Cialis sans ordonnance tadalmed.shop
kamagra en ligne: Achetez vos kamagra medicaments – acheter kamagra site fiable
https://pharmafst.shop/# pharmacie en ligne sans ordonnance
achat kamagra [url=https://kamagraprix.shop/#]kamagra 100mg prix[/url] kamagra gel
pharmacie en ligne: pharmacie en ligne pas cher – Pharmacie Internationale en ligne pharmafst.com
cialis generique: Cialis sans ordonnance 24h – Cialis en ligne tadalmed.shop
http://kamagraprix.com/# Acheter Kamagra site fiable
kamagra en ligne: Kamagra Oral Jelly pas cher – kamagra pas cher
Pharmacie sans ordonnance: trouver un mГ©dicament en pharmacie – acheter mГ©dicament en ligne sans ordonnance pharmafst.com
kamagra pas cher: achat kamagra – Acheter Kamagra site fiable
pharmacie en ligne france pas cher: pharmacie en ligne sans ordonnance – pharmacie en ligne pharmafst.com
https://pharmafst.com/# Pharmacie Internationale en ligne
kamagra 100mg prix: Acheter Kamagra site fiable – Acheter Kamagra site fiable
pharmacie en ligne france pas cher [url=https://pharmafst.com/#]Livraison rapide[/url] pharmacie en ligne fiable pharmafst.shop
kamagra 100mg prix: Acheter Kamagra site fiable – kamagra gel
pharmacie en ligne fiable: pharmacie en ligne france livraison belgique – Pharmacie en ligne livraison Europe pharmafst.com
kamagra livraison 24h: kamagra 100mg prix – Acheter Kamagra site fiable